
ก่อนอื่นก่อนใด ก่อนที่จะ Deploy Symfony สิ่งที่เราจำเป็นต้องมีเลยคือ Composer
Install Composer
สำหรับการติดตั้ง composer สามาดูได้จากบทความที่ผมเคยเขียนไปครั้งก่อนได้เลย การติดตั้ง Composer ใน Linux โดยเราจำเป็นต้องใช้ composer ในการติดตั้ง dependencies ต่างๆ ใน project ของเรา
Example Project
ผมมี Symfony Project เปล่าๆ ที่จะเอามาลอง Deploy https://github.com/bdsach/hello-symfony ให้เรา Clone repo นี้ไปไว้ใน directory html
Clone
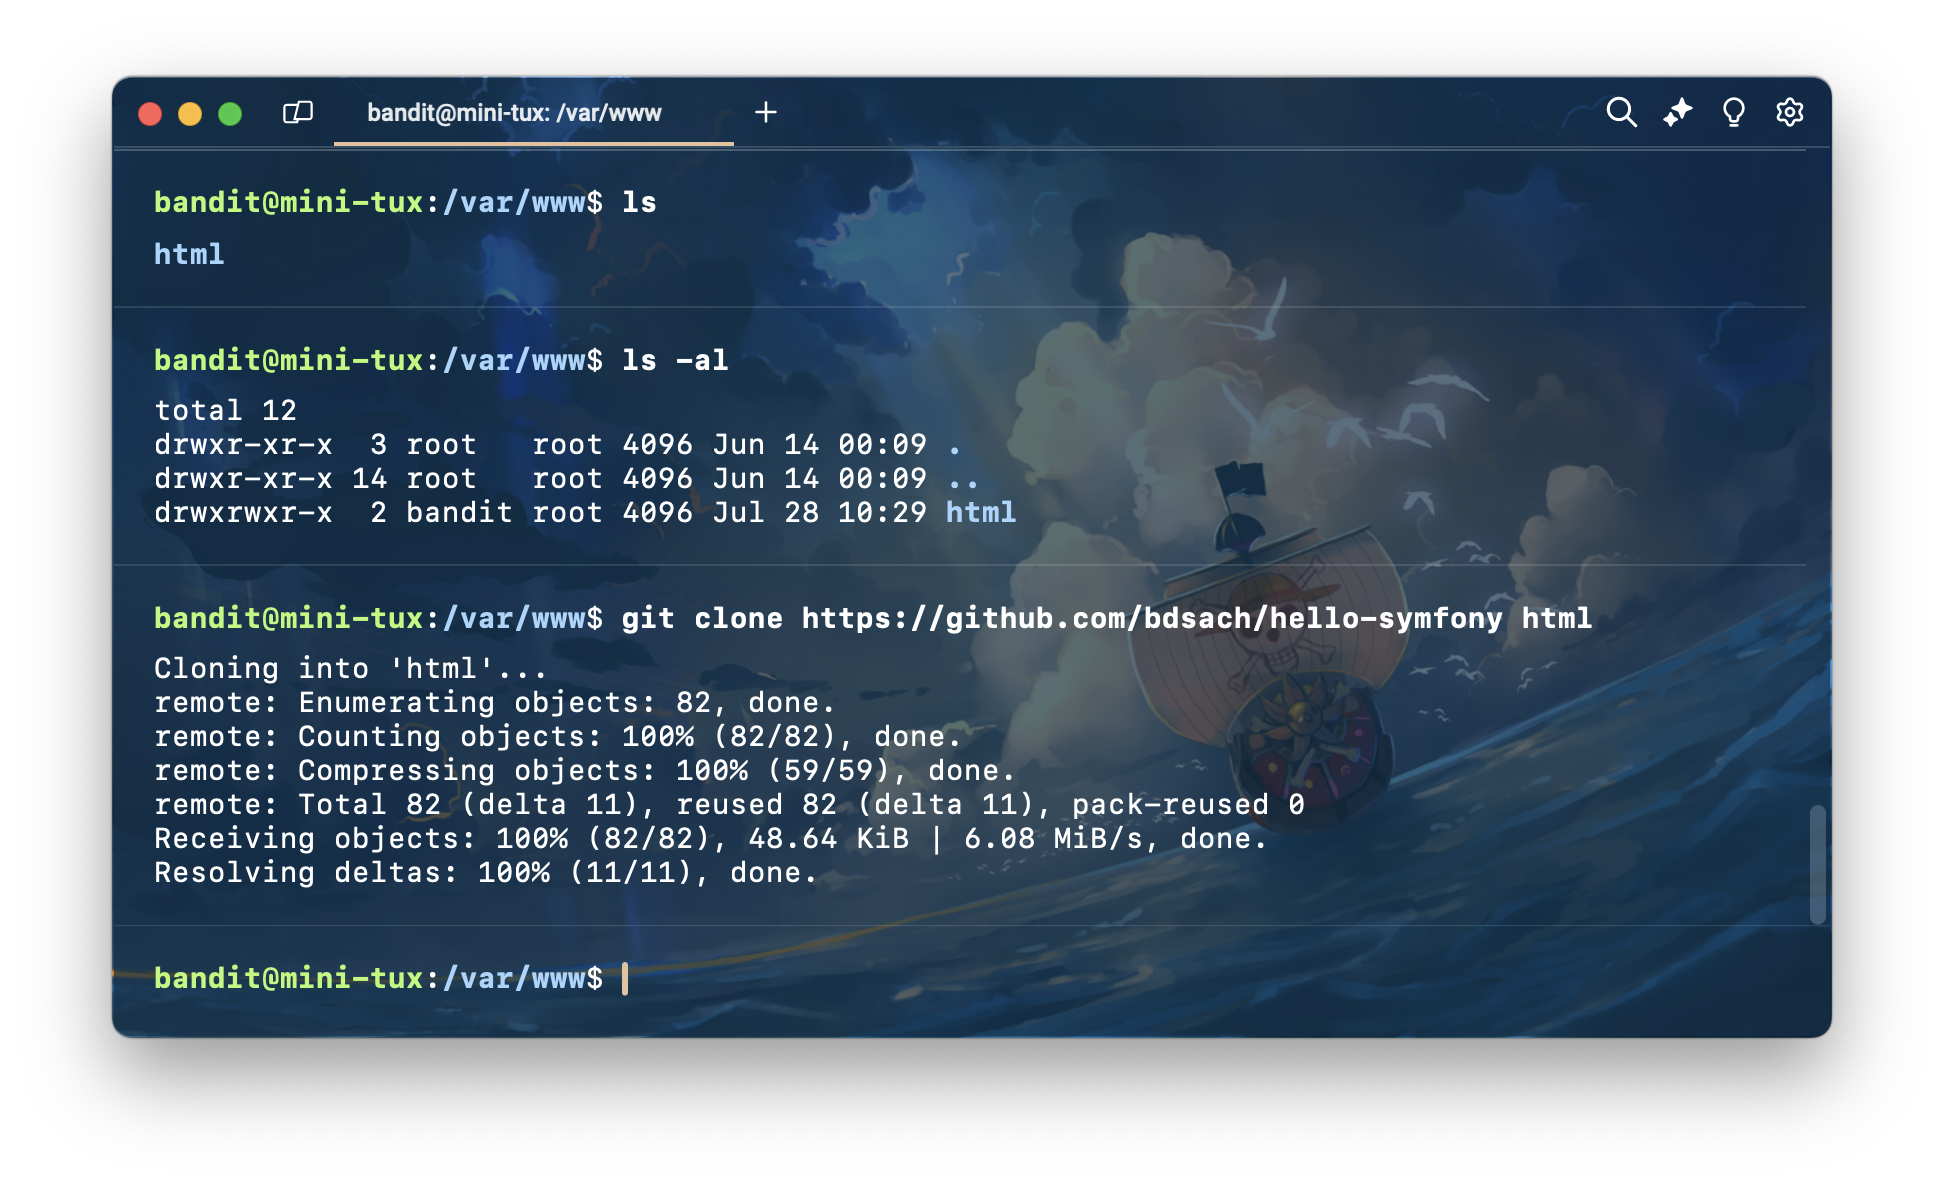
ให้ทำการ Clone โดยใช้คําสั่ง git clone
git clone https://github.com/bdsach/hello-symfony.git html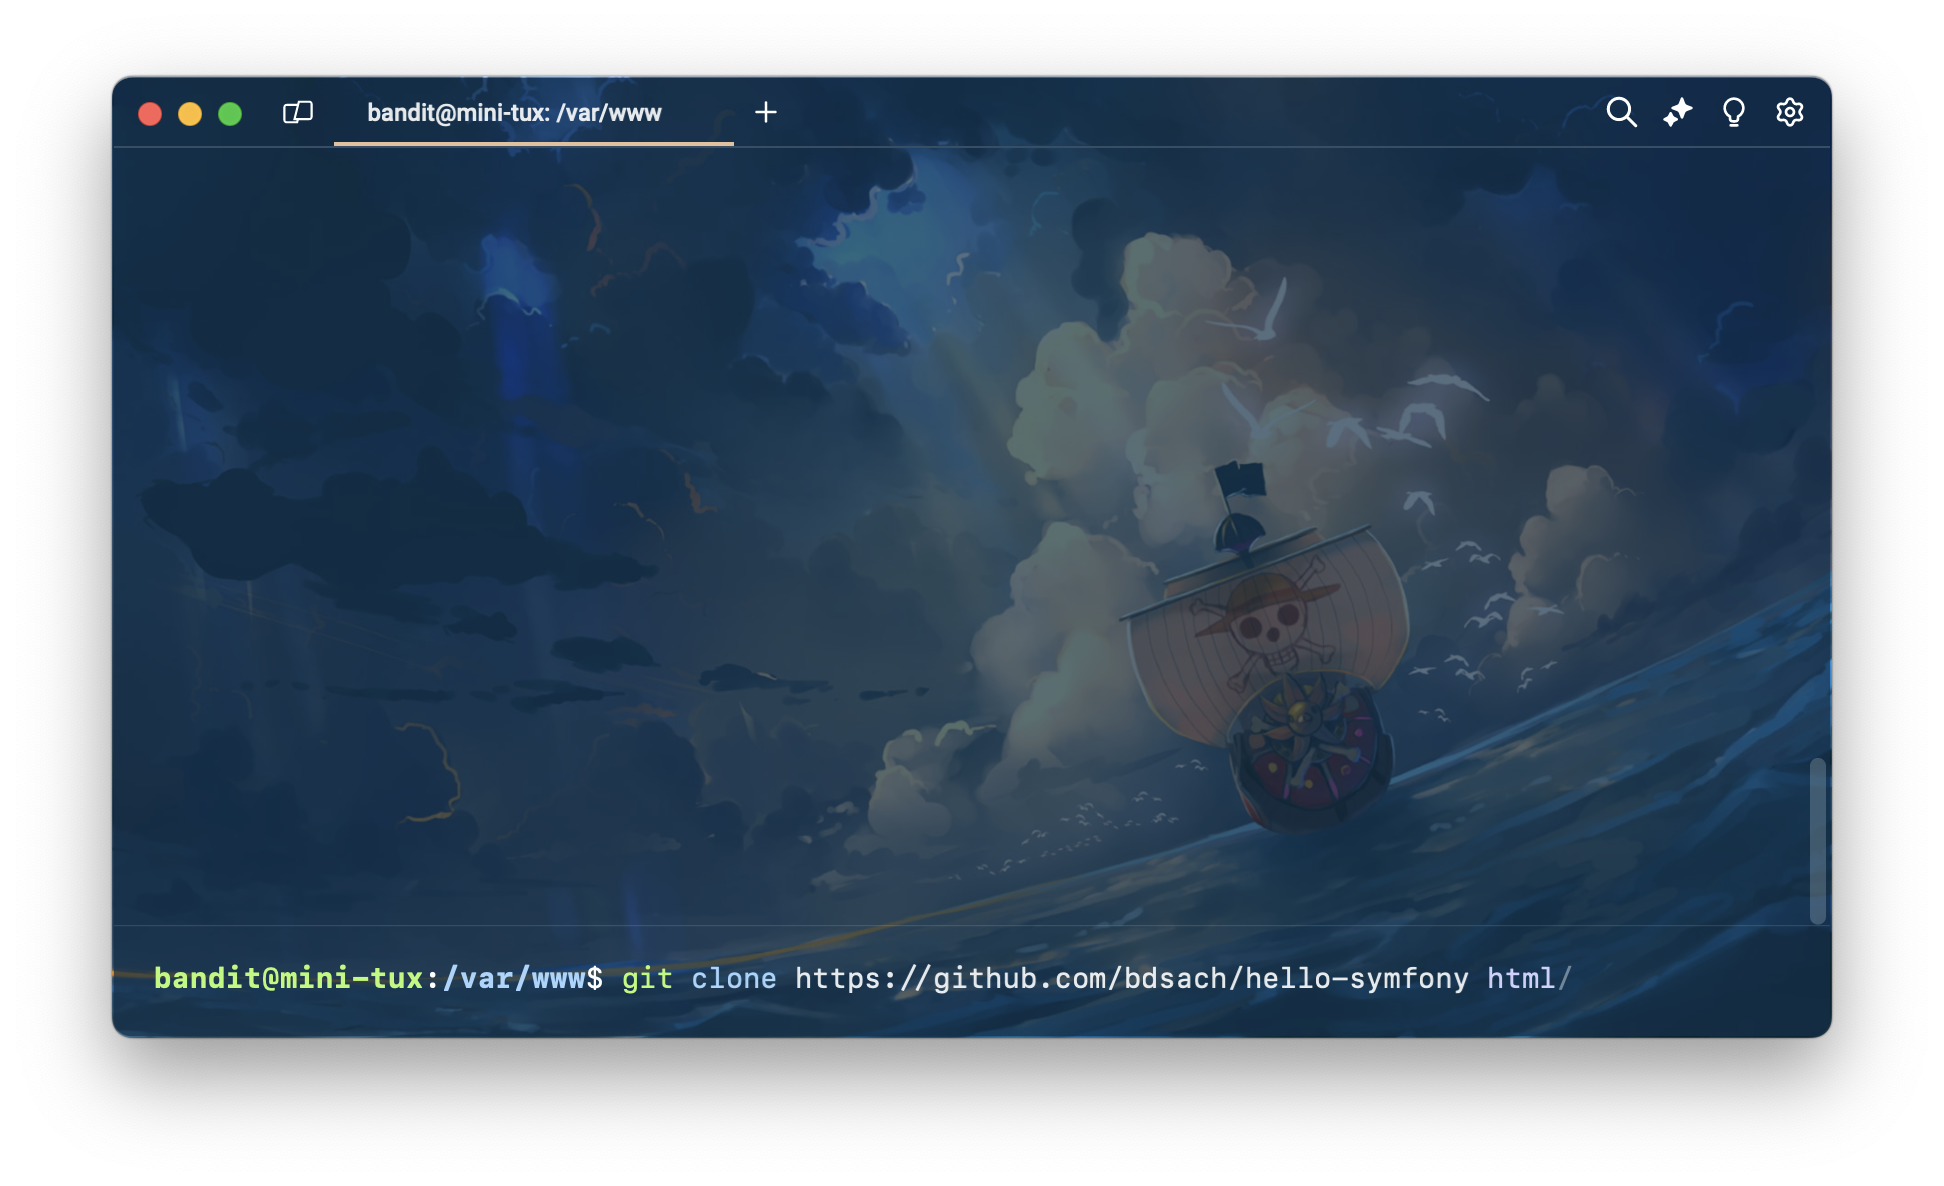
หากใครติดปัญหาเรื่อง permission แบบนี้ ให้เปลี่ยน owner ก่อน ด้วยคำสั่ง
chown
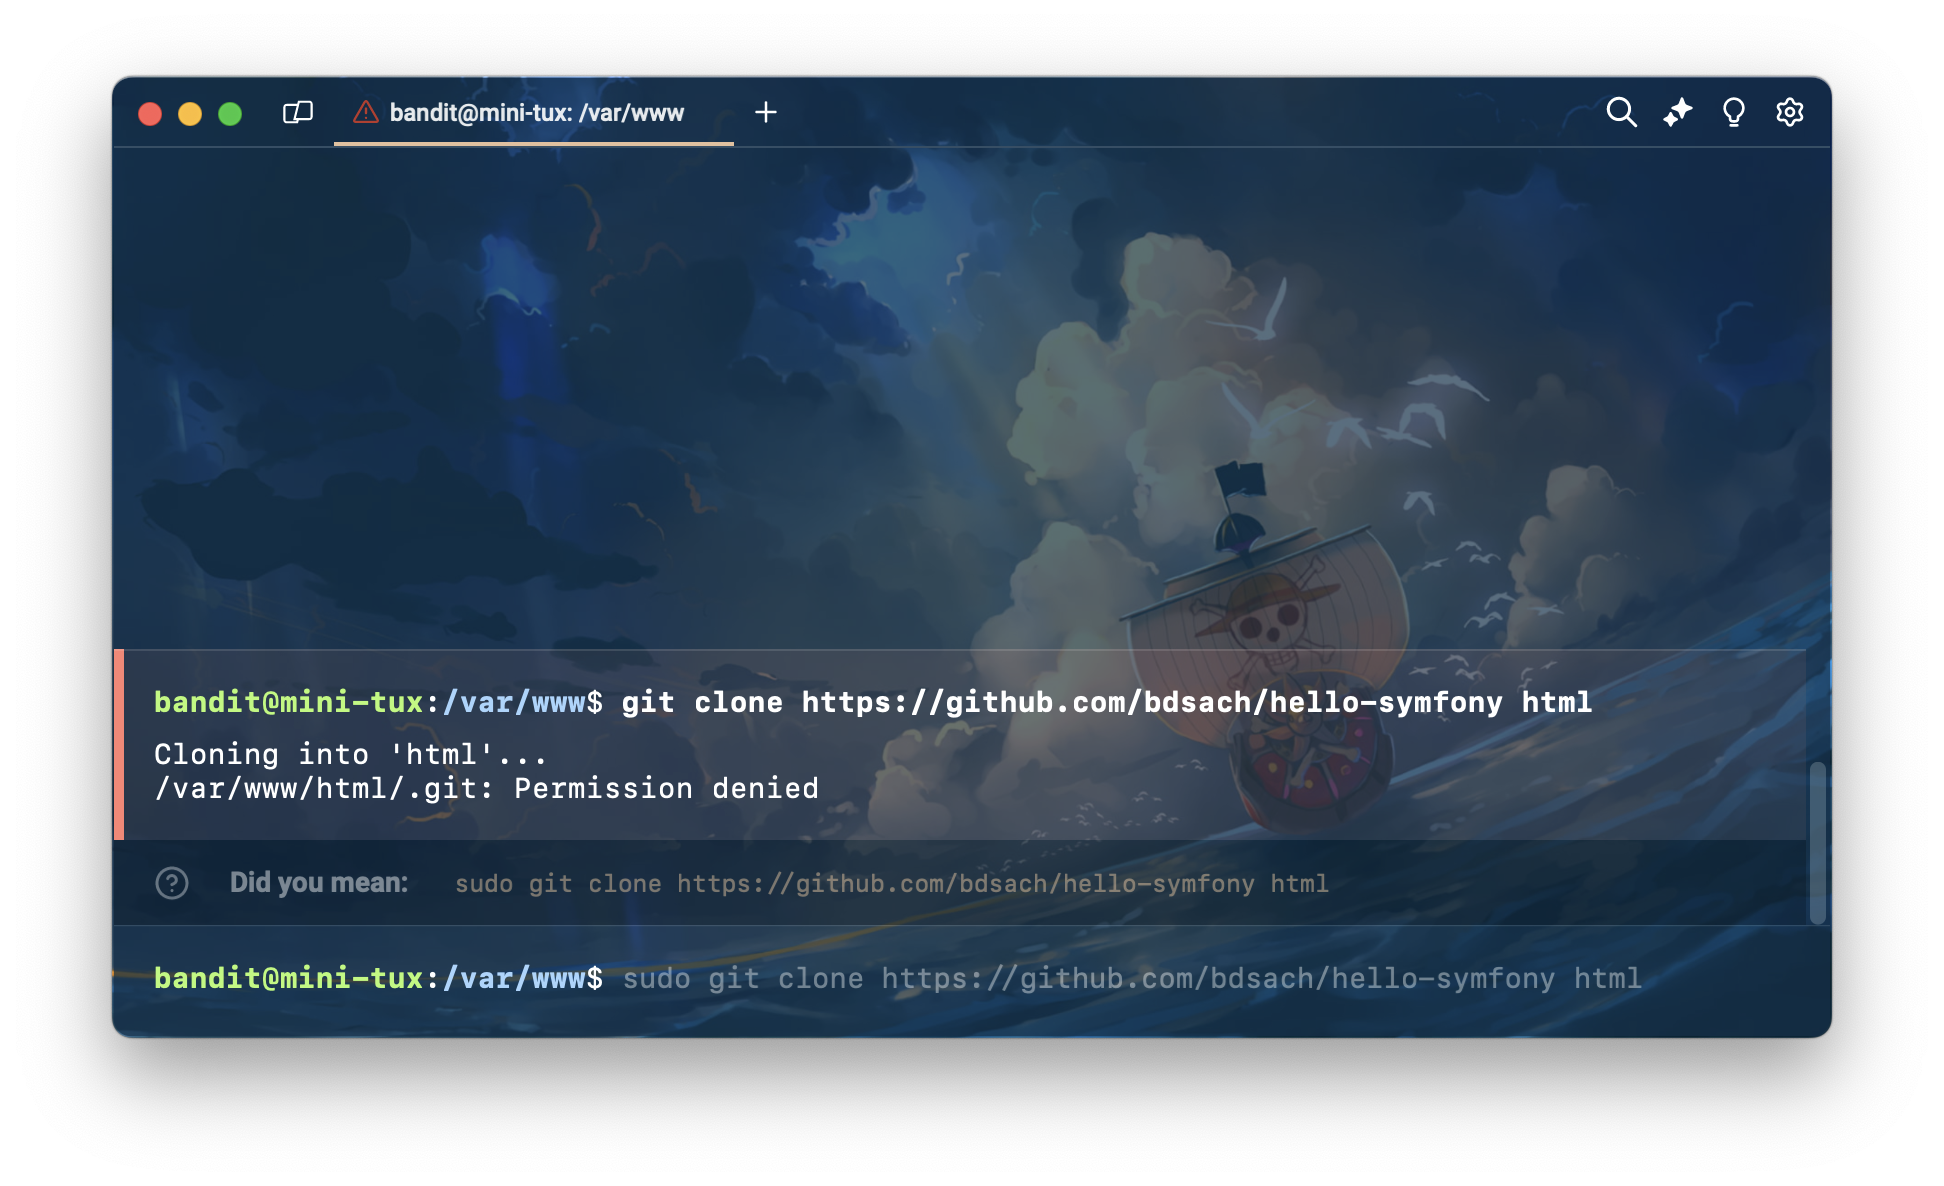
sudo chown -R bandit:bandit /var/wwwถ้าขึ้นแบบนี้ ก็ถือ เป็นการ Clone สําเร็จ
Install Dependencies
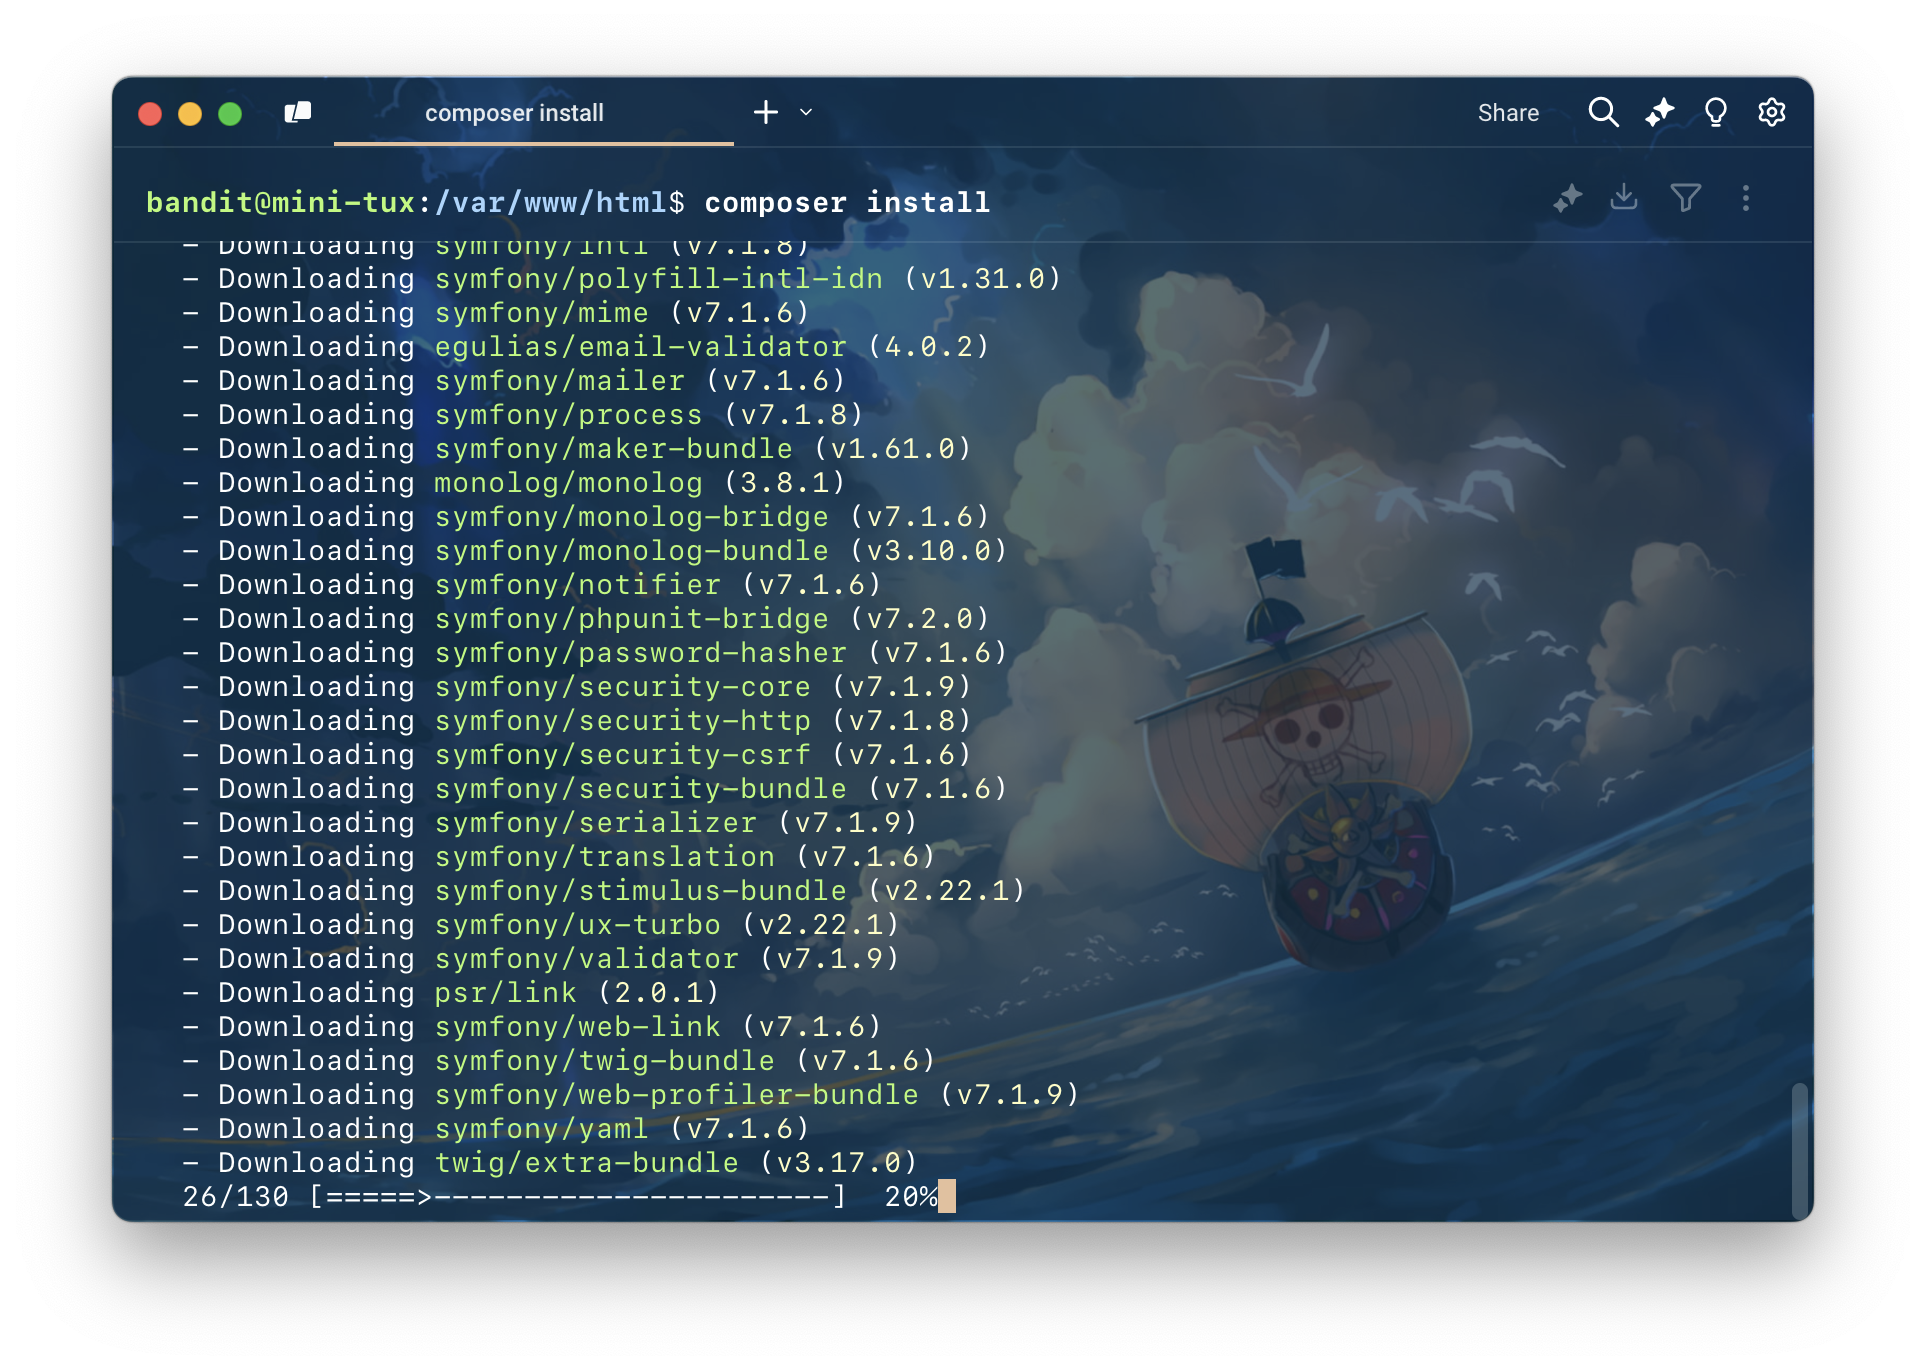
เมื่อ Clone project สำเร็จ ก็มาถึงการติดตั้ง dependencies โดยใช้คําสั่ง composer install
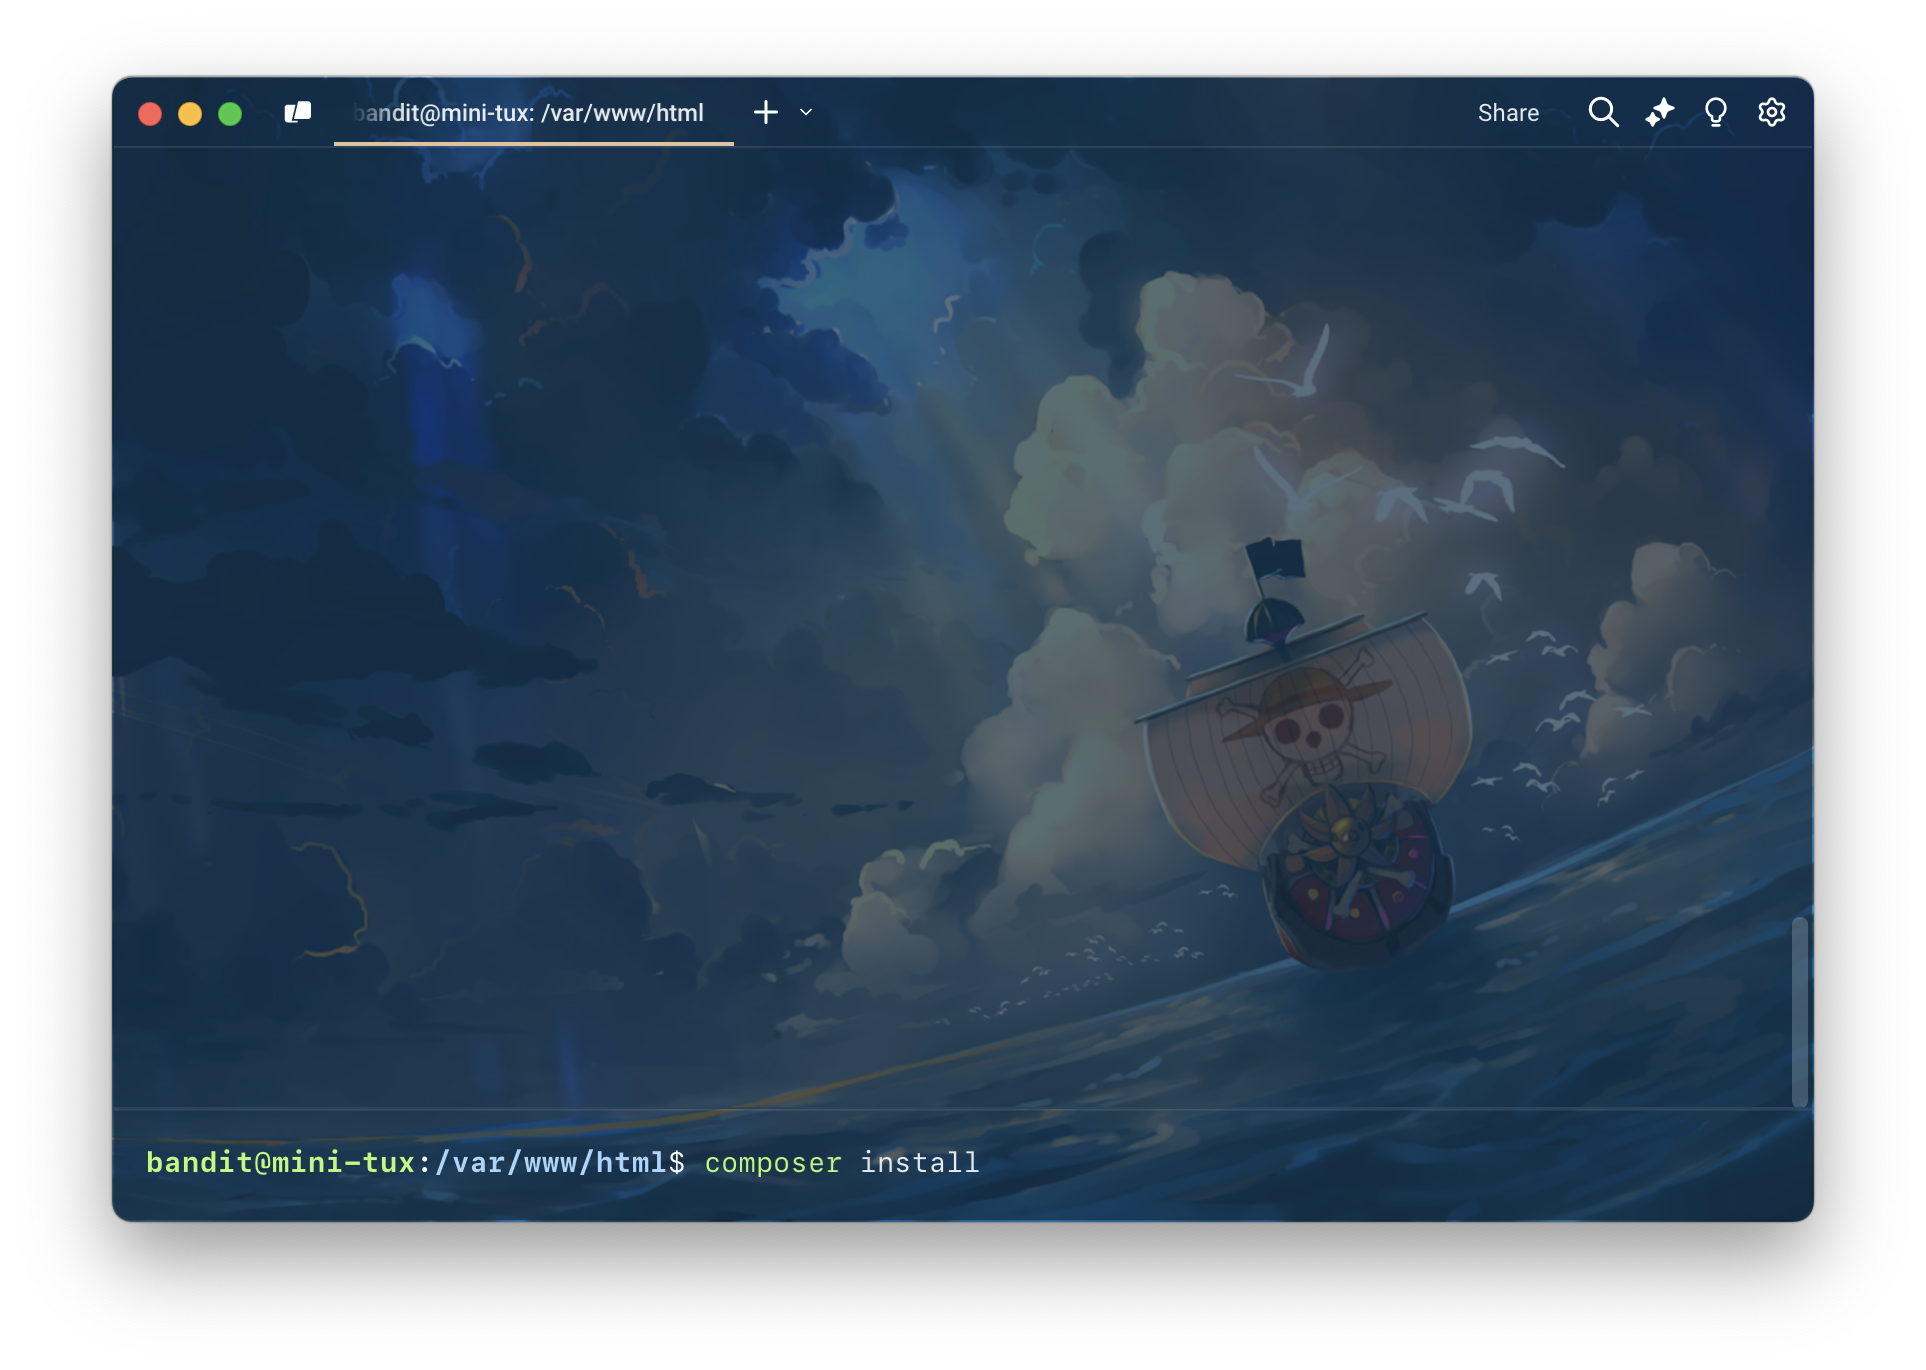
แล้วก็รอ
Sites config
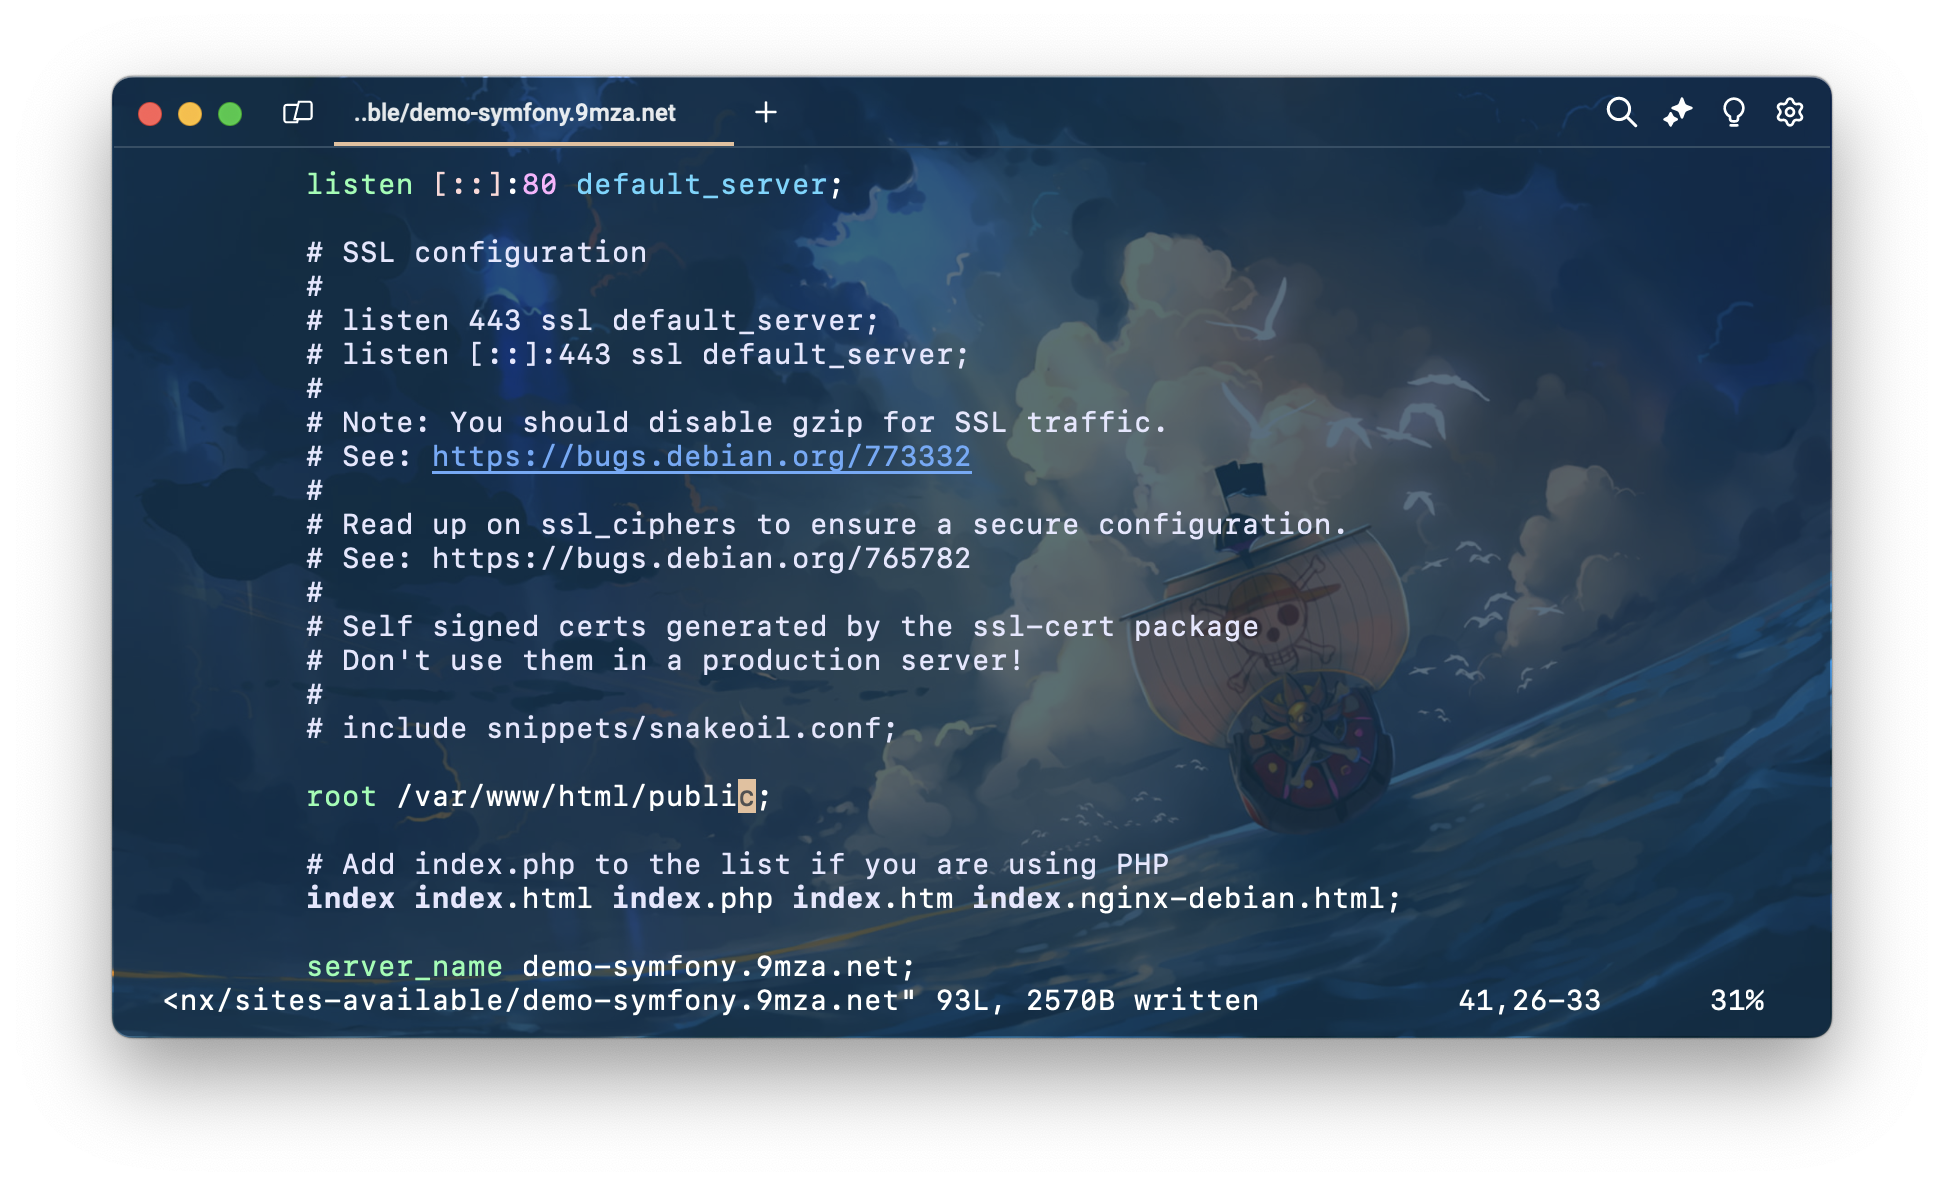
หลังจากที่ติดตั้ง dependencies เสร็จแล้ว ก็ก็จะมาแก้ไฟล์ sites-available ของเราเล็กน้อย
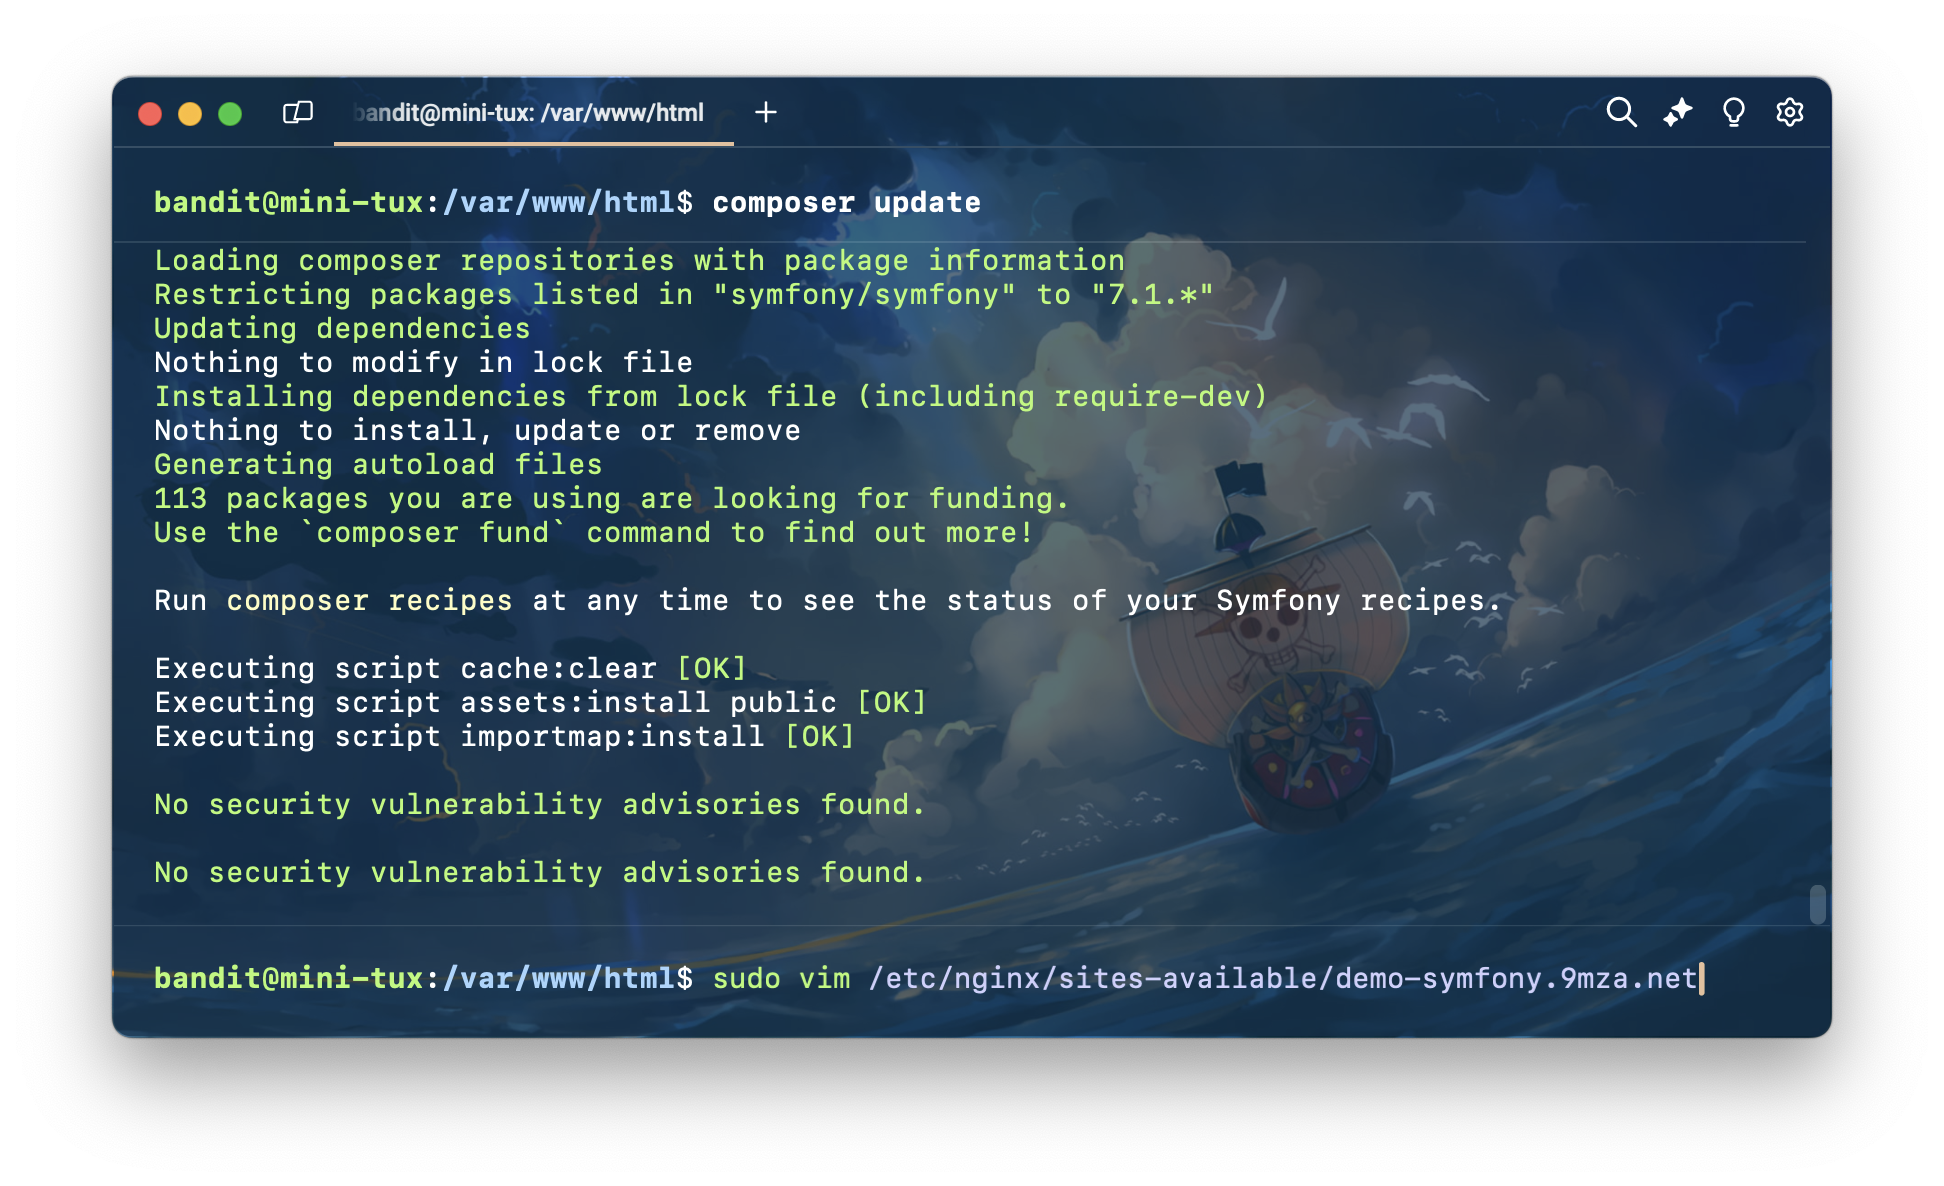
สาเหตุที่เราจะต้องแก้ เพราะว่า symfony จะต้องชี้ไปที่ directory public เราก็แค่เติม public ไว้ด้านหลัง ตรงบรรทัด root เสร็จแล้วก็กดบันทึก
จากนั้นทำการ reload nginx ด้วยคำสั่ง
sudo systemctl reload nginx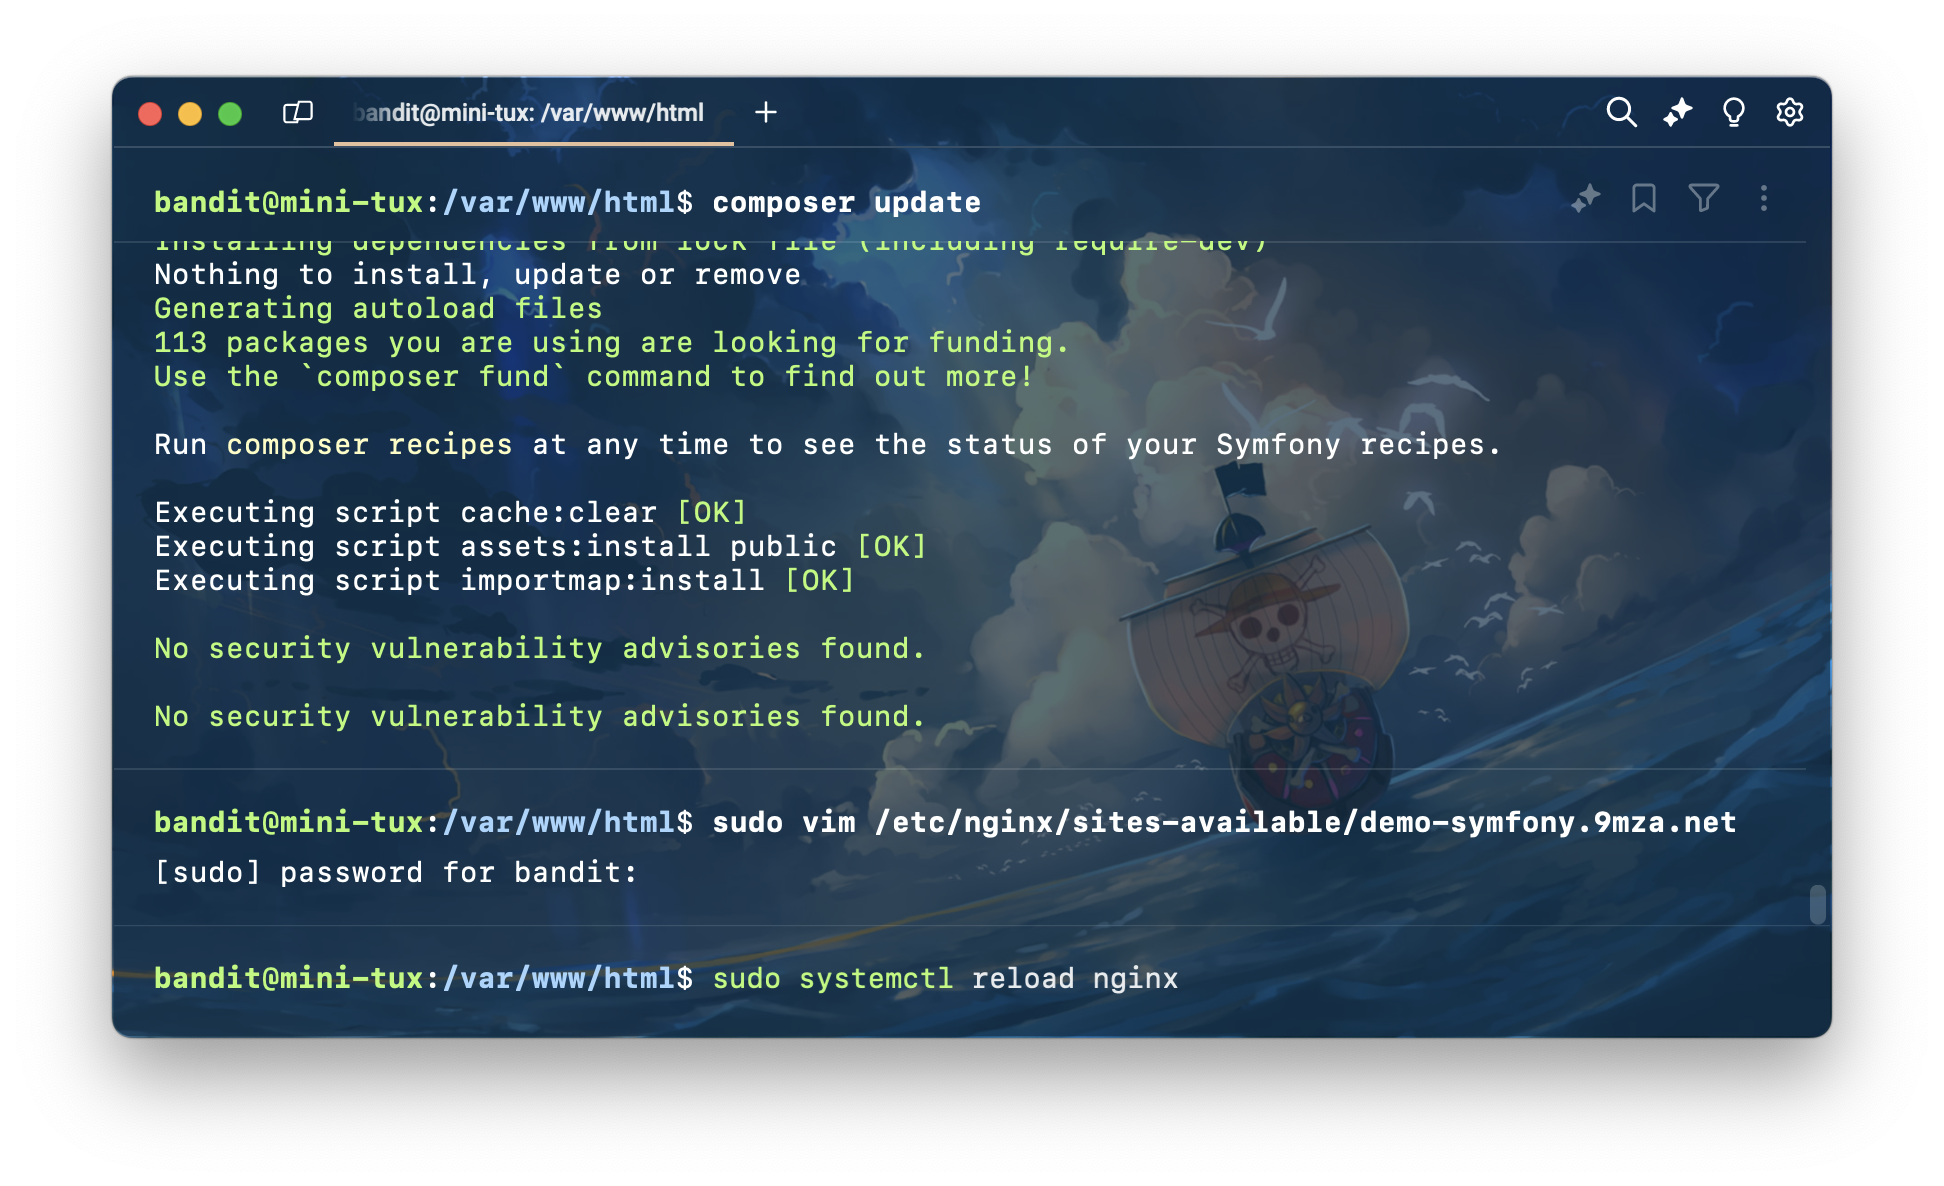
Setup Database
สำหรับ Database ผมจะใช้ MariaDB
Install MariaDB
มาเริ่มด้วยการติดตั้ง MariaDB ก่อนเลย ตามคำสั่งด้านล่างนี้ได้เลย
ว่าแล้วก็ update apt สักรอบ
sudo apt update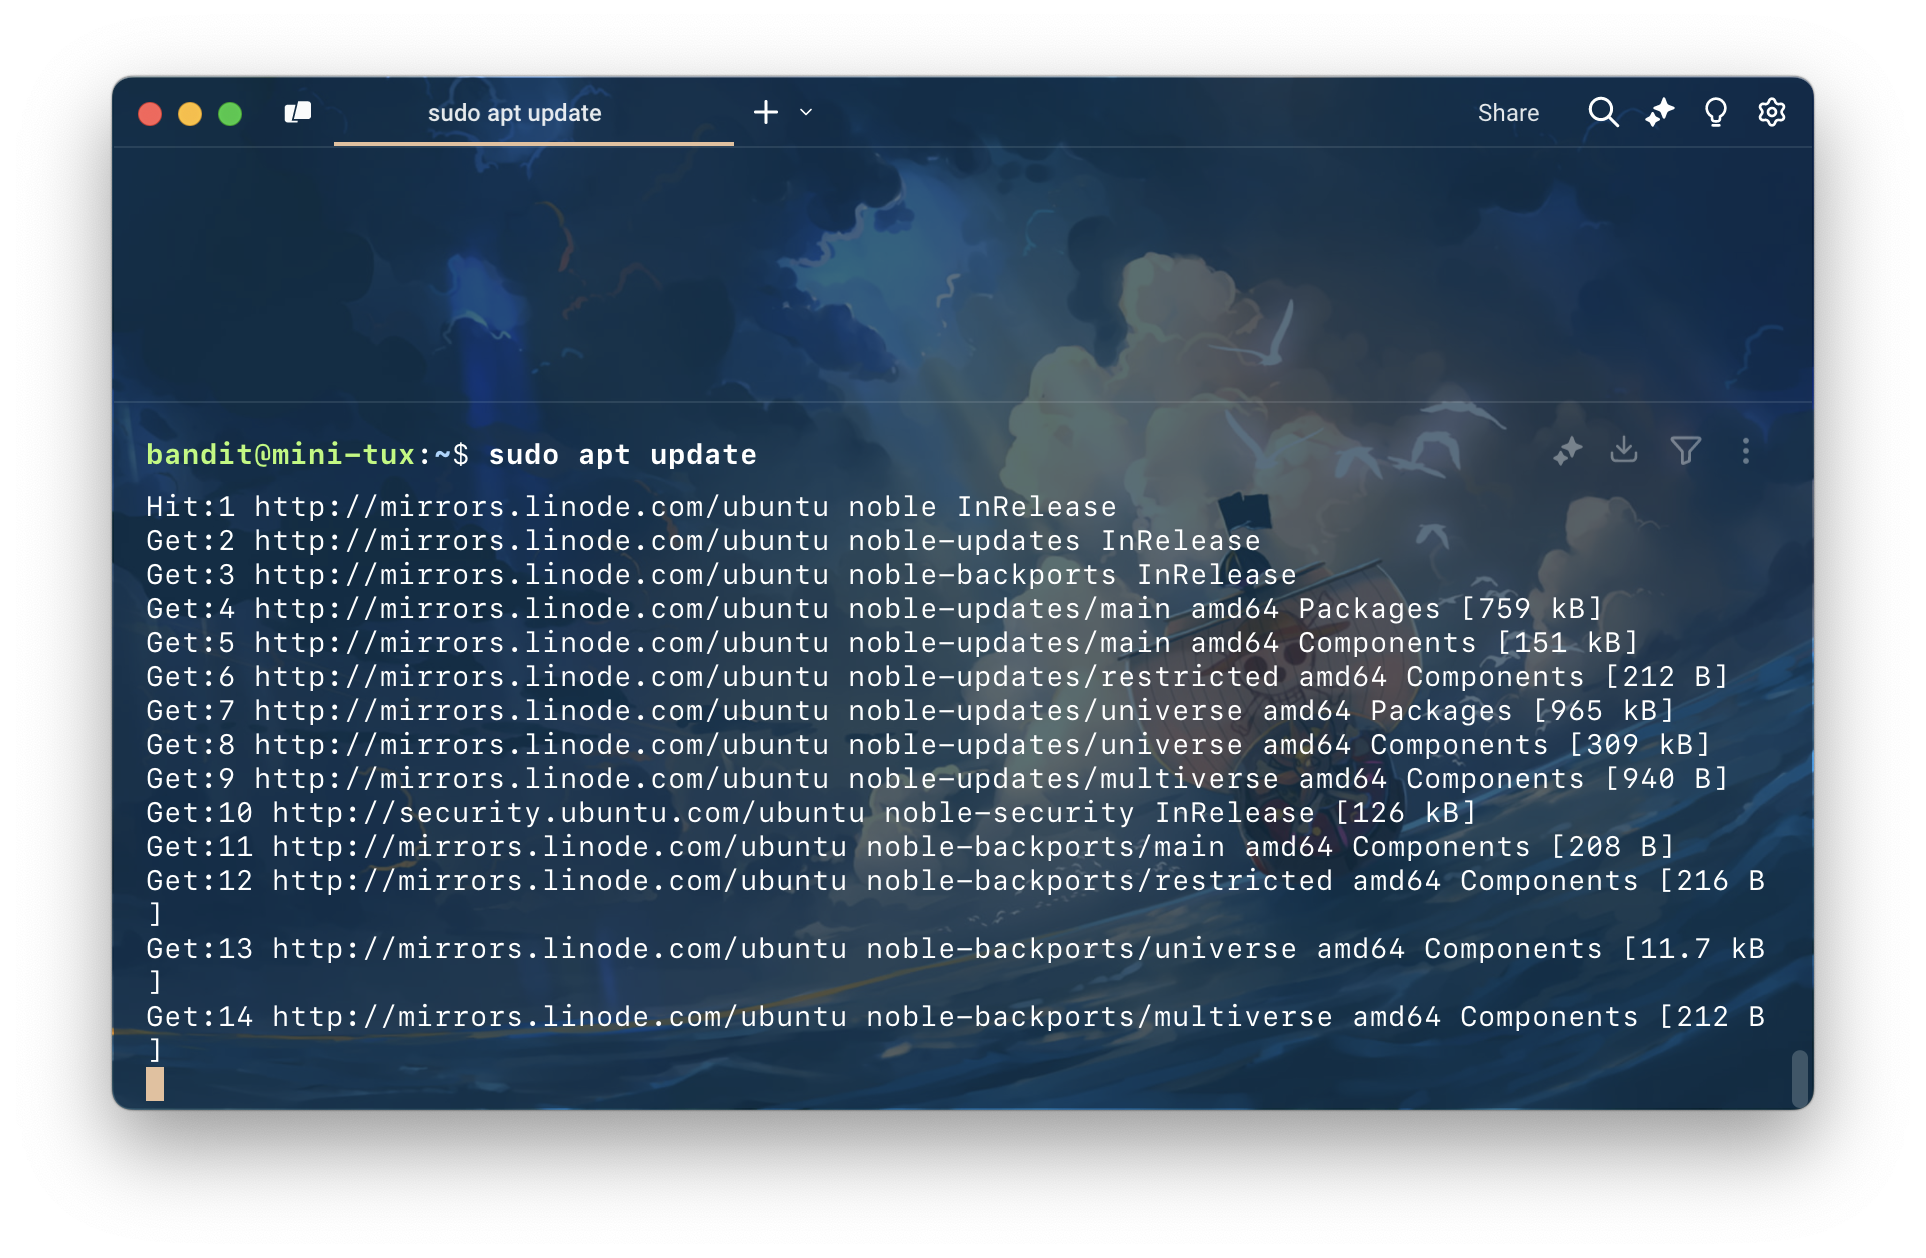
จากนั้นก็ได้เวลาทำการติดตั้ง MariaDB
sudo apt install mariadb-server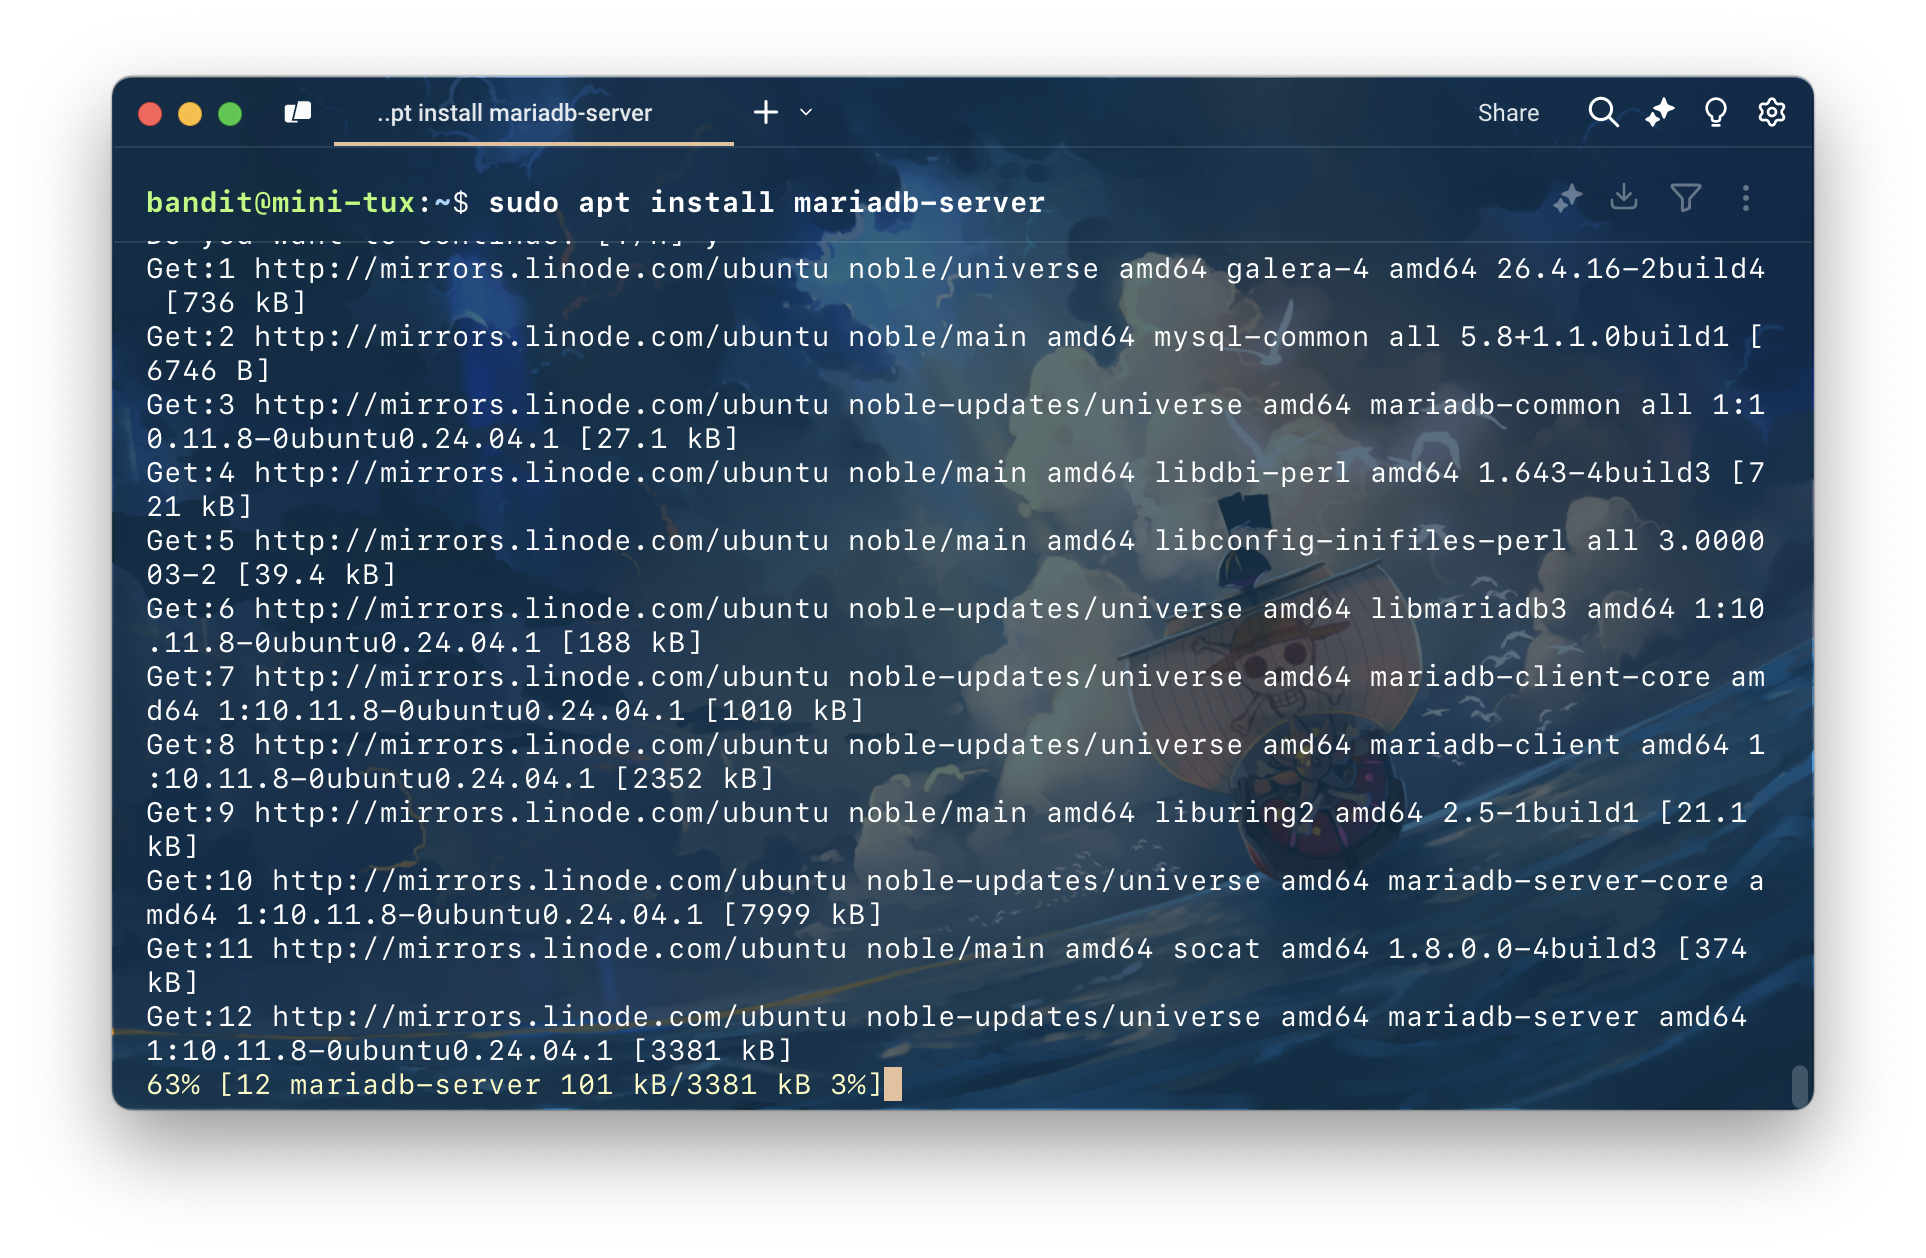
จากนั้นก็ start service MariaDB
sudo systemctl start mariadb.serviceConfig MariaDB
ทีนี้ก็ได้เวลาตั้งค่า MariaDB โดยผมจะตั้งค่าแบบง่ายๆ เลย คือ set password ให้ root แล้วใช้ root ในการ connect (ไม่ใช่วิธีที่ดี จริงๆ ควรจะสร้าง user ขึ้นมาใหม่ เพราะฉะนั้น ถ้าใช้งานจริง อย่าทำตาม 🤪)
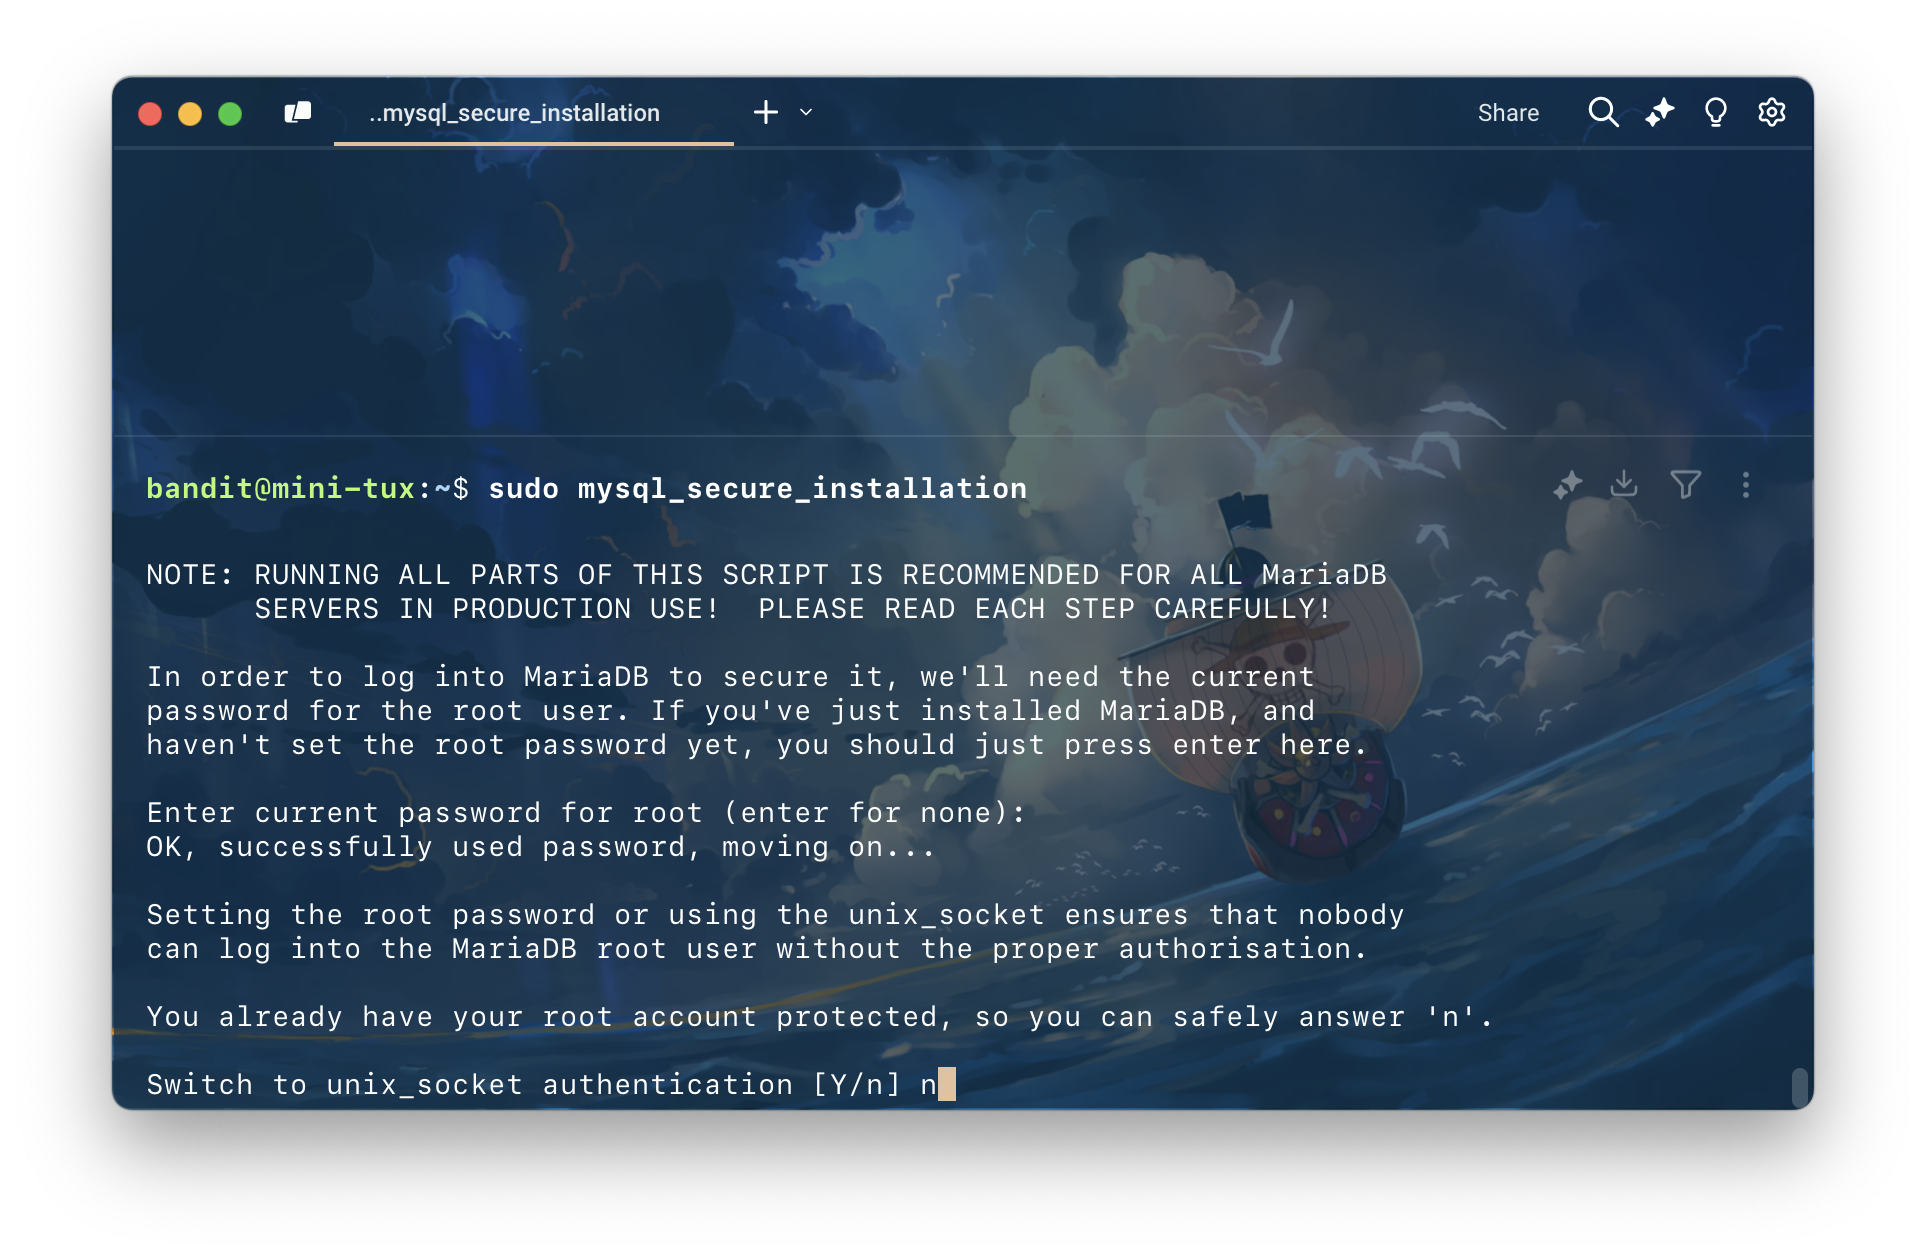
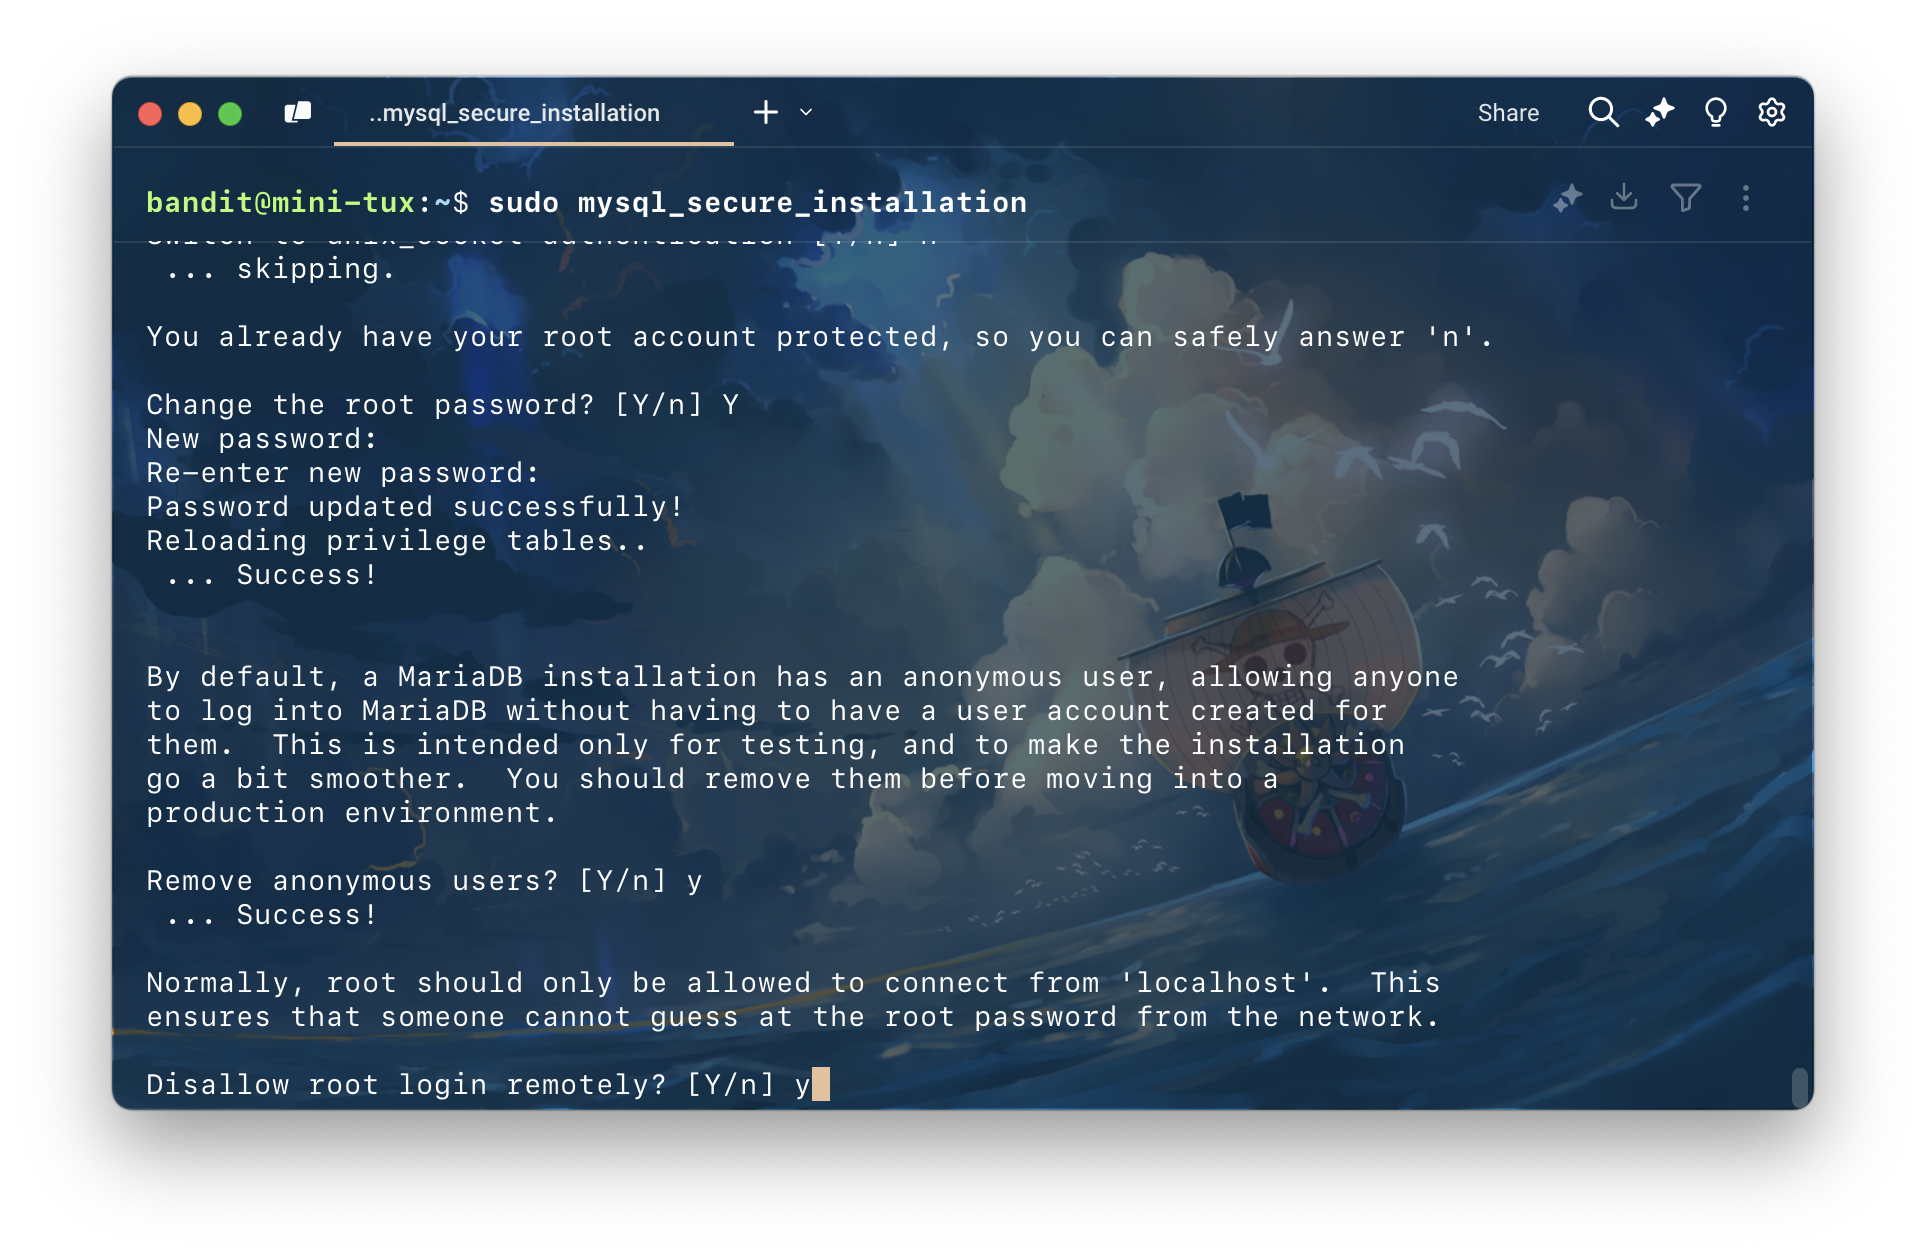
sudo mysql_secure_installationเมื่อพิมพ์คำสั่งเสร็จ ก็จะแสดงผลดังนี้ โดยผมจะ enter ไปเลย
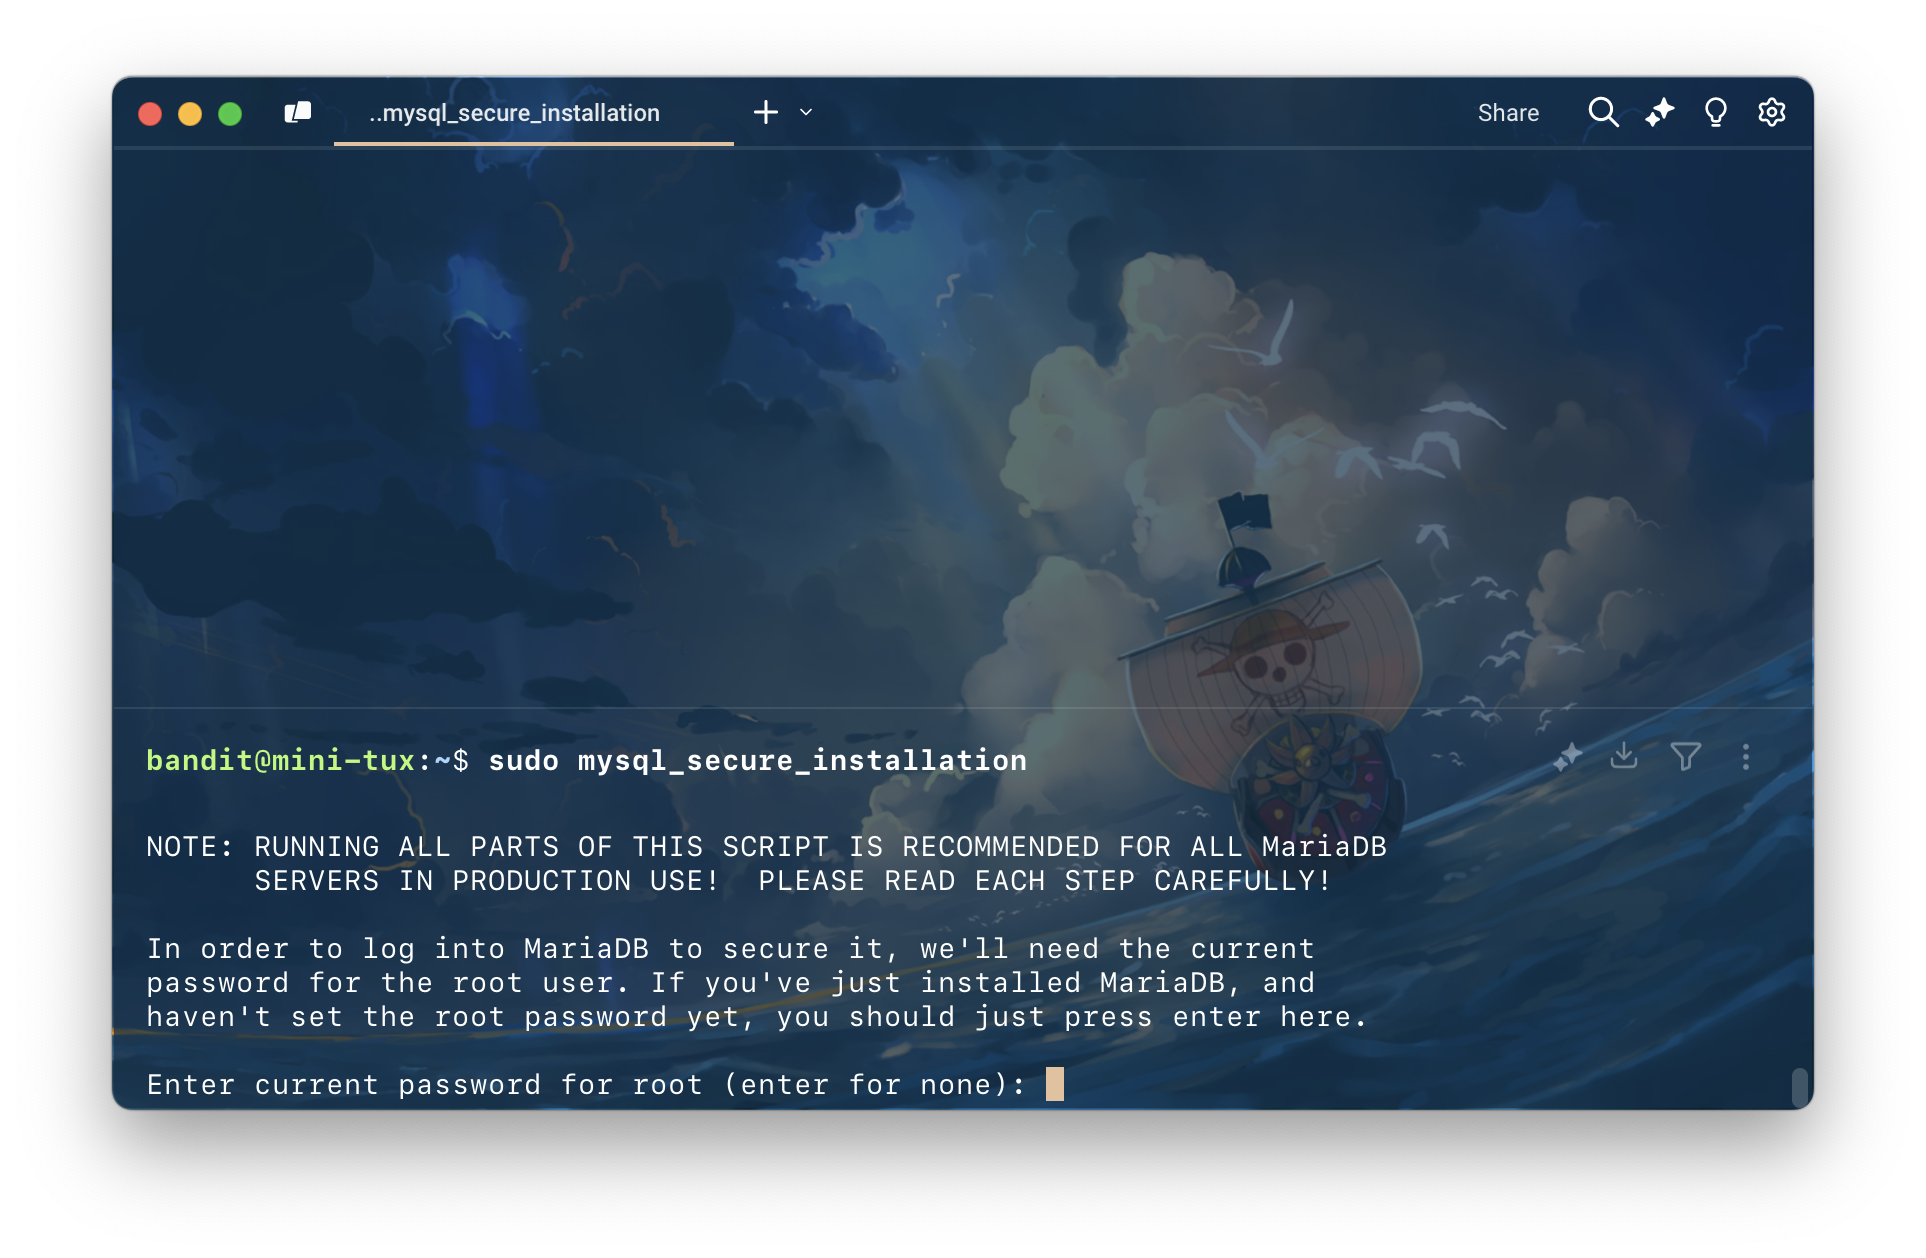
เพราะเริ่มต้น root จะยังไม่มี password
ตอบ n
ตรงนี้ตอบ n
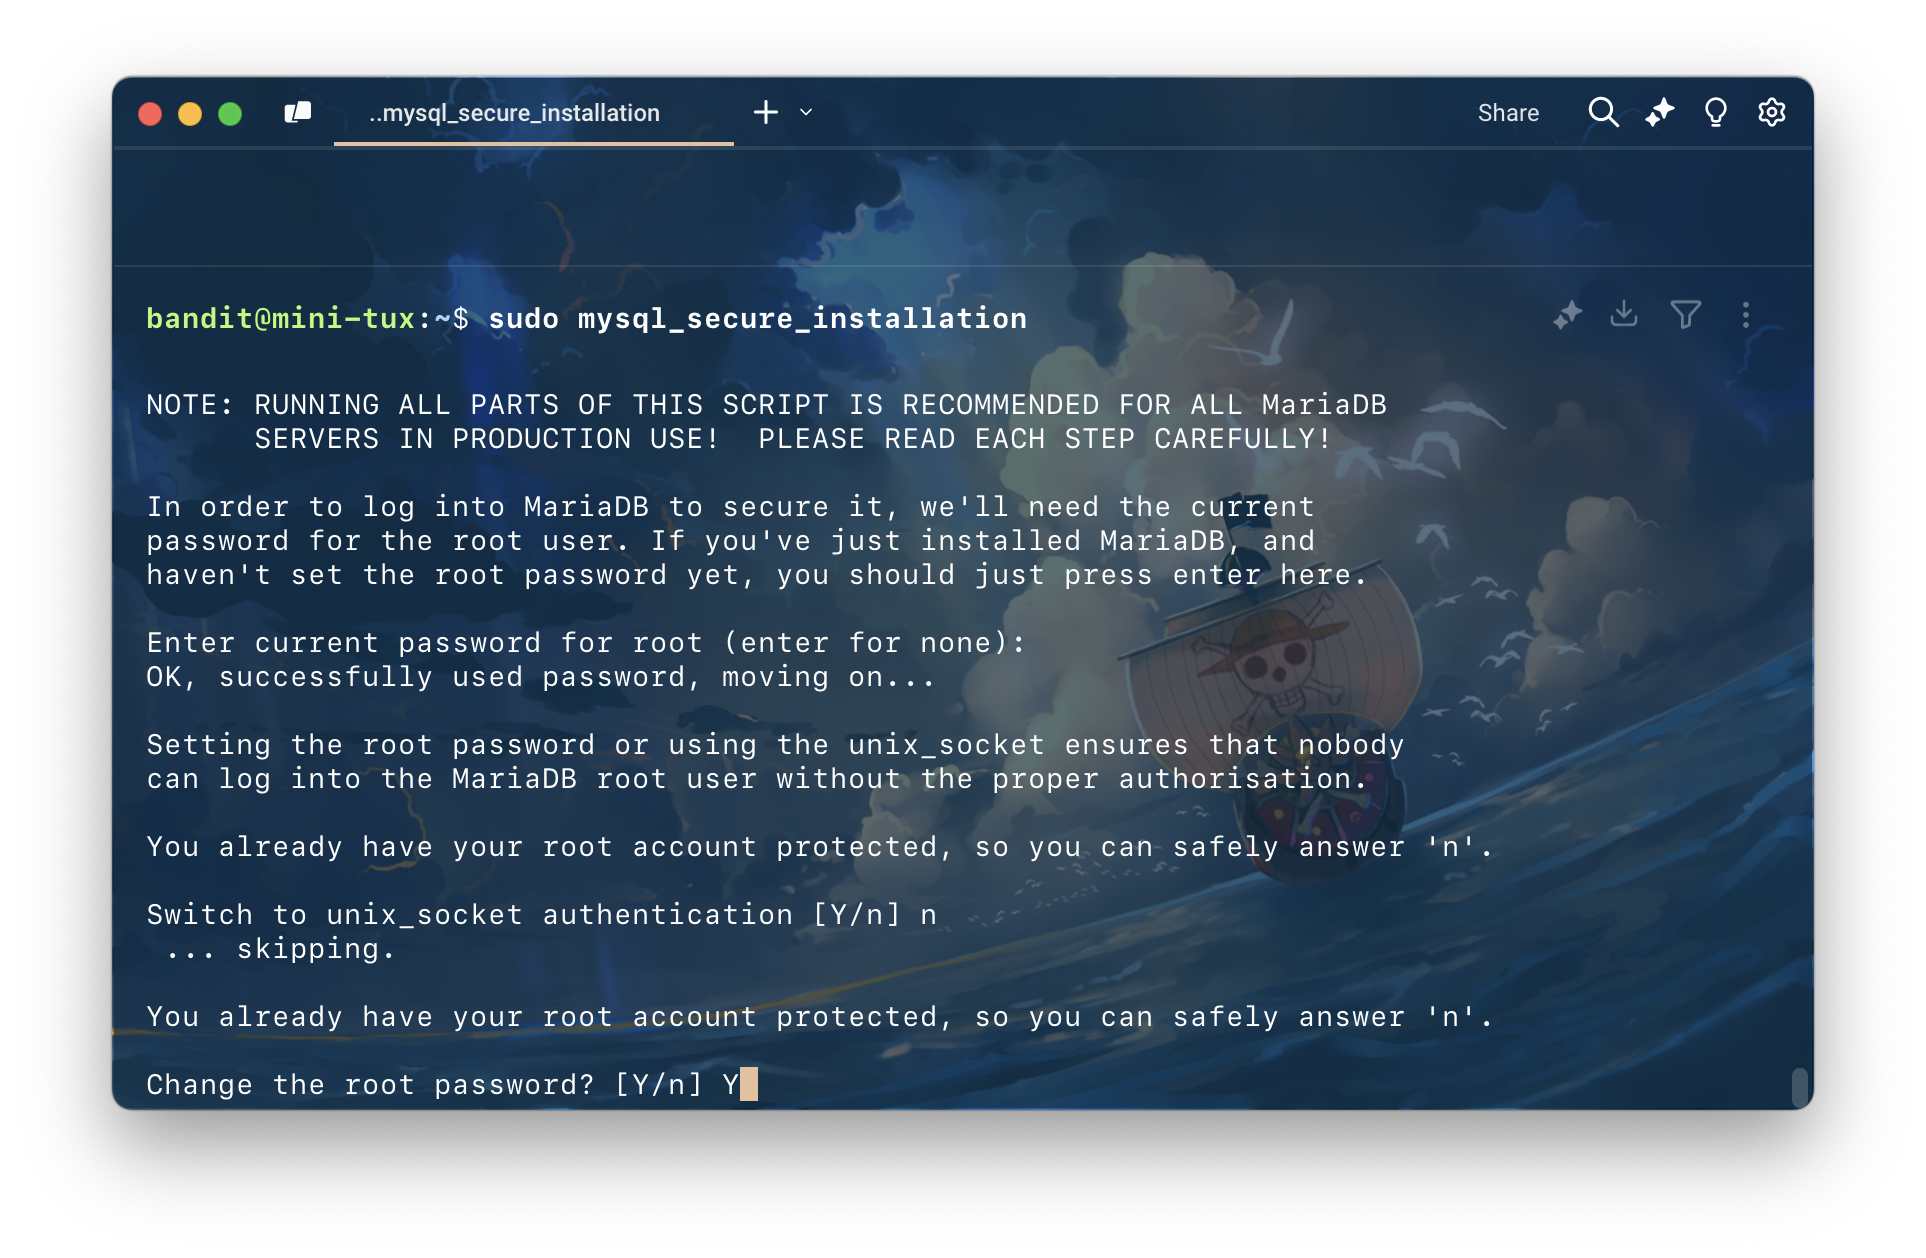
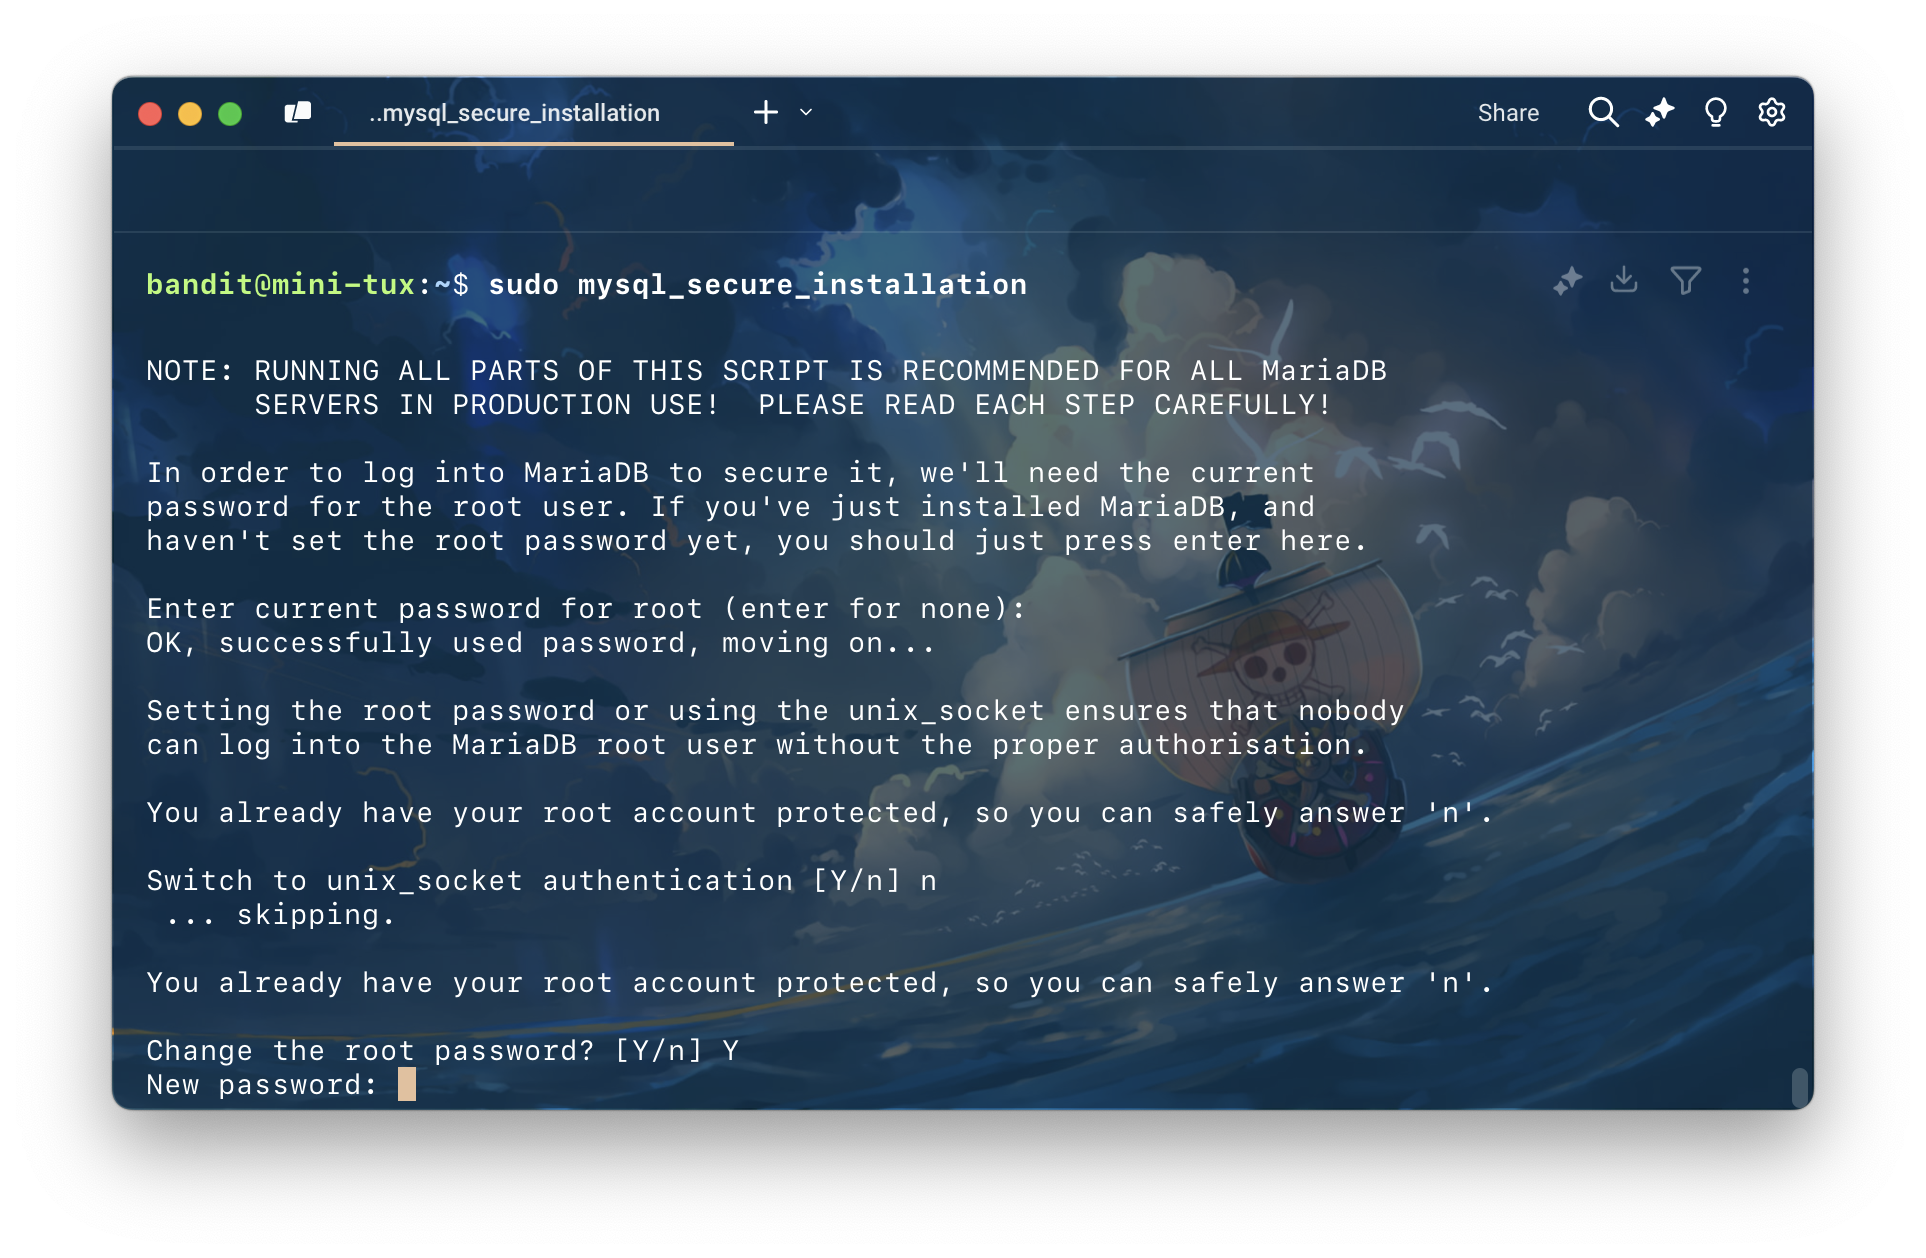
ตรงนี้ตอบ Y จากนั้นกรอก password สำหรับ root
ในตัวอย่างนี้ผมจะตั้ง password คือ example ให้จำ password ไว้ด้วย เพราะเราต้องใช้ user และ password ในการกำหนดใน .env.local เพื่อเชื่อมต่อกับ Database
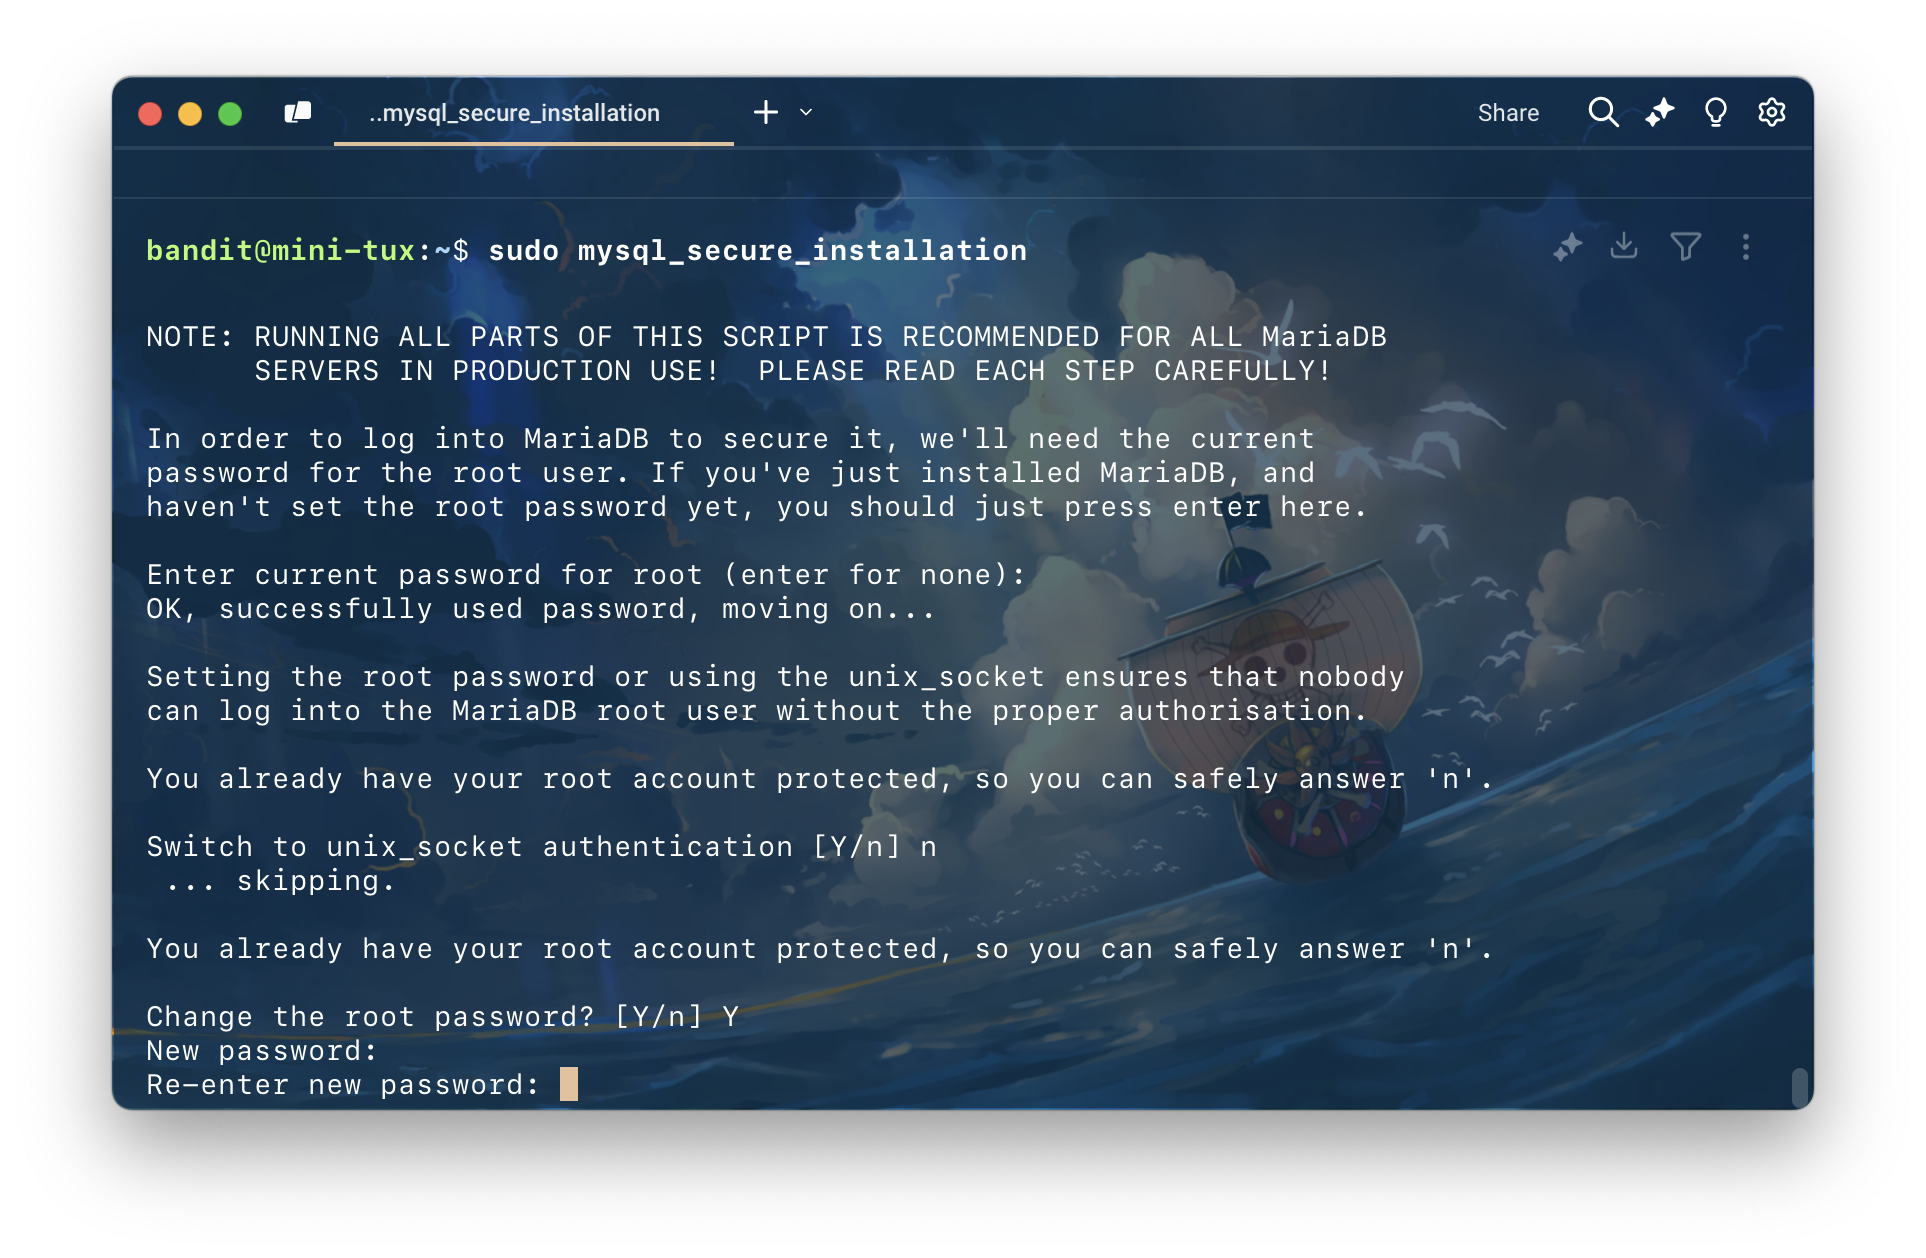
กรอก password อีกครั้งเพื่อยืนยัน
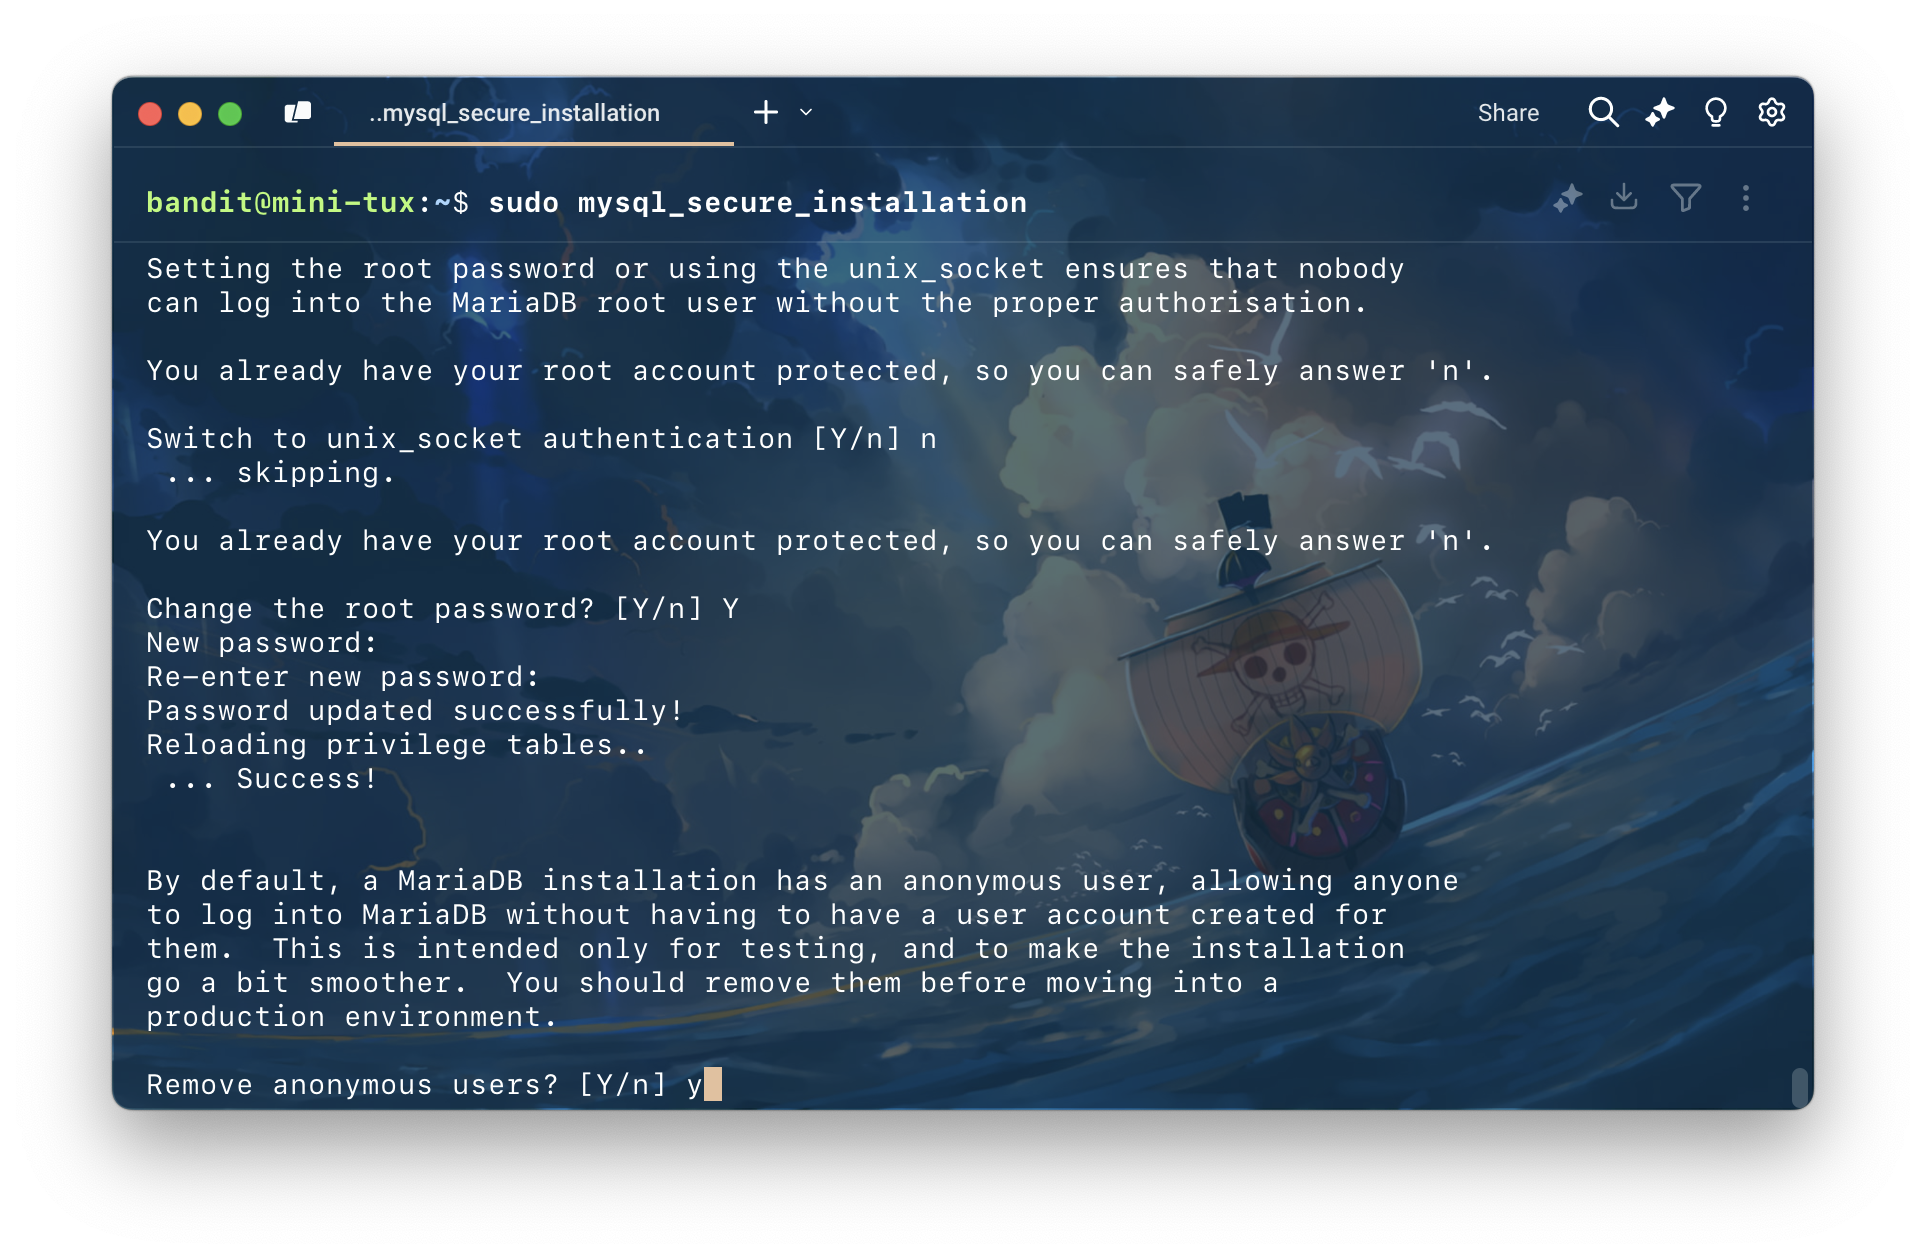
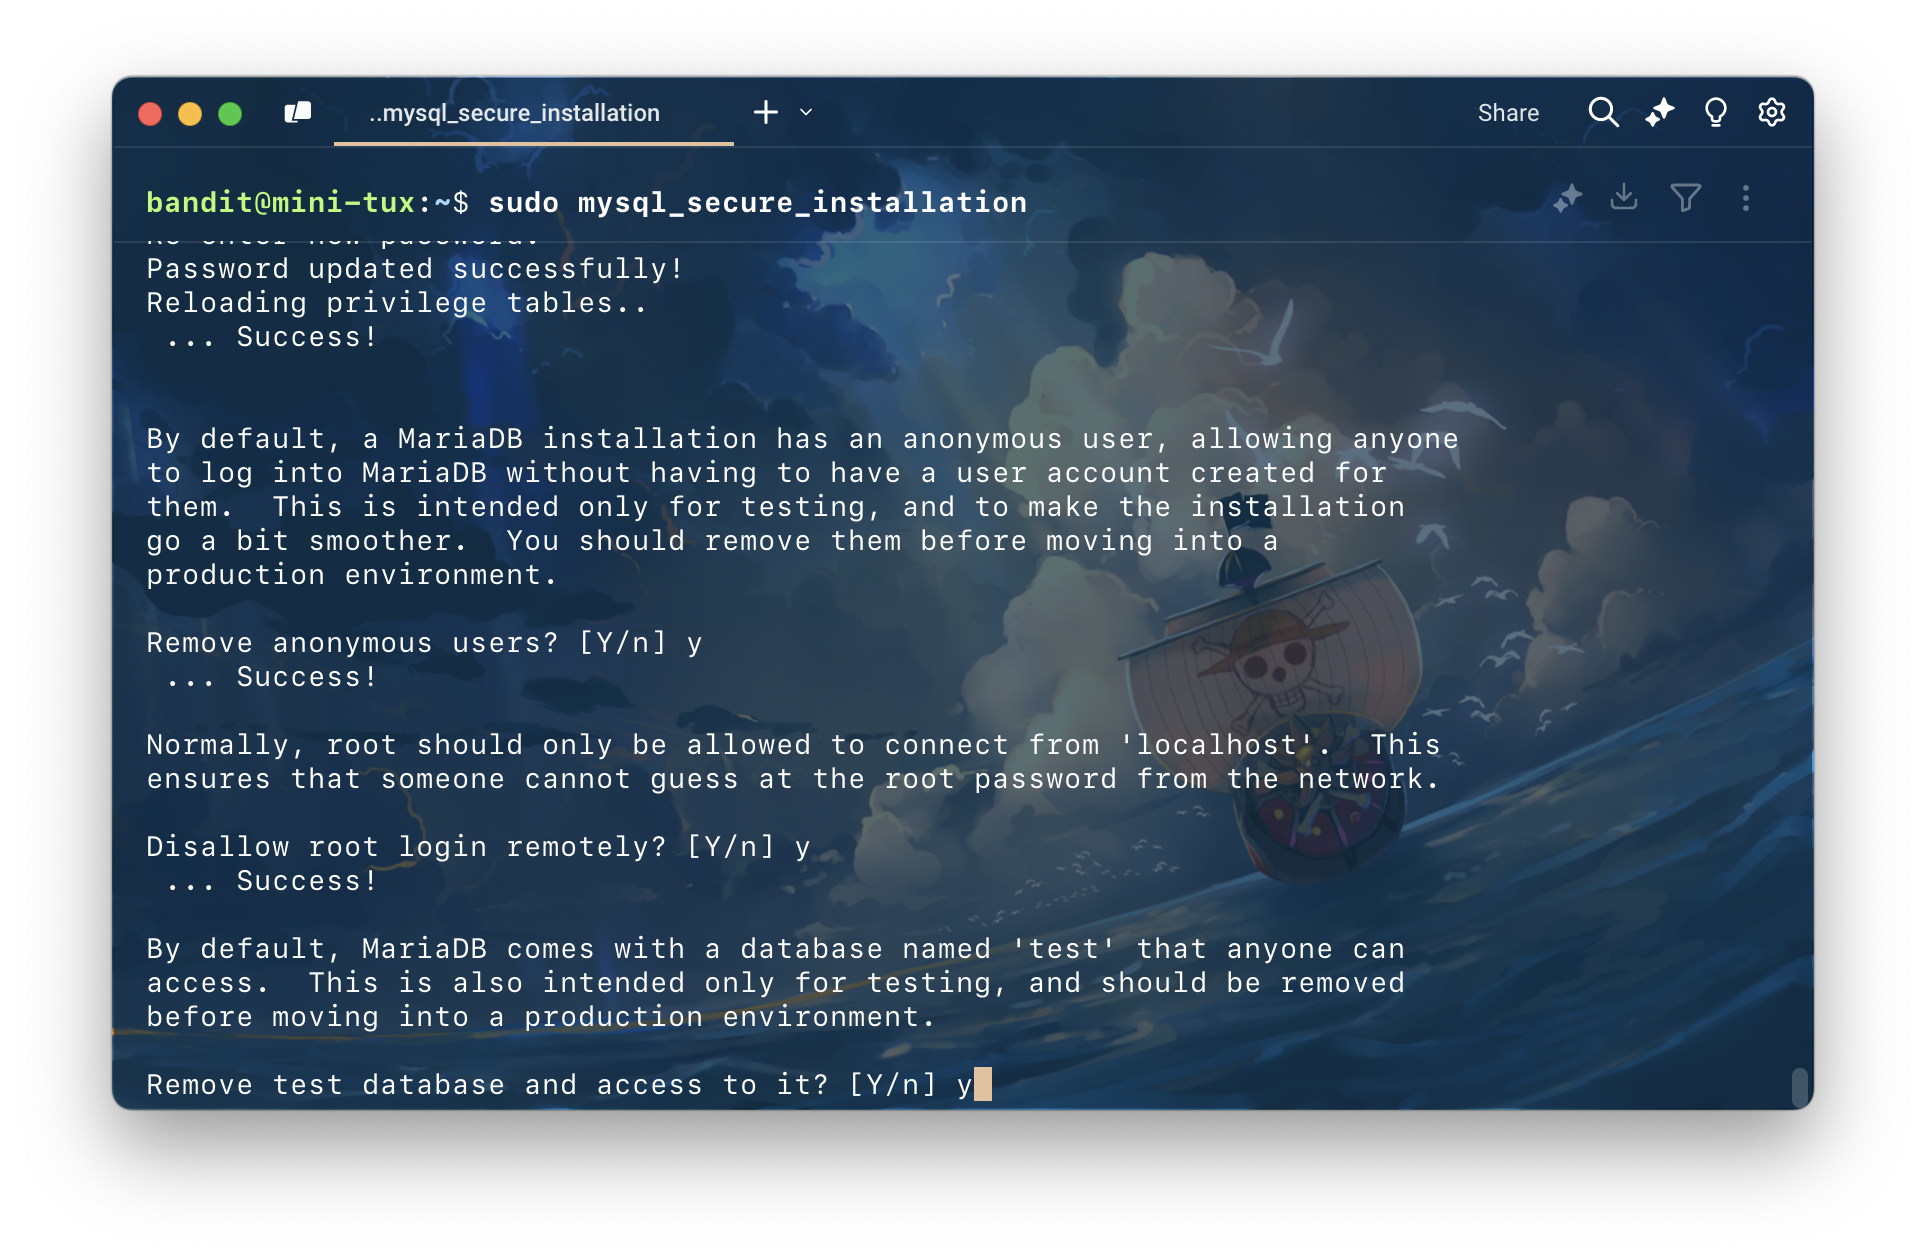
ตอบ y เพื่อลบการใช้งาน anonymous users
ตอบ y เพื่อ disallow root login remotely
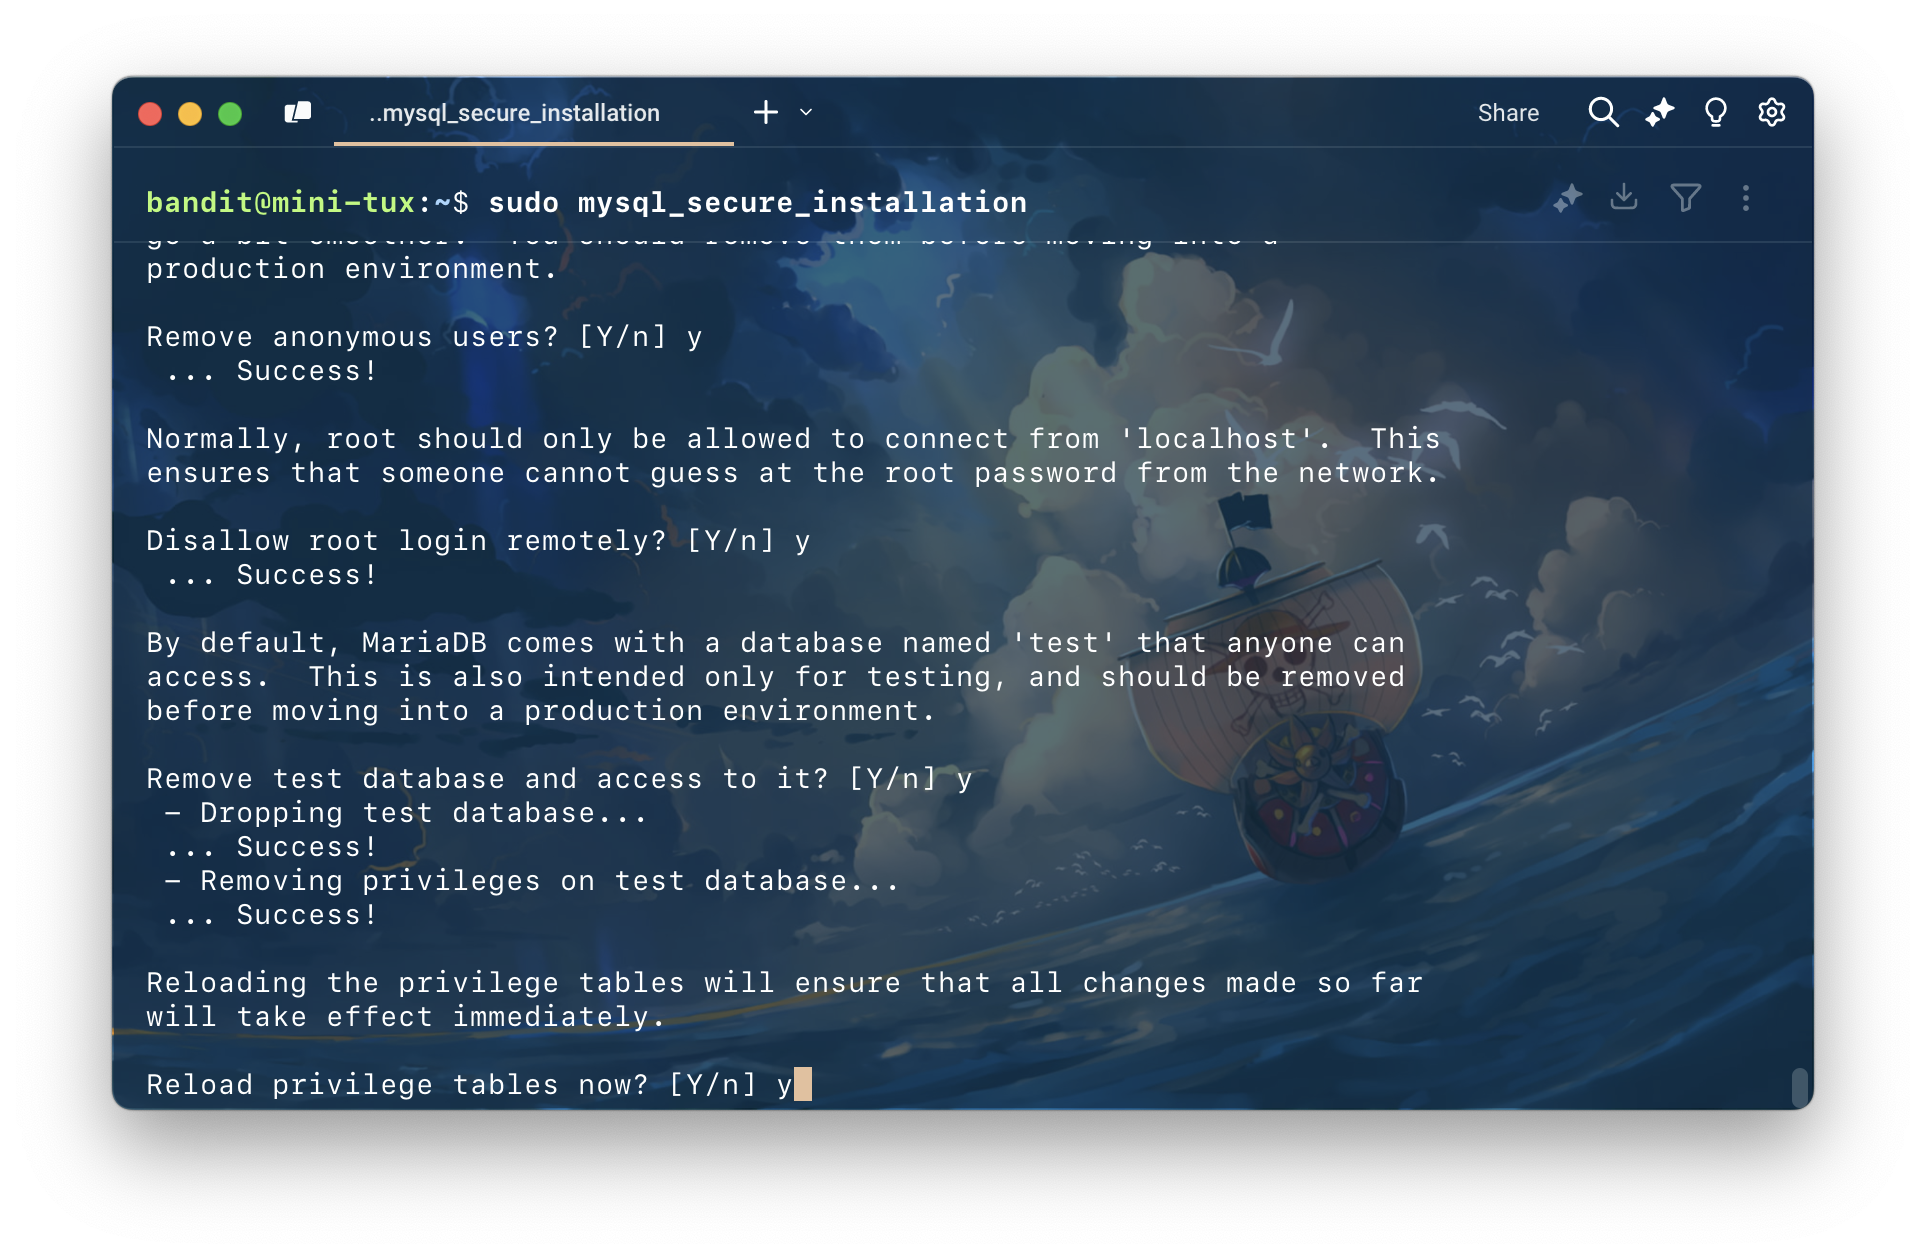
ตอบ y เพื่อลบ database test
ตอบ y เพื่อ reload สิทธ์การใช้งาน
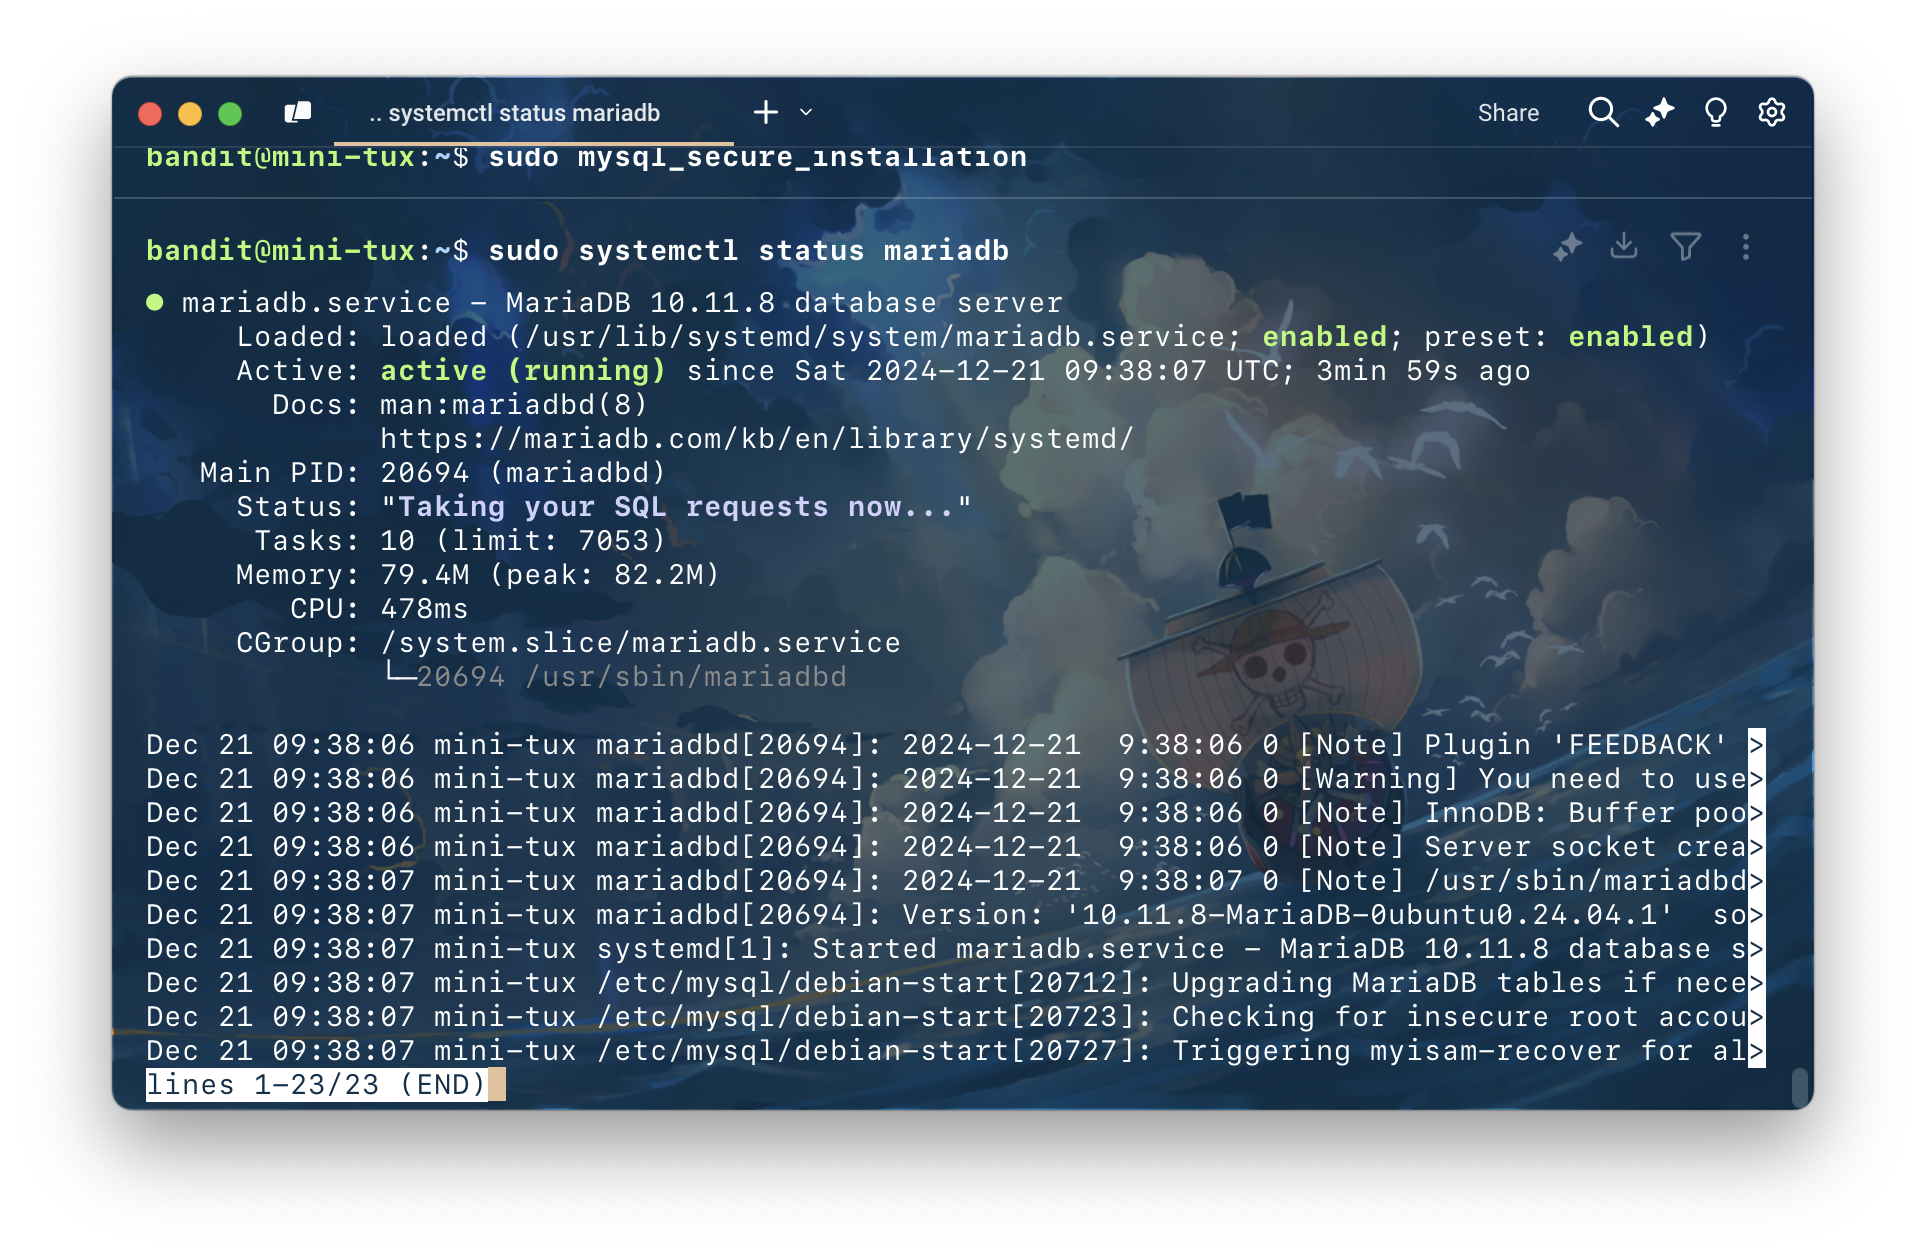
เสร็จแล้วลองเช็ค status ดูหน่อยเพื่อความชัวร์ ด้วยคำสั่ง
sudo systemctl status mariadb.service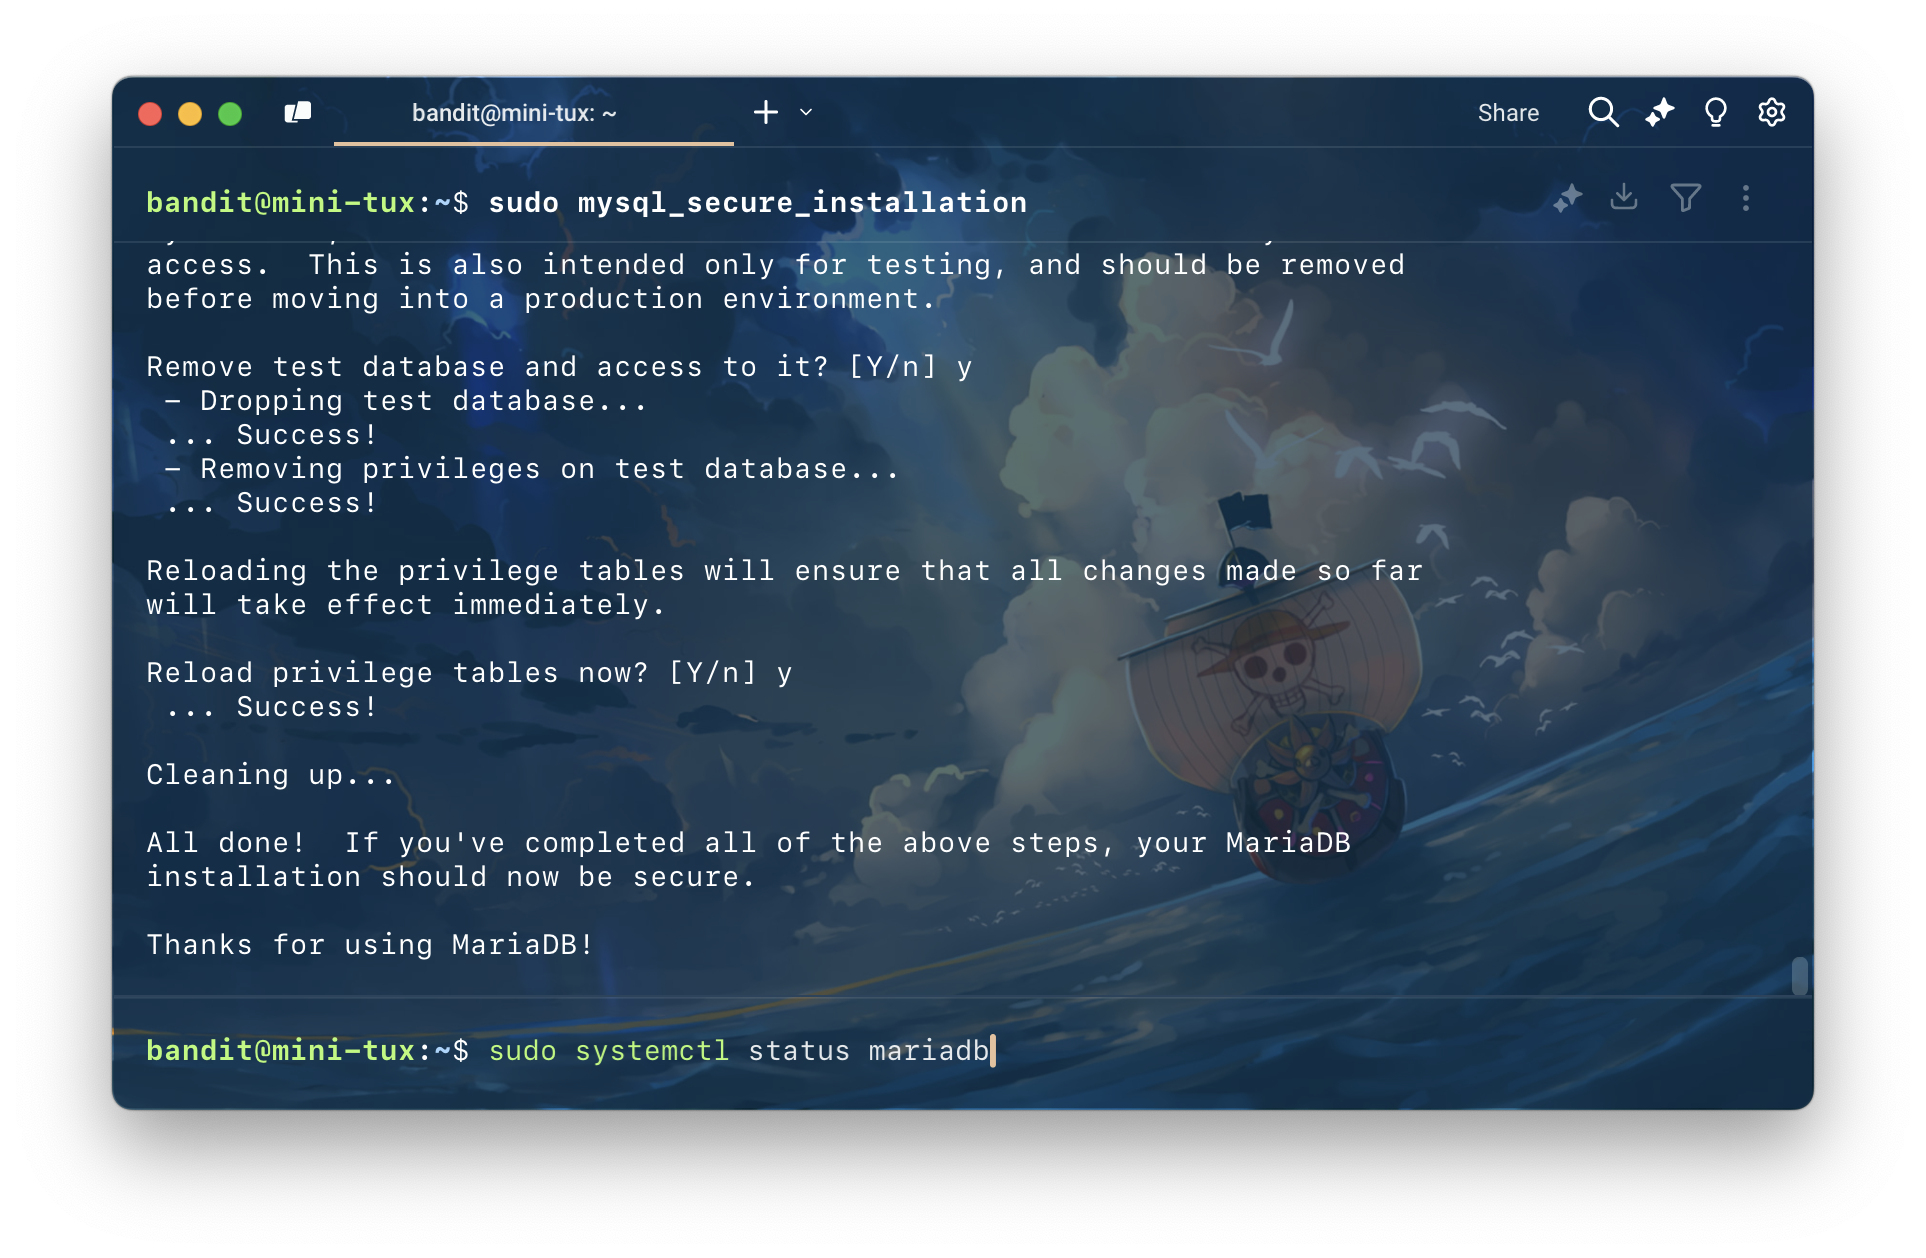
ถ้าขึ้นหน้าจอแบบนี้ก็เป็นอันใช้ได้
Set .env
ทำการสร้างไฟล์ .env.local แล้วเพิ่ม DATABASE_URL ในไฟล์ .env.local
โดย user จะเป็น root และ password จะเป็น example ตามที่เรากำหนดไว้ตอนที่เราติดตั้ง MariaDB (สำหรับใครตั้ง password เป็นอะไรก็ใส่ให้ถูก)
DATABASE_URL="mysql://root:[email protected]/hello-symfony-db?serverVersion=10.5.19-MariaDB&charset=utf8mb4"
สร้าง Database ด้วยคําสั่ง
php bin/console doctrine:database:create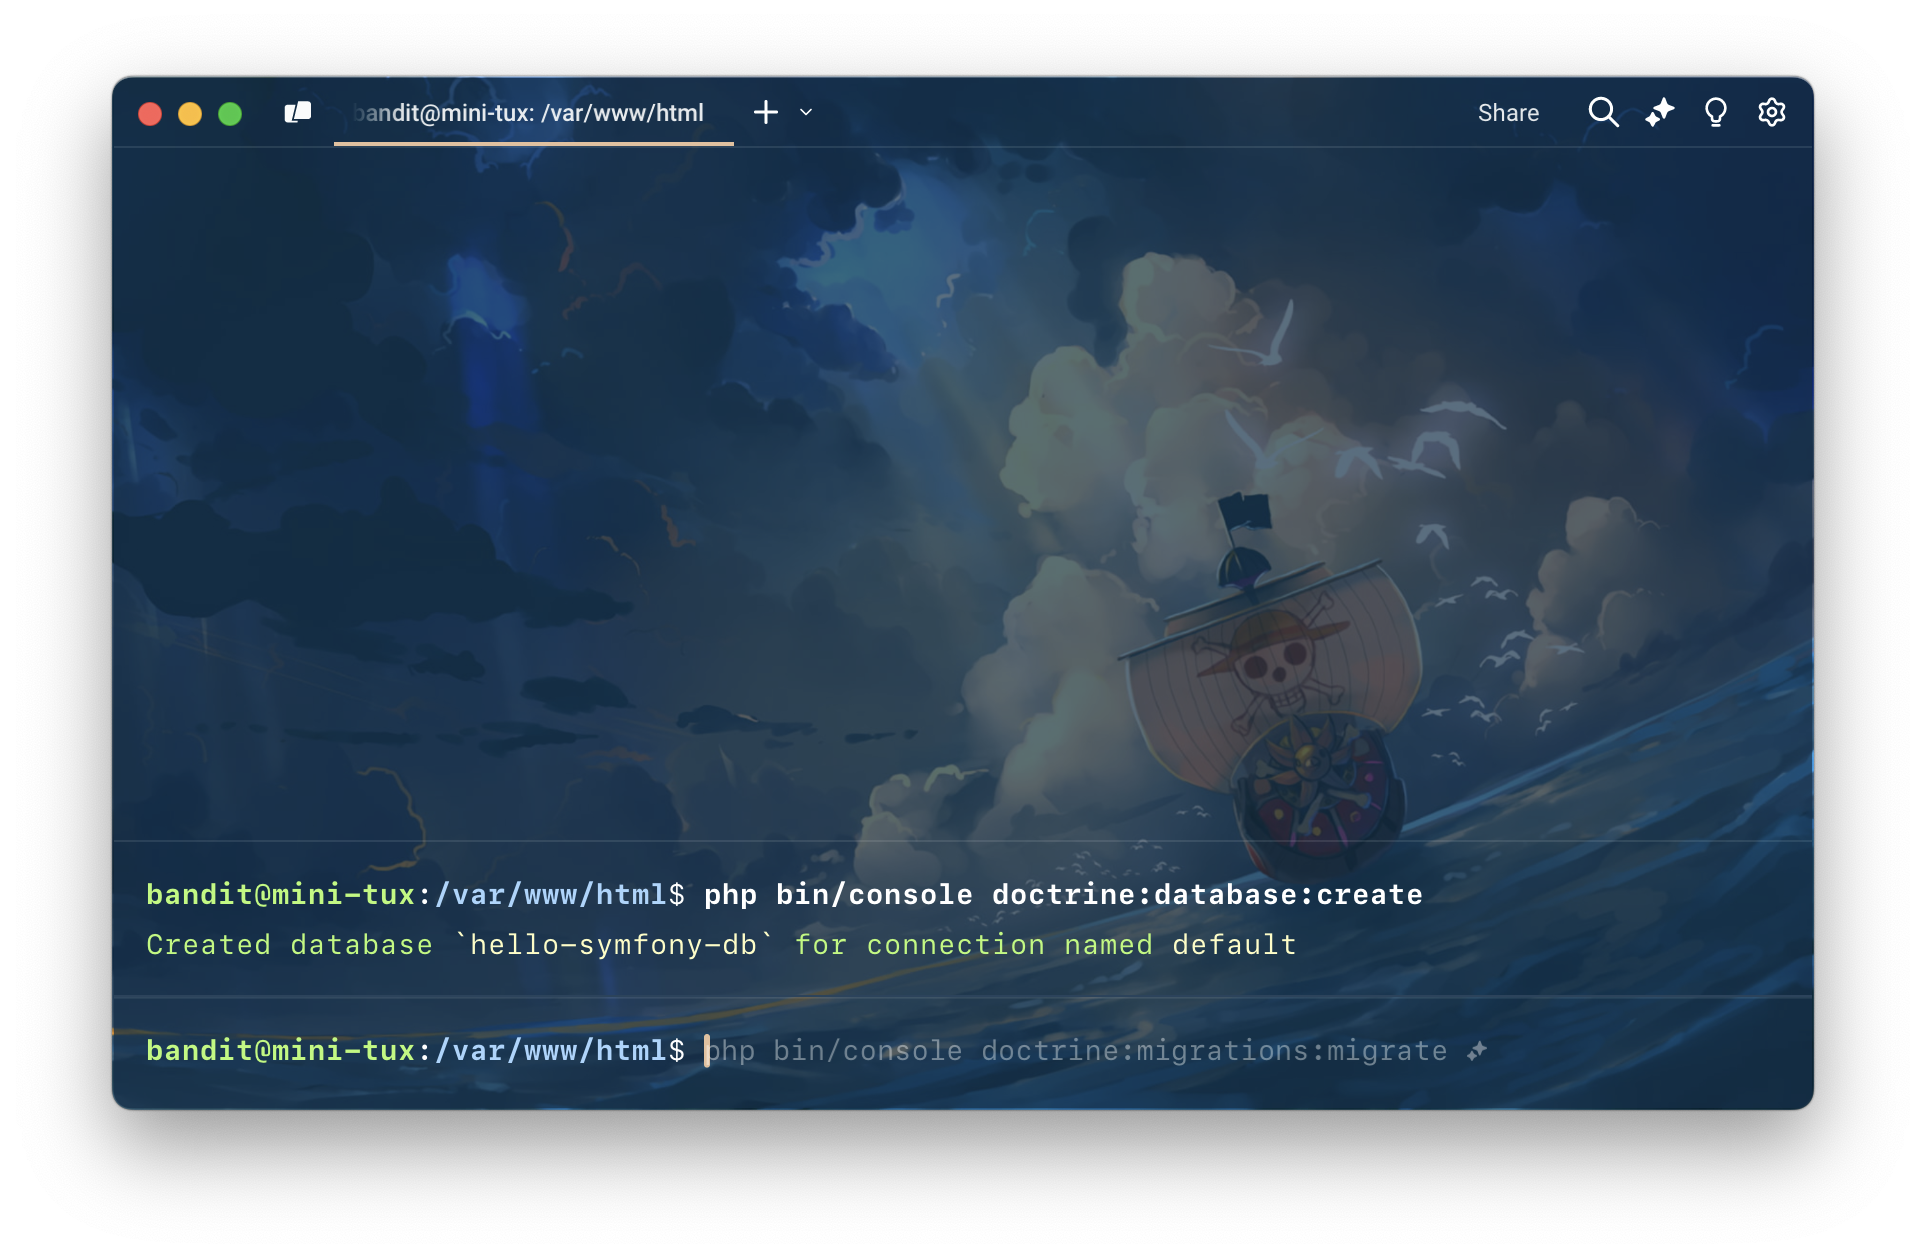
Migrate Database ด้วยคําสั่ง
php bin/console doctrine:migrations:migrate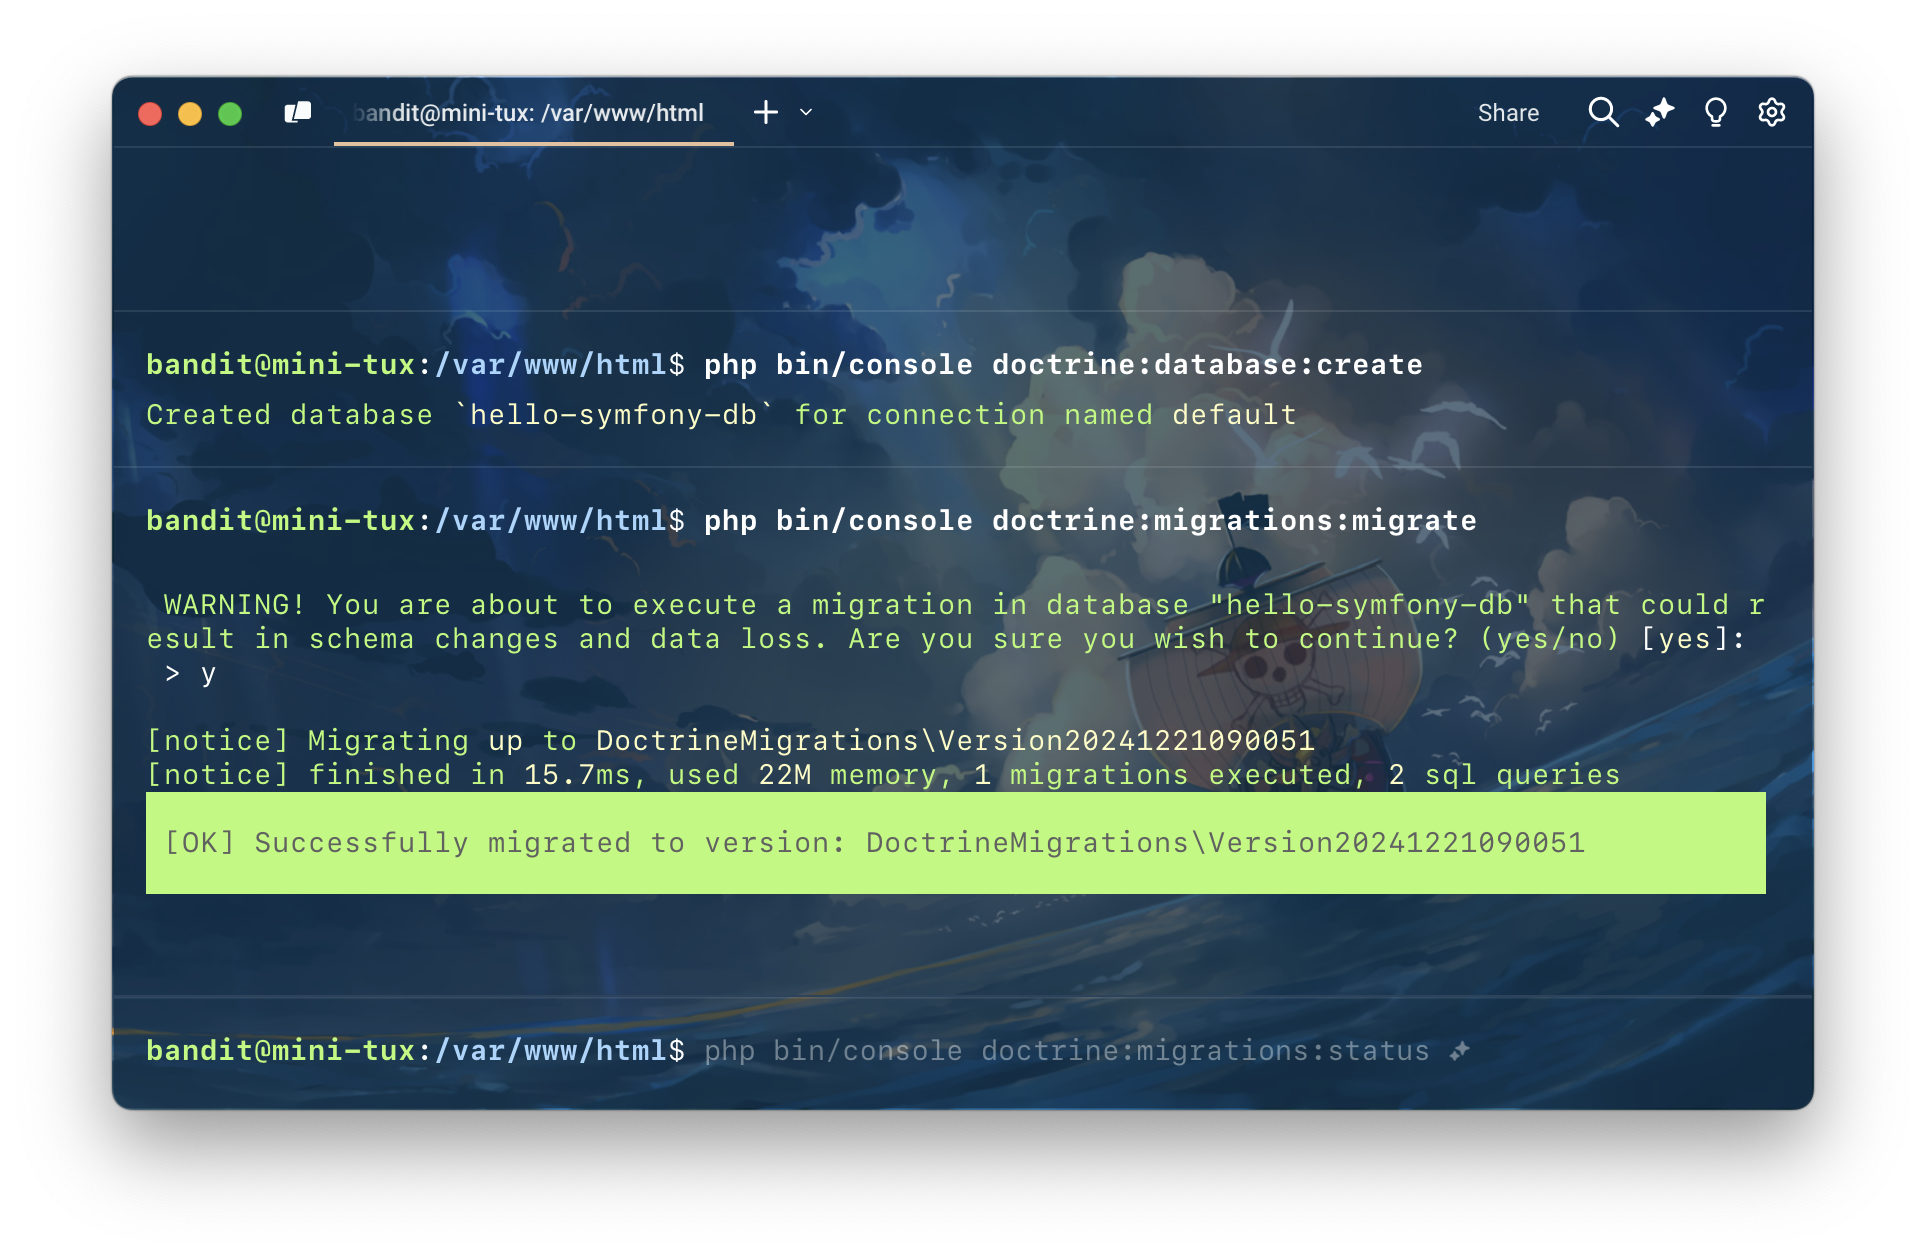
เสร็จไปเรียบร้อยสำหรับ Database
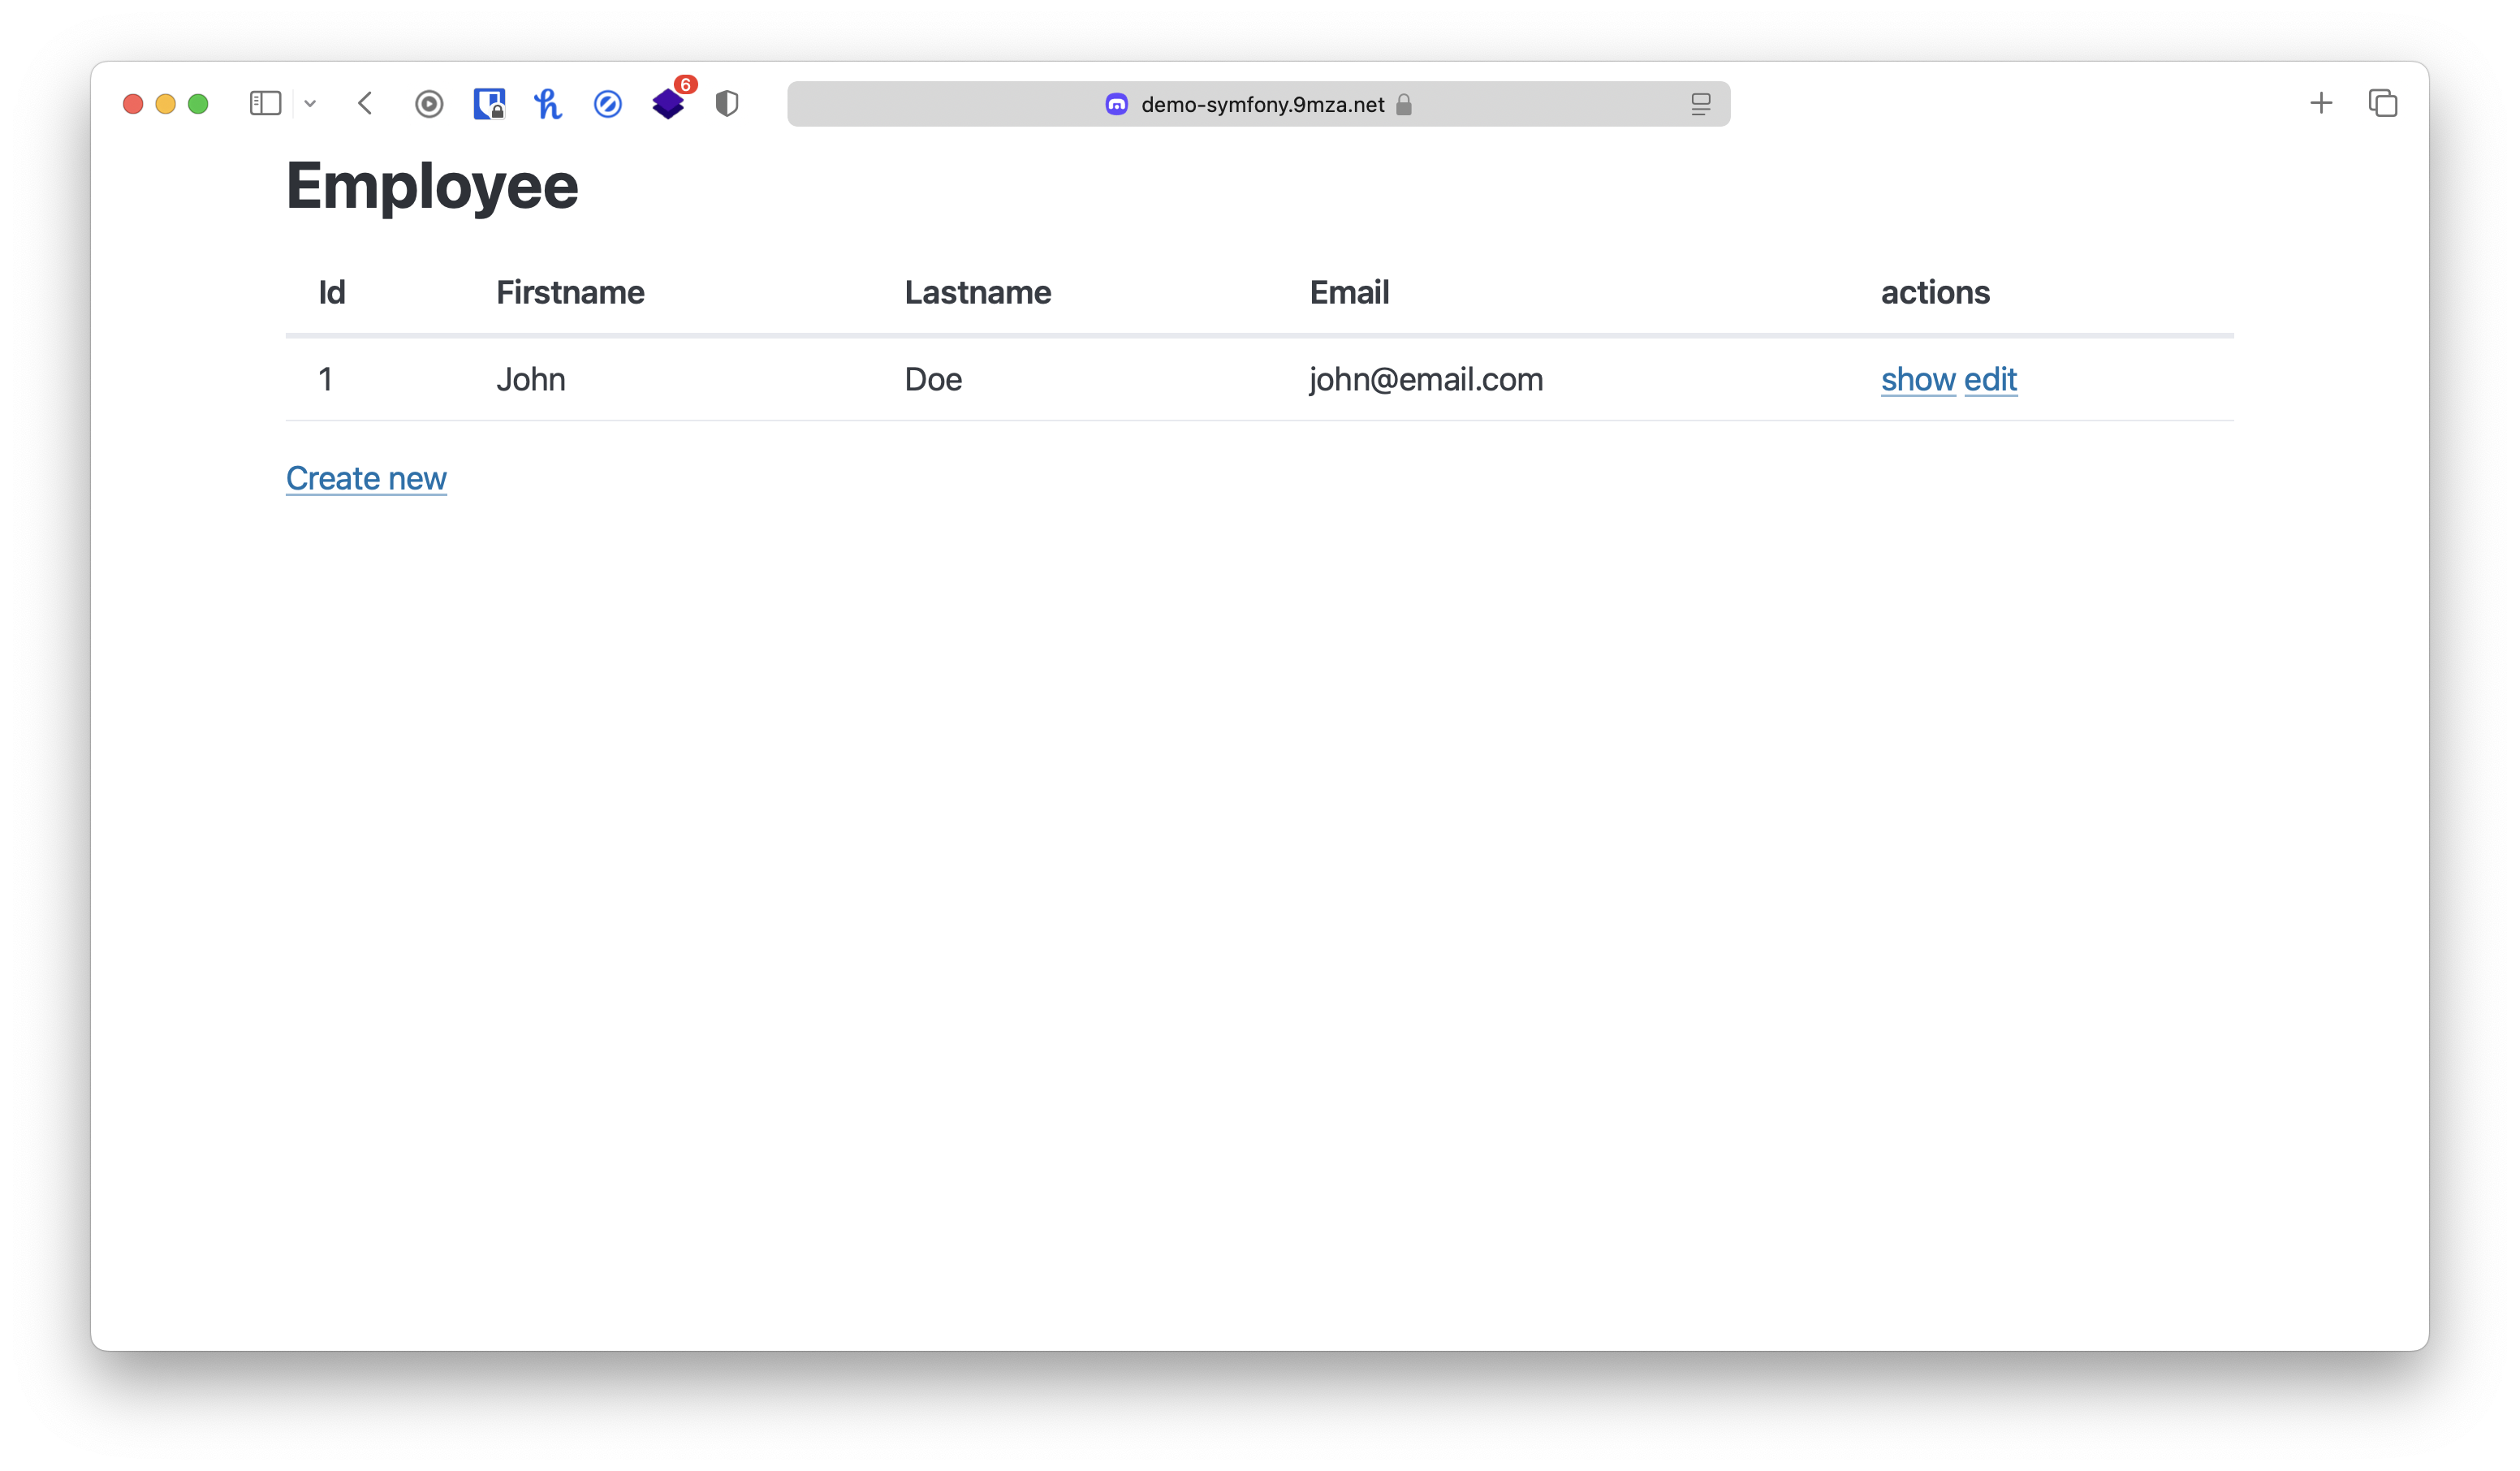
Try CRUD
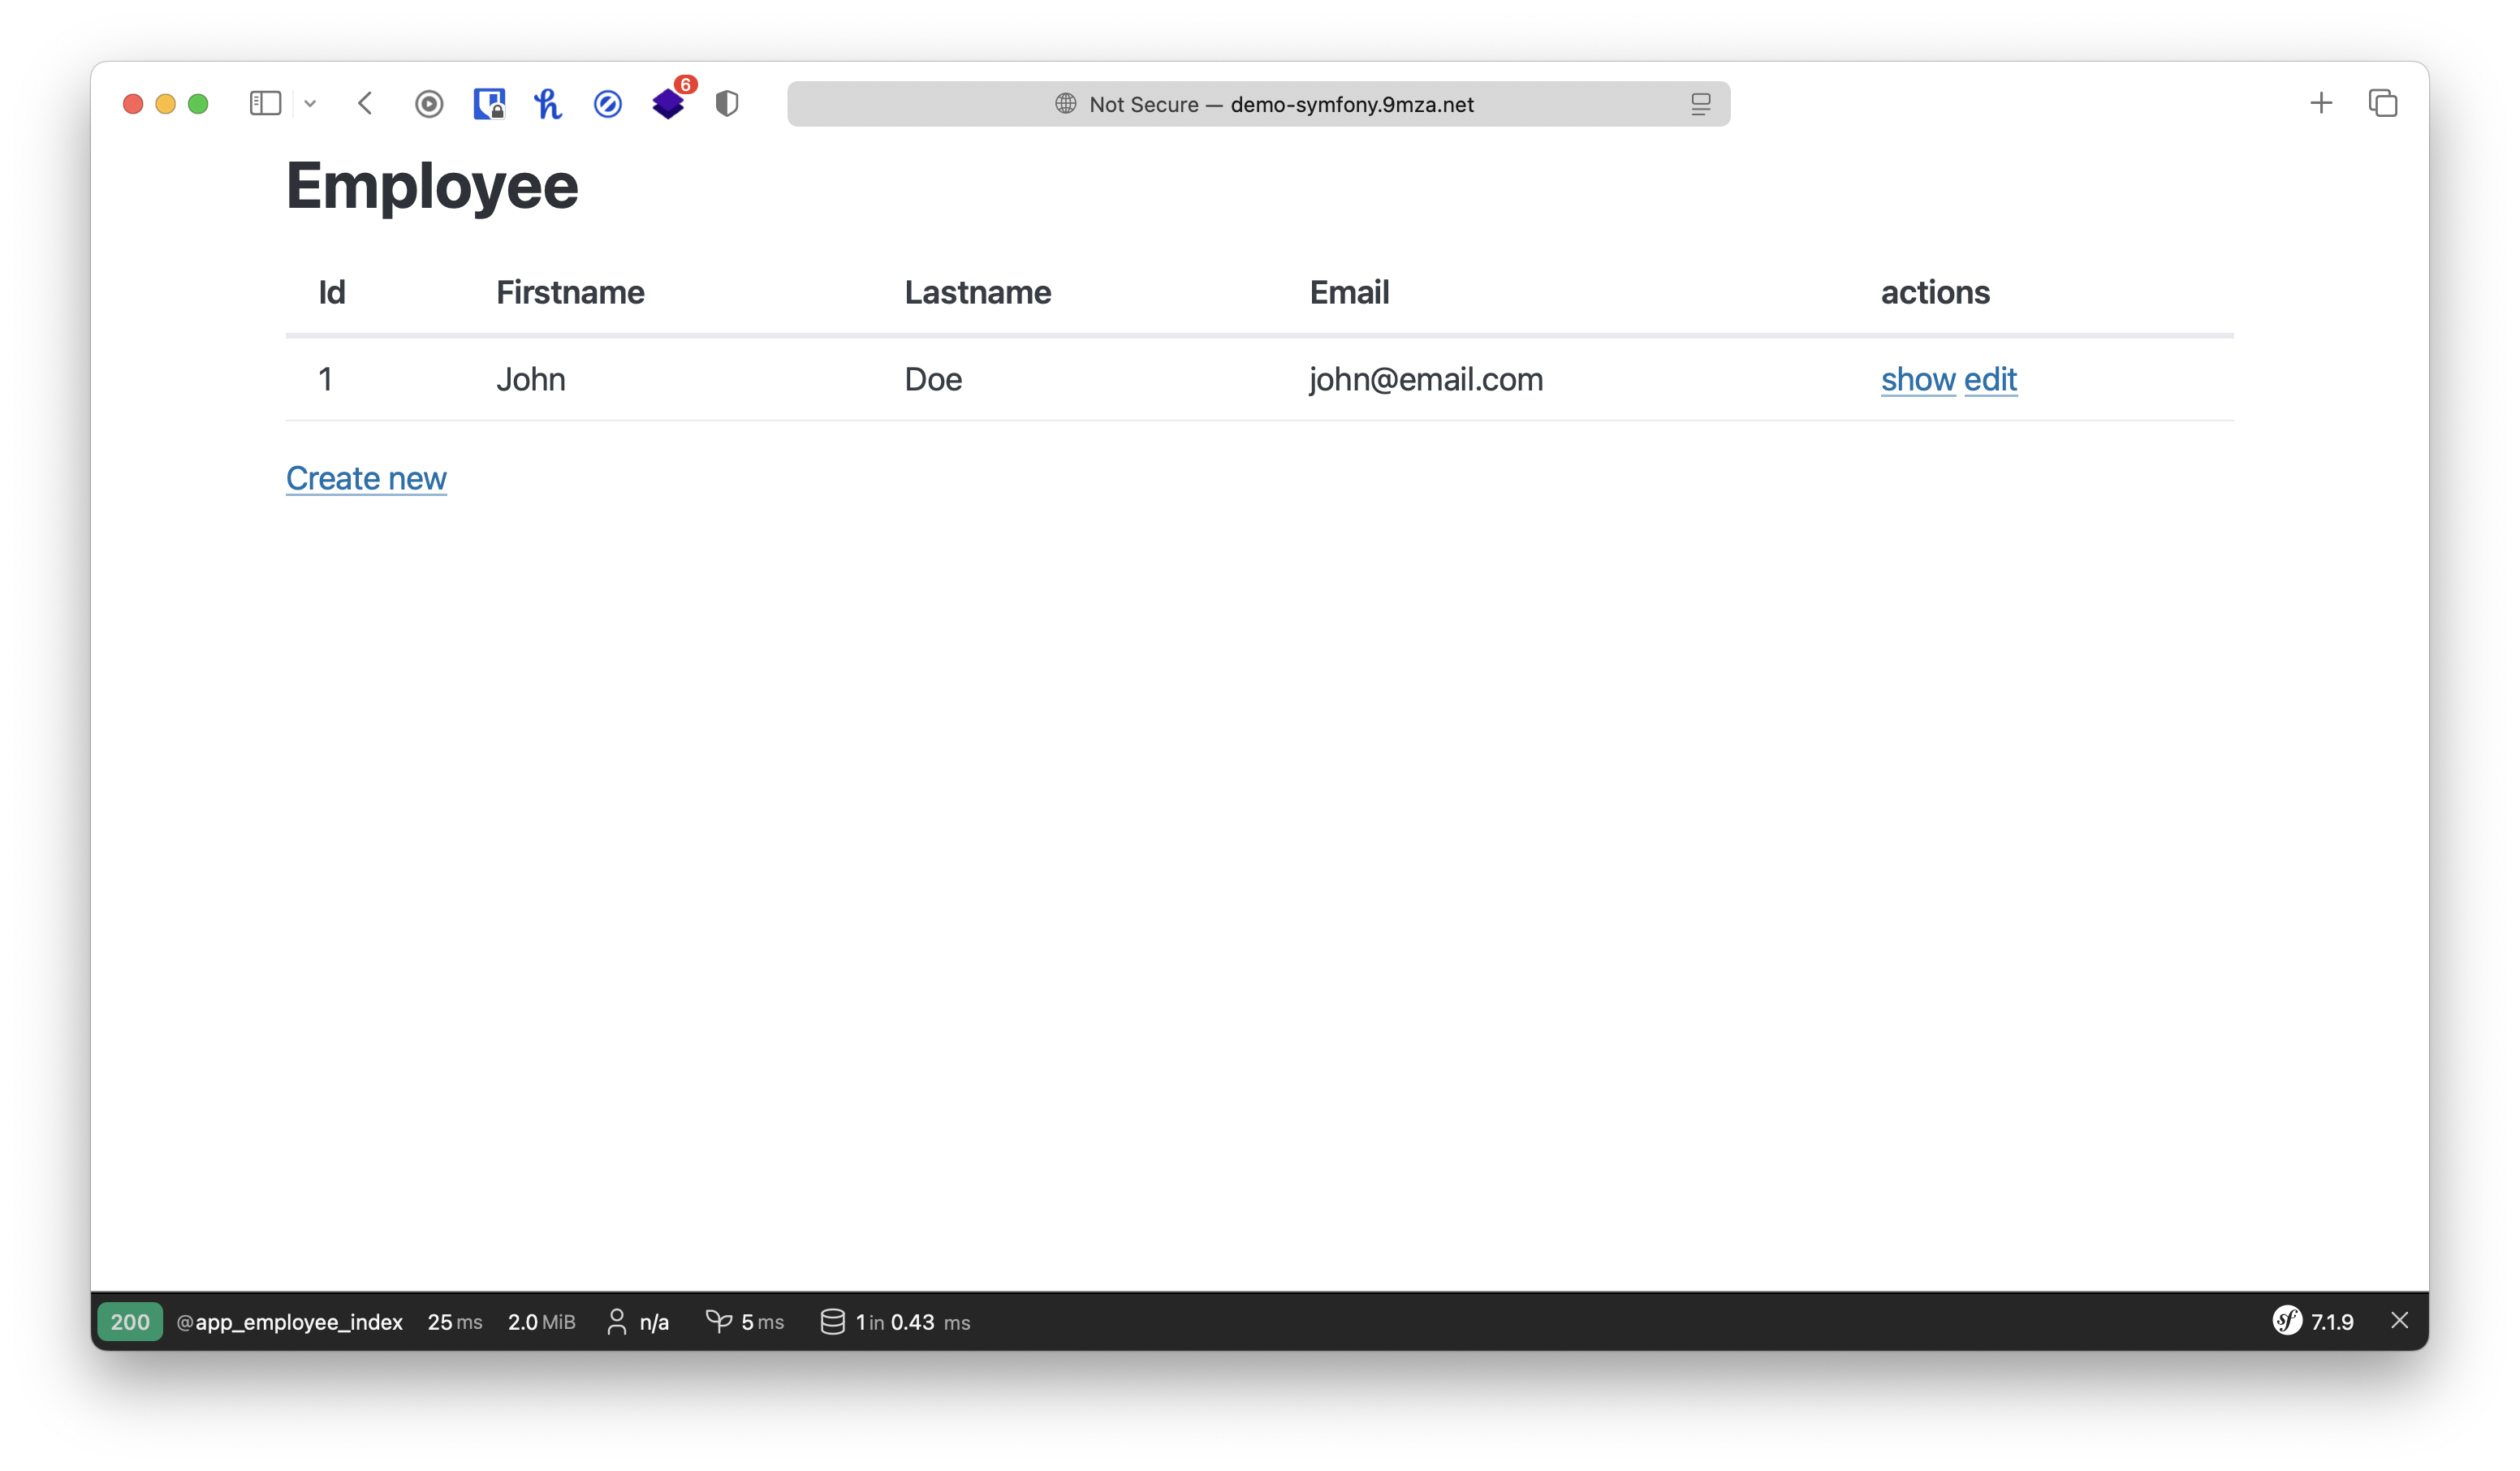
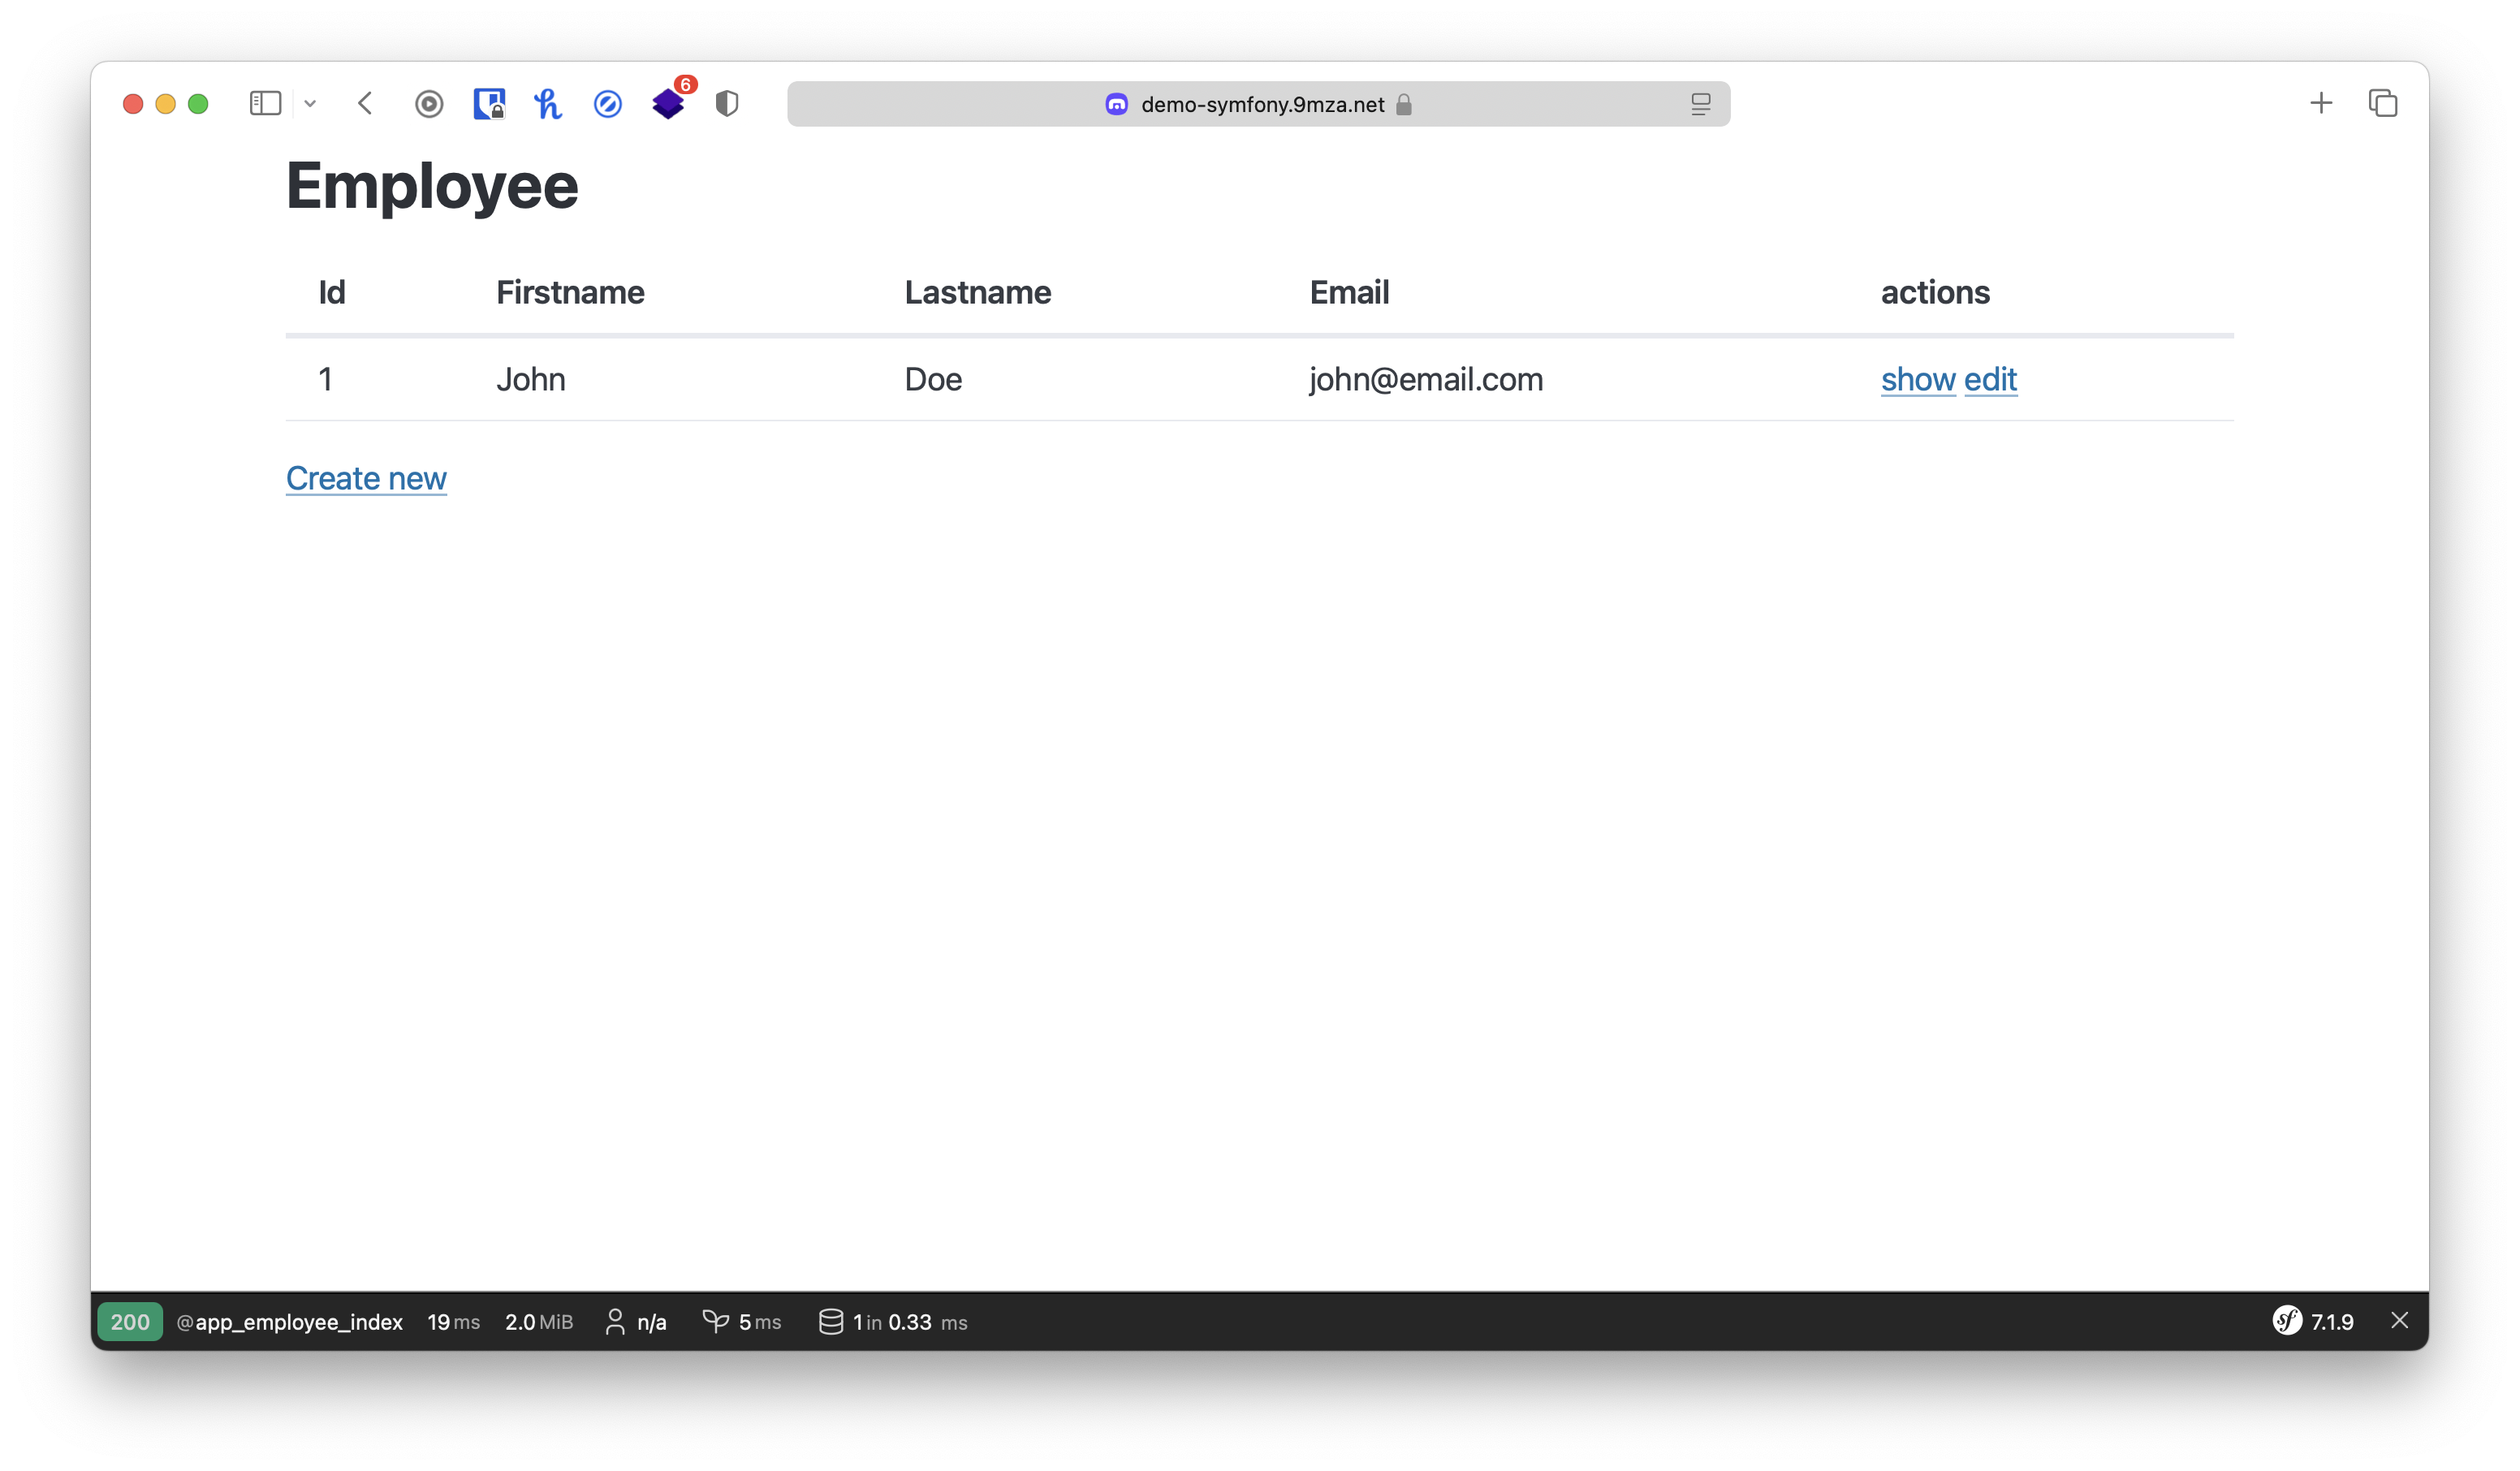
เราลองมาเปิดดูที่หน้าเว็บสักหน่อย ว่าหน้าตาจะเป็นยังไง สำหรับ Project ก็จะเป็น CRUD ง่ายๆ
คือเป็นเว็บสำหรับบันทึกข้อมูลพนักงานแบบง่ายๆ ส่วนทำอะไรได้บ้างนั้น ก็สามารถ แสดง เพิ่ม แก้ไข ลบ พนักงานได้
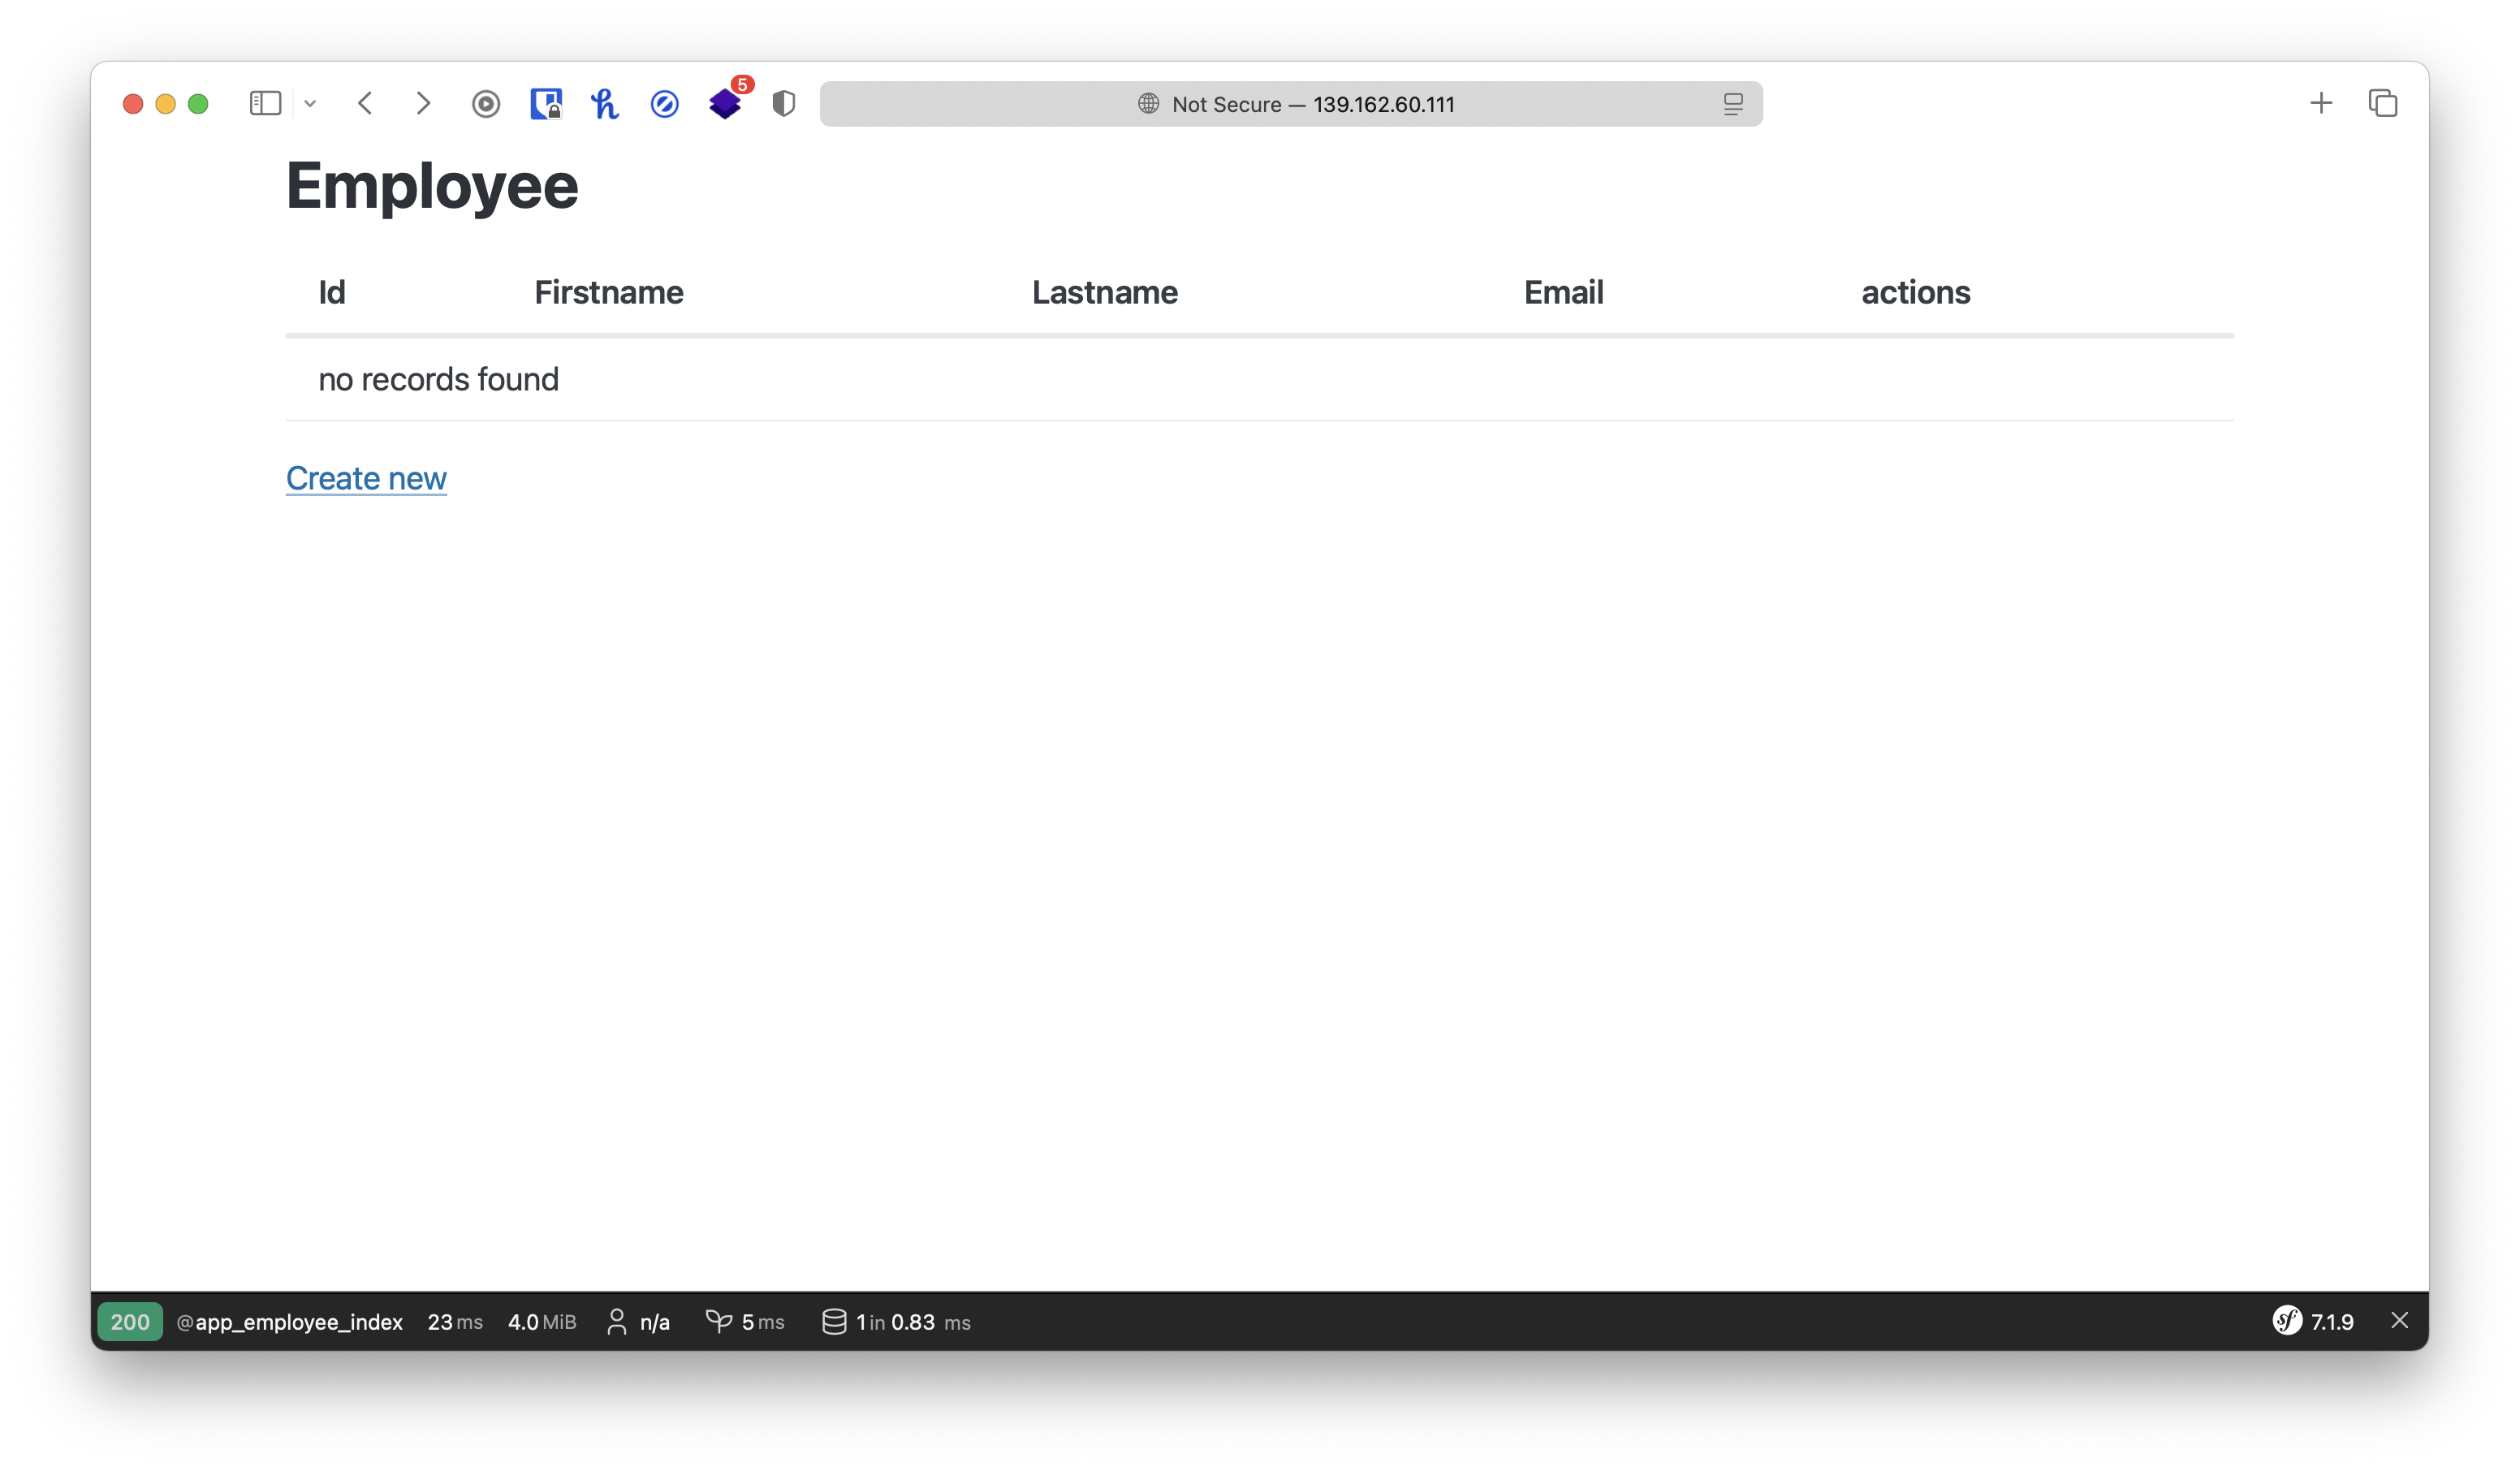
สามารถกดปุ่ม Create new เพื่อเพิ่มข้อมูลพนักงานได้
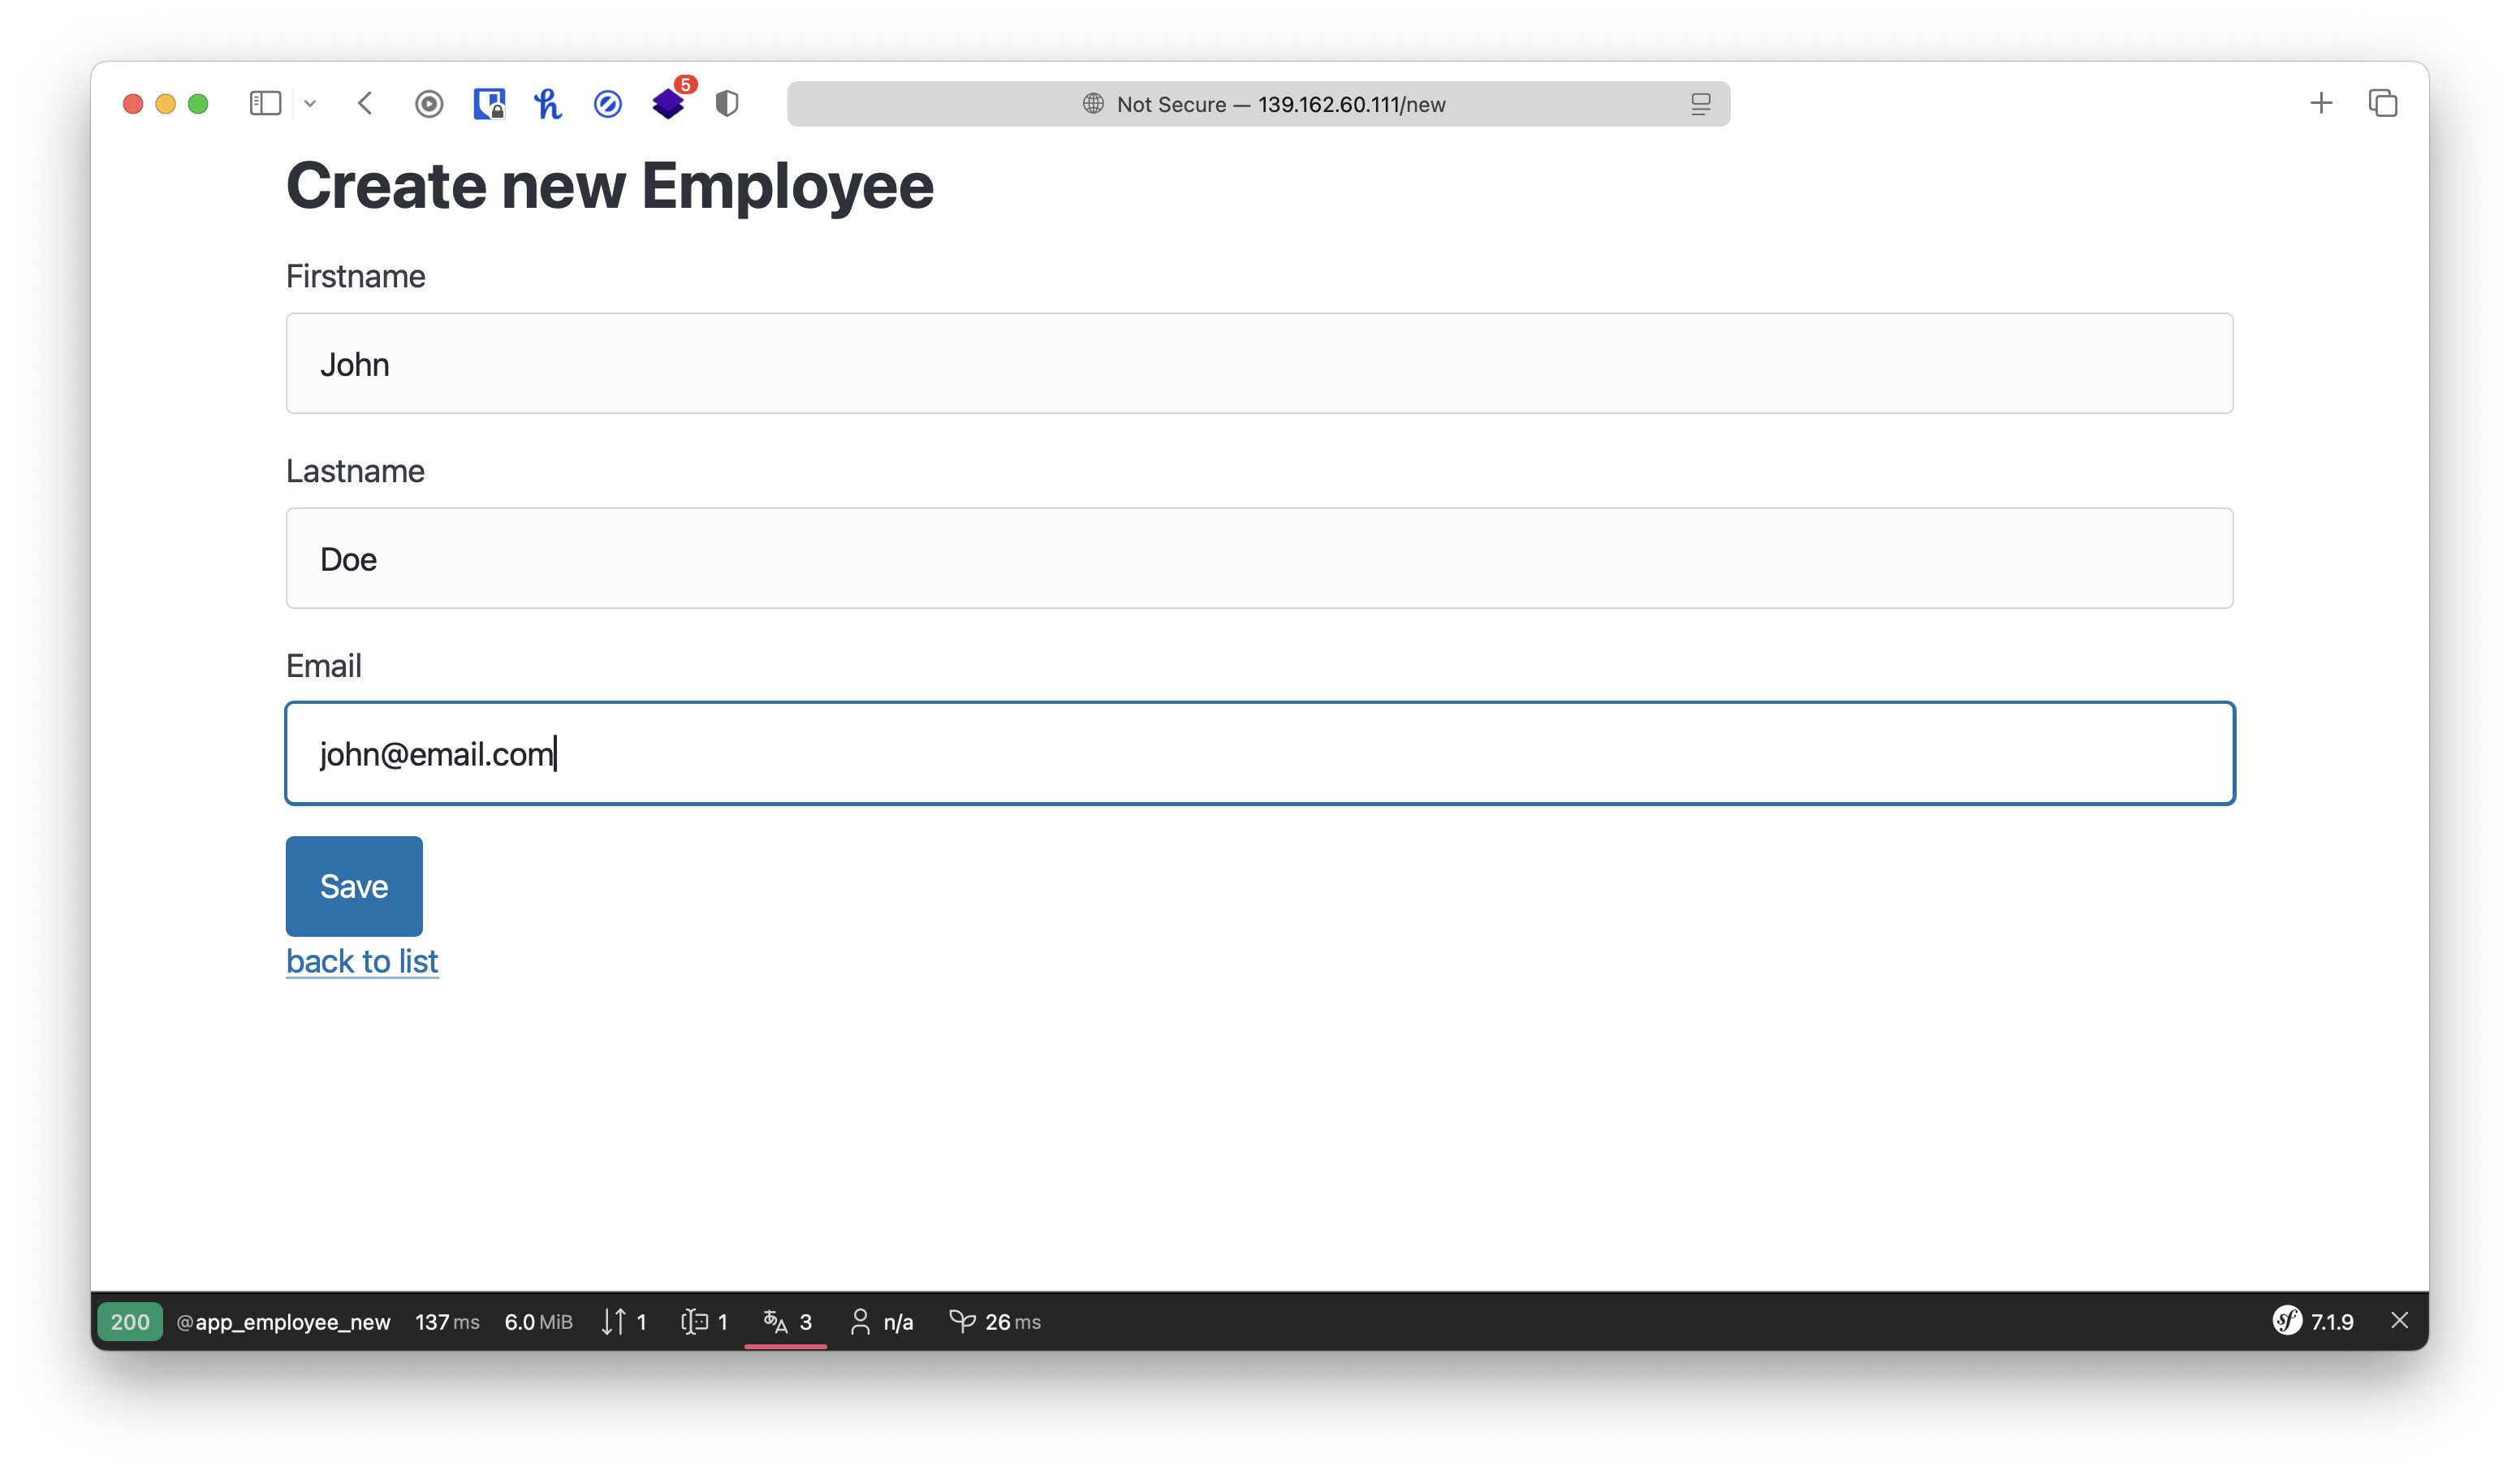
หลังจากบันทึก มีข้อมูลขึ้นมา ก็เป็นอันใช้ได้

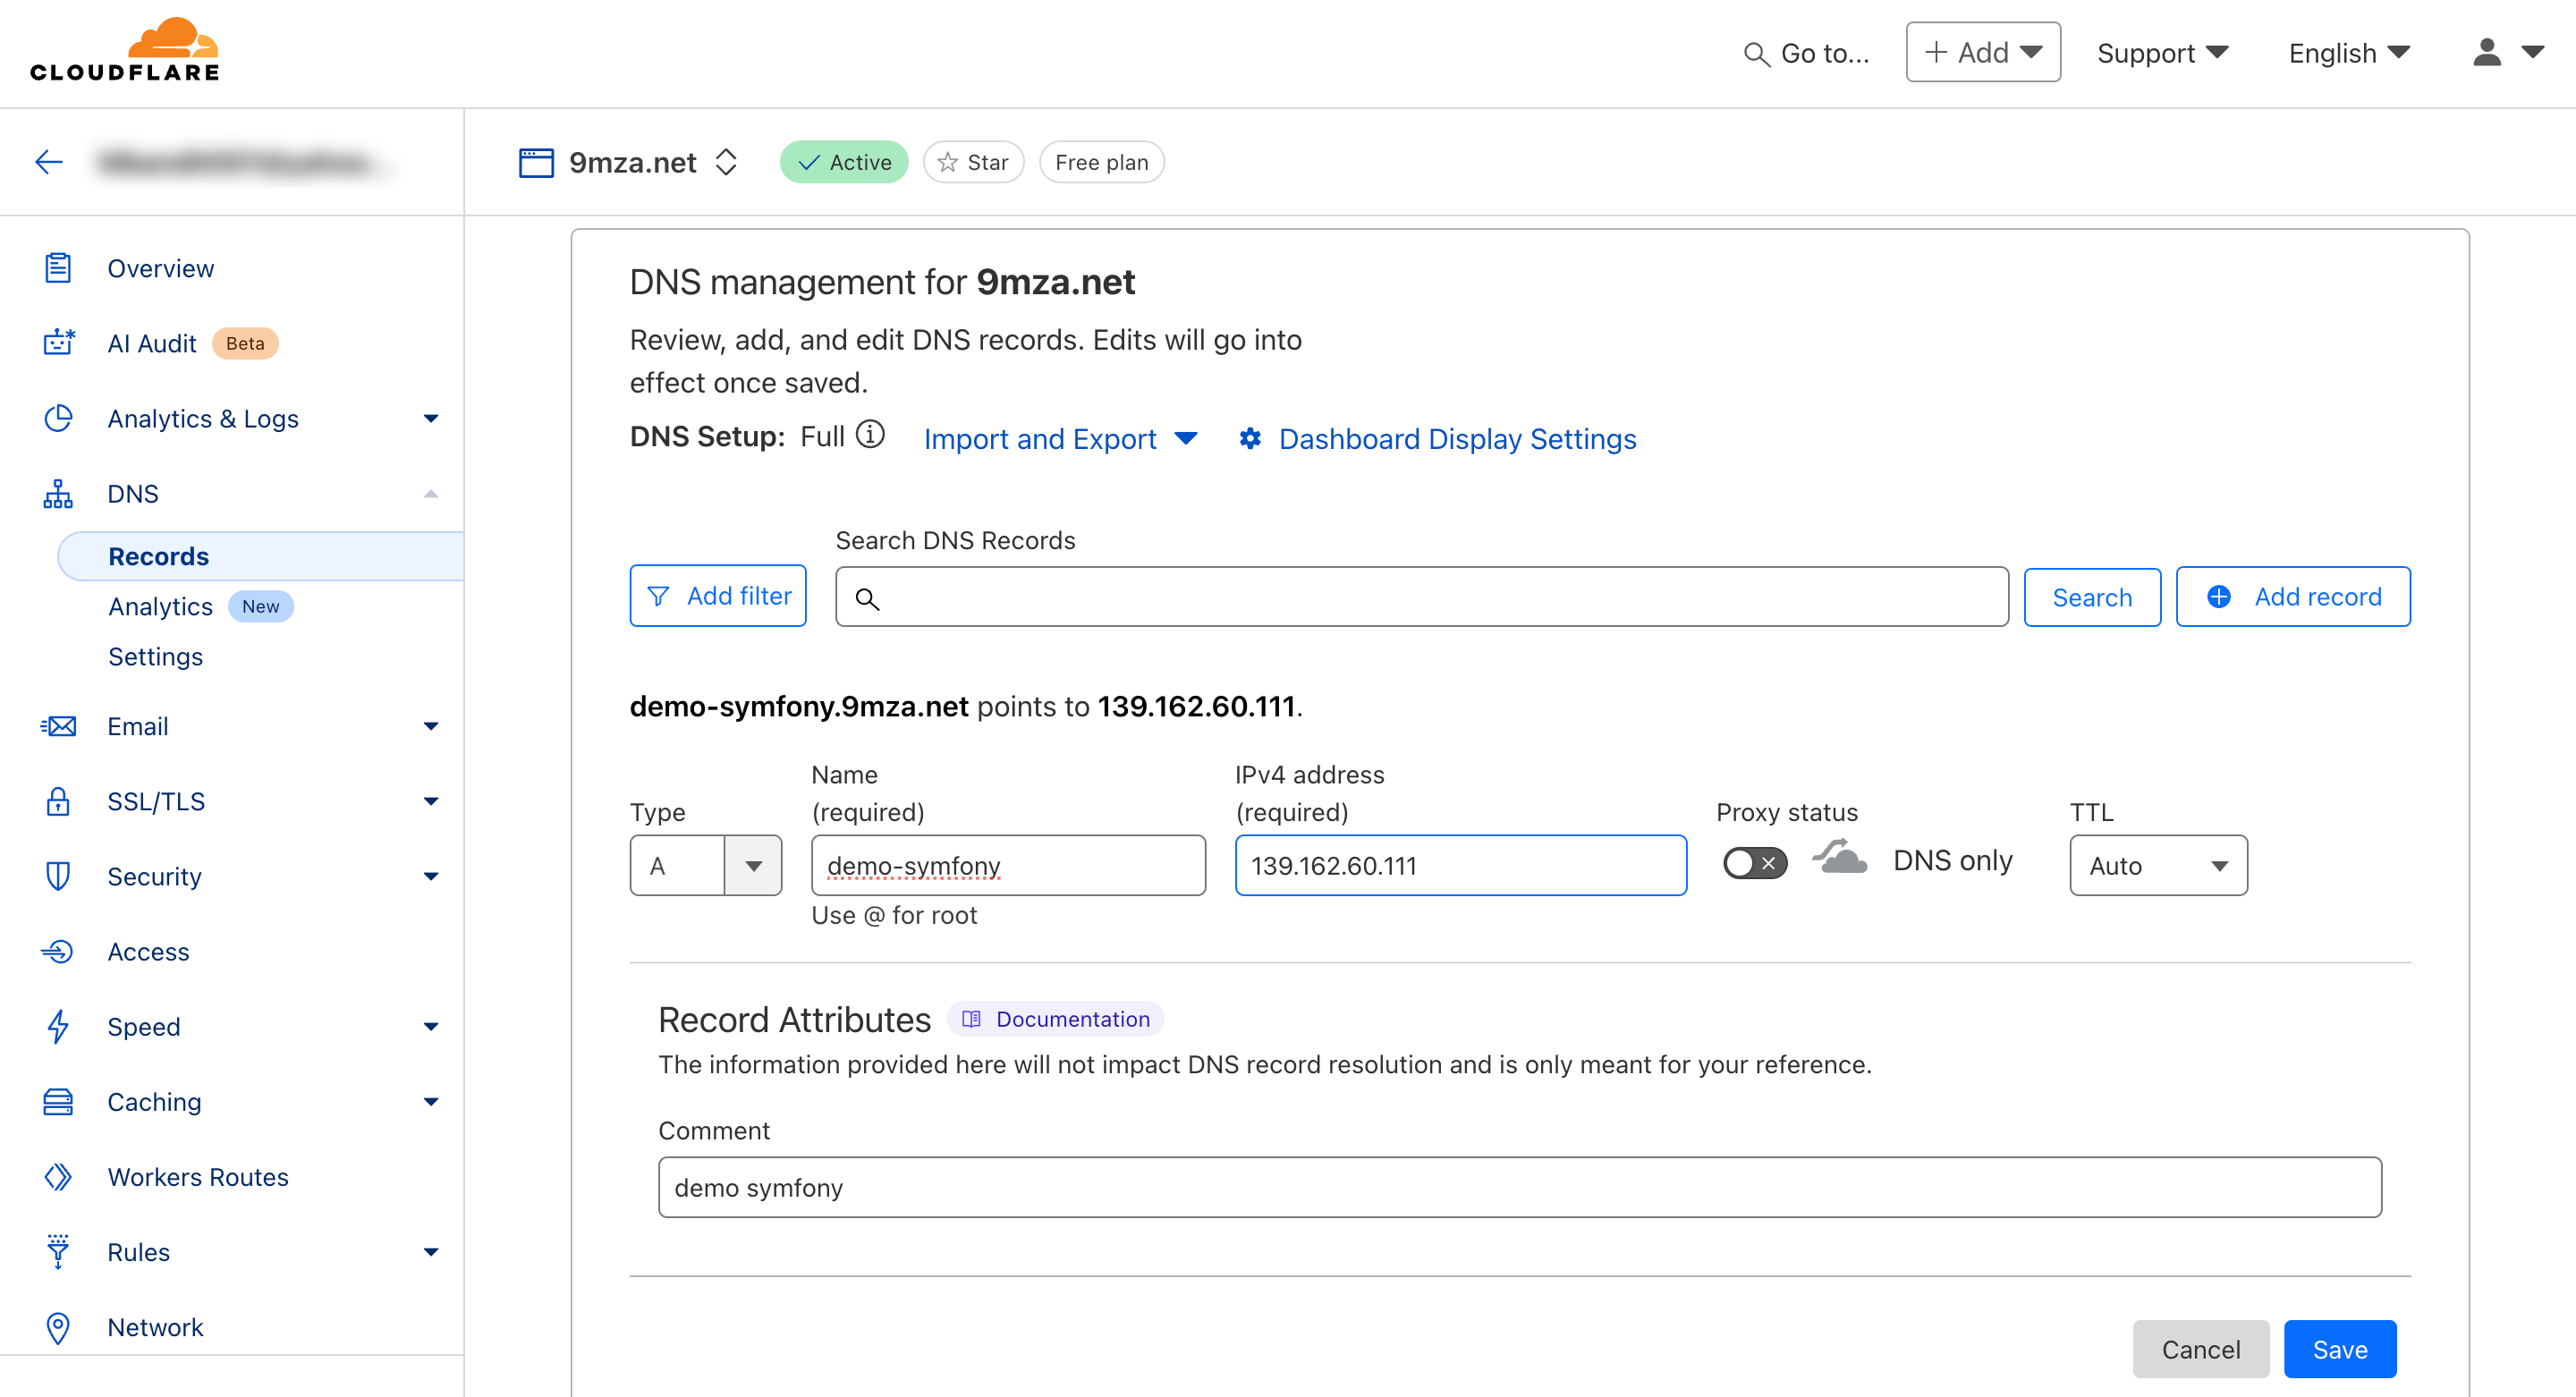
Set Domain
ในตัวอย่างนี้ ผมจด Domain อยู่ที่ Cloudflare ผมก็แค่เอาเลข IP Address ที่ได้จาก DigitalOcean มาใส่ ตามรูปนี้ ก็เป็นอันใช้ได้
ปกติแล้วขั้นตอนการ set domain จะใช้ เวลา 1 - 2 วัน อย่างช้า แต่ปกติจากที่ผม set ไม่เกินชั่วโมงก็ใช้ได้ละ
ลองเข้าเว็บเราผ่าน Domain ก็เป็นอันใช้ได้ แต่จะเห็นว่าหน้าชื่อเว็บเราขึ้น Not Secure เพราะเรายังไม่มี SSL นั่นเอง
Add SSL certificate
ถือว่าเป็นเรื่องที่ดี ที่เราสามารถใช้ SSL ได้แบบฟรีจาก letsencrypt ว่าแล้วก็มาลองติดตั้งกันเลย
โดยเราจะใช้ certbot ในการใส่ SSL Certificate ให้เรา
Install
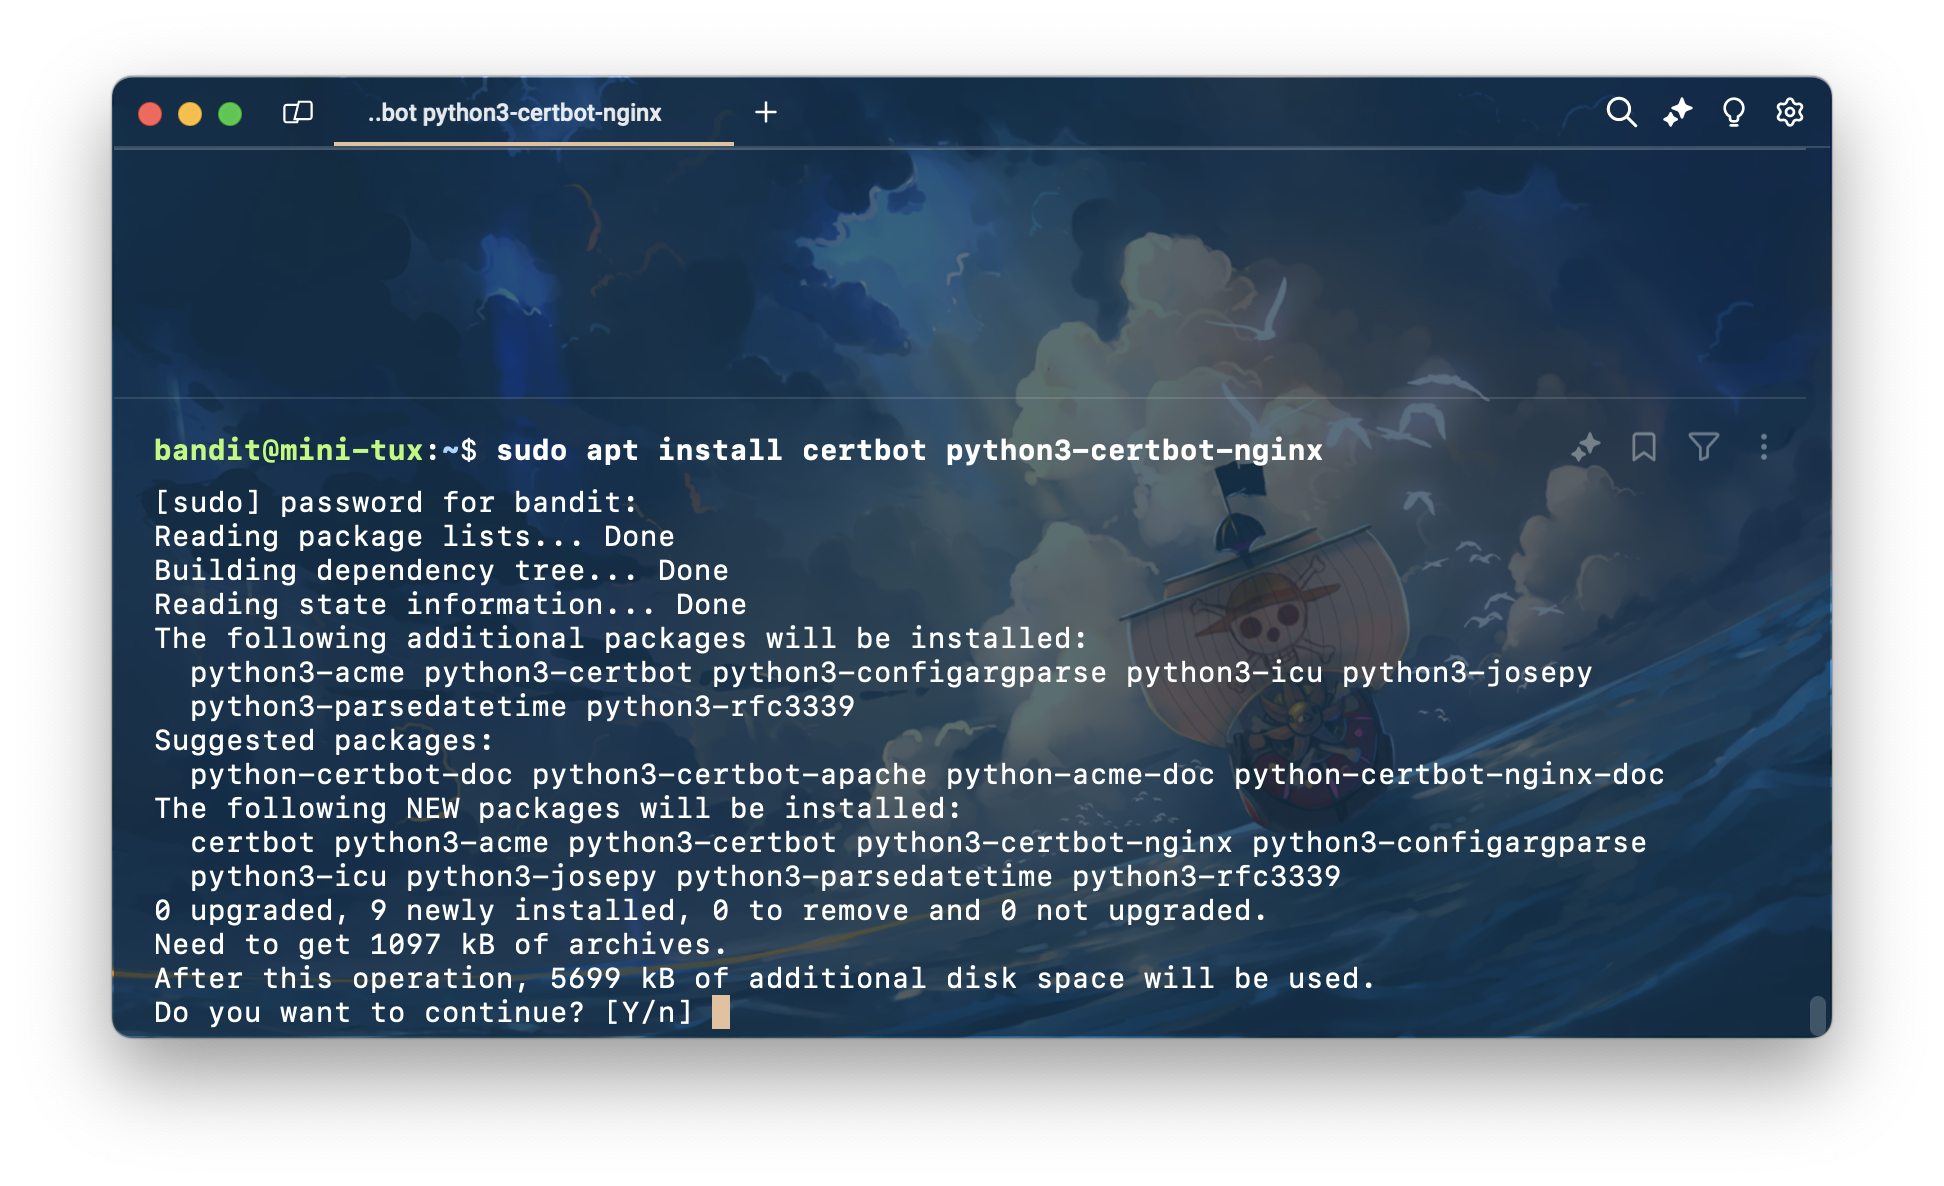
เริ่มจากการติดตั้ง certbot กันก่อนเลย
sudo apt install certbot python3-certbot-nginxตอบ y เพื่อยืนยันการติดตั้ง
Allowing HTTPS Through the Firewall
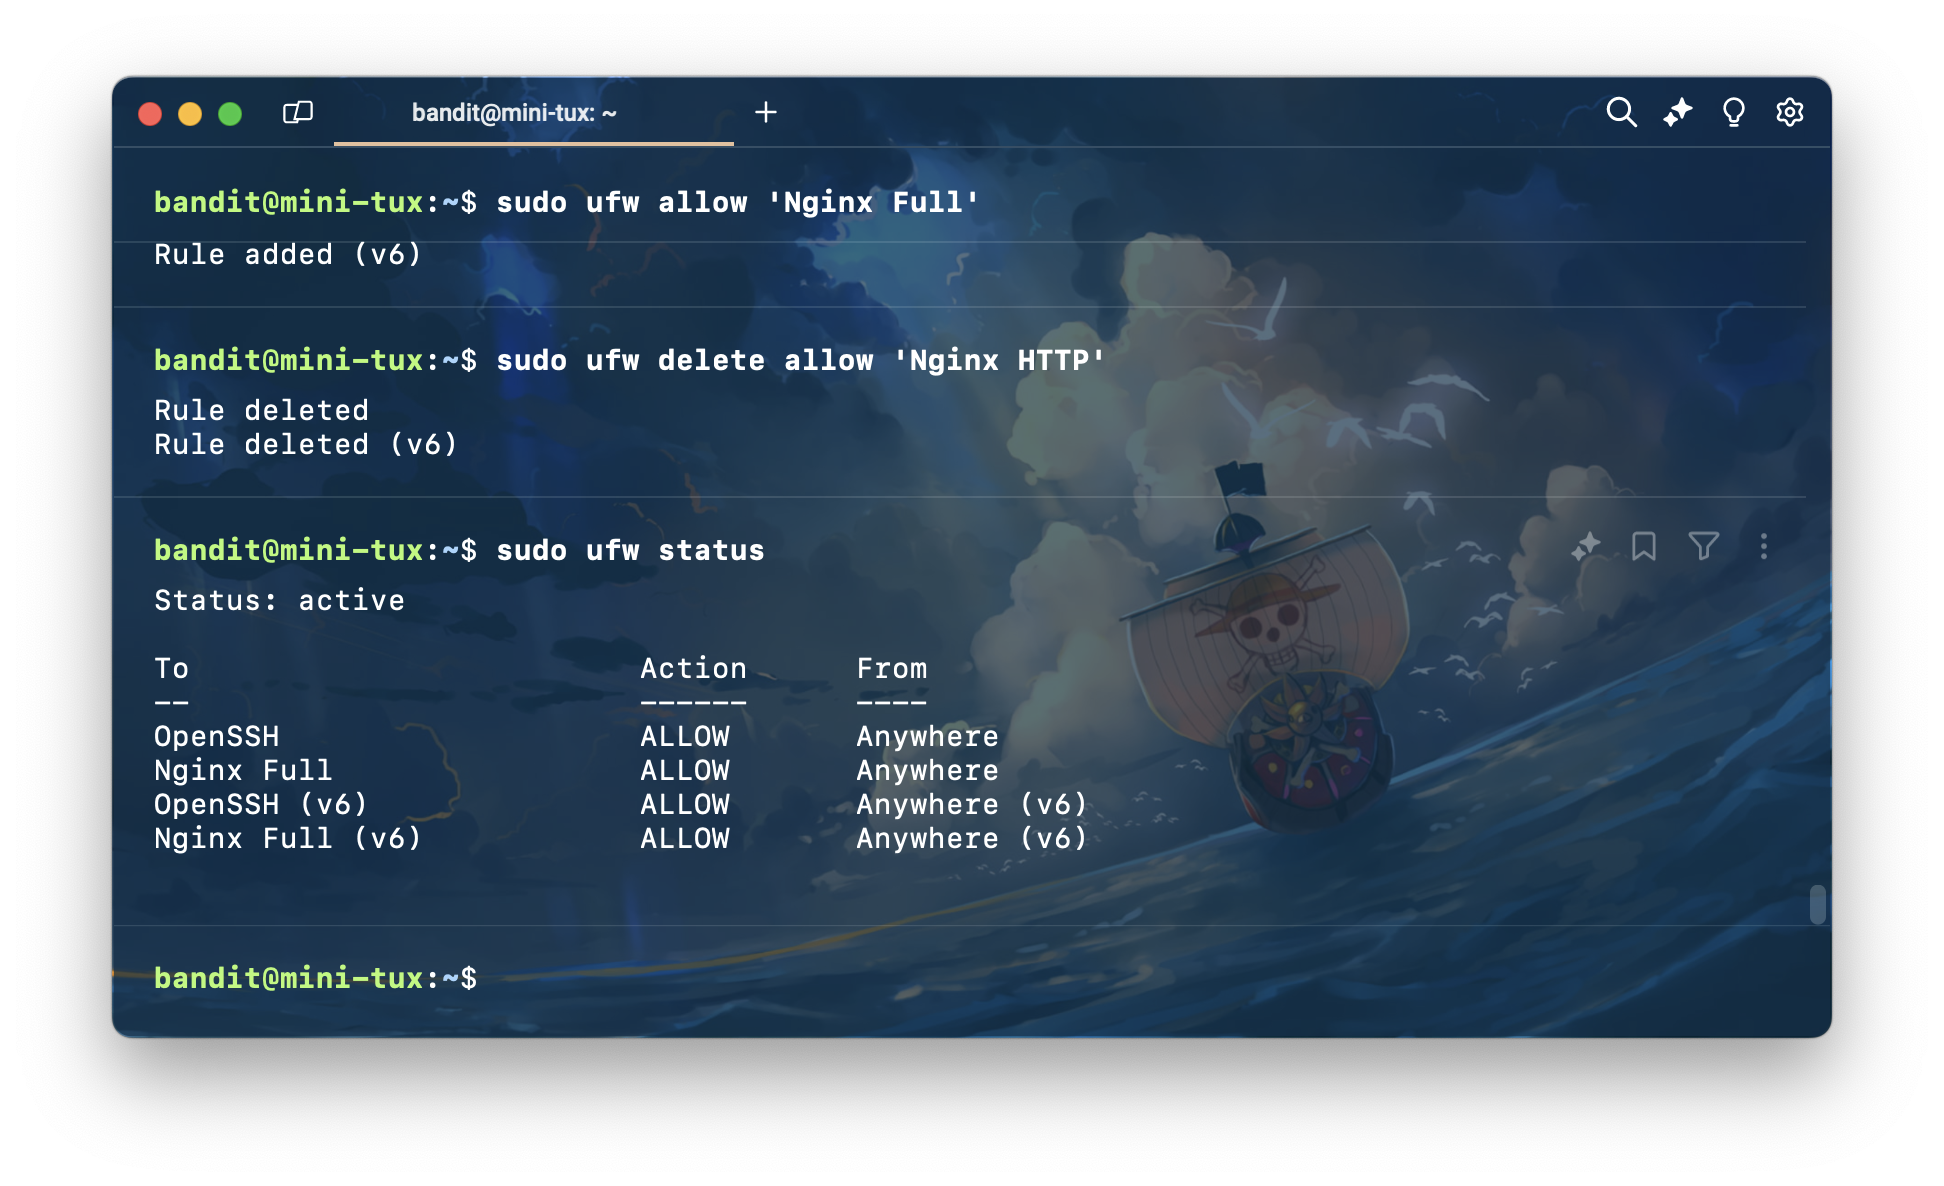
ทำการ allow Nginx Full และลบการ allow Nginx HTTP ด้วยคําสั่ง
sudo ufw allow 'Nginx Full'
sudo ufw delete allow 'Nginx HTTP'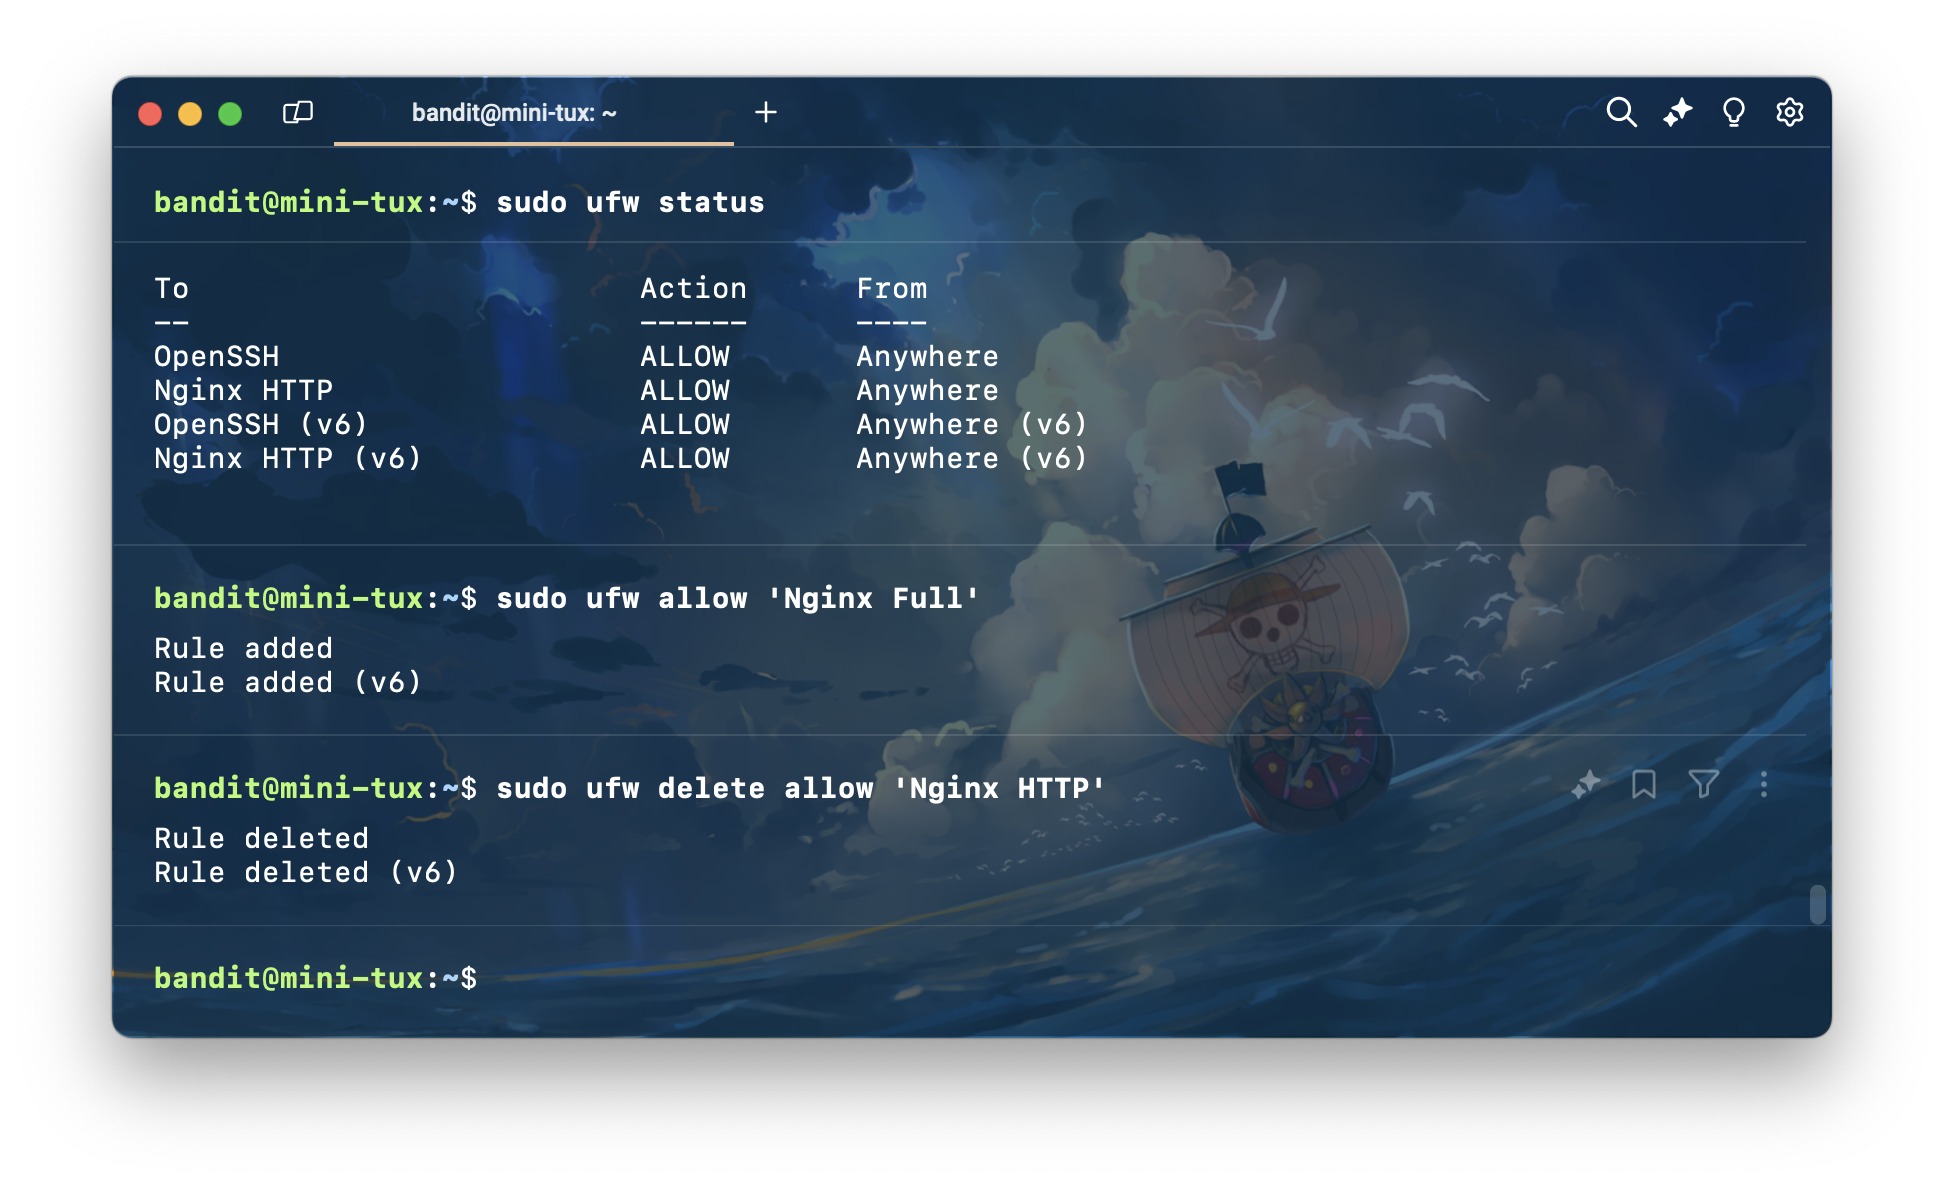
ลองเช็ค status อีกครั้ง ด้วยคําสั่ง
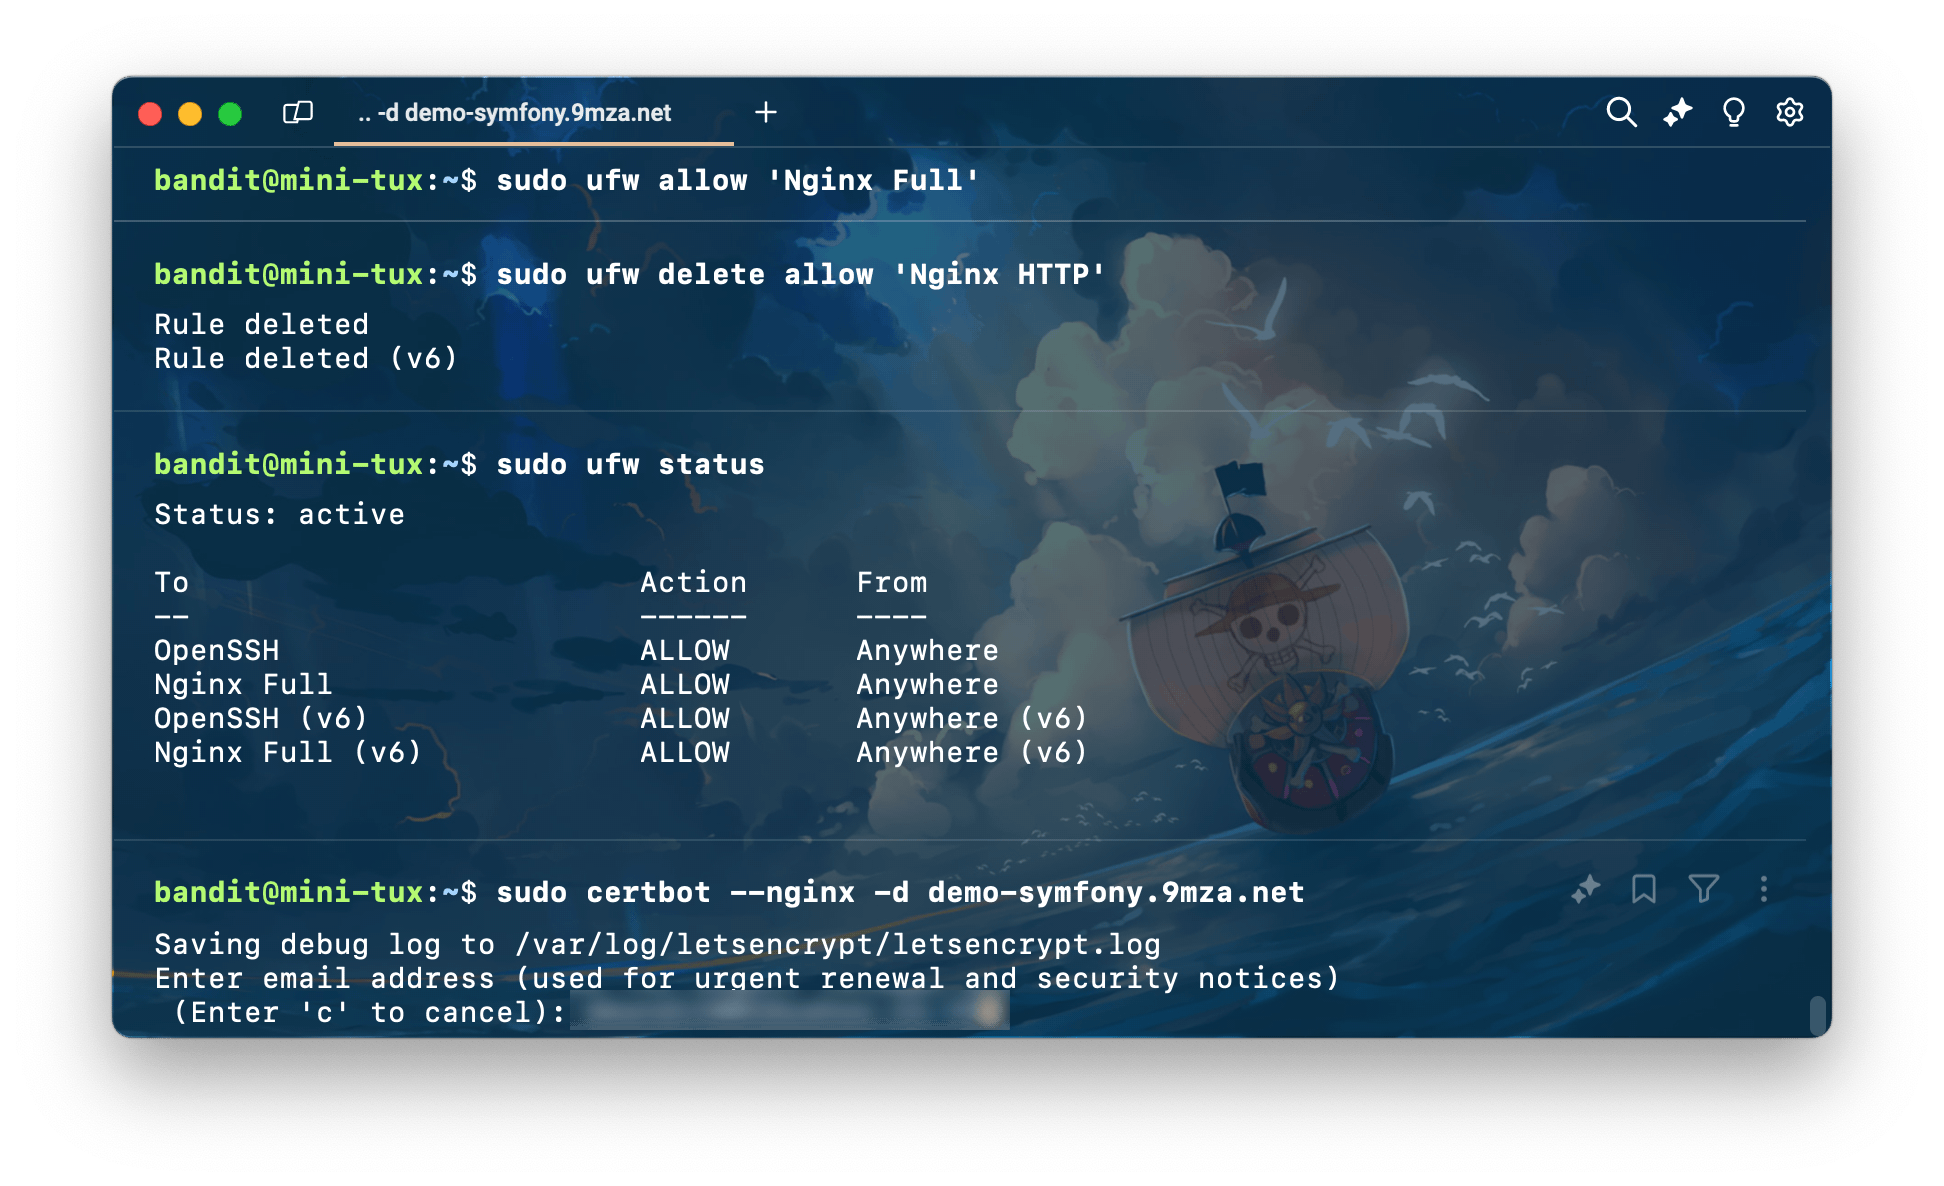
sudo ufw statusจะเห็นว่า Nginx HTTP จะหายไป และแทนที่ด้วย Nginx Full
Obtaining an SSL Certificate
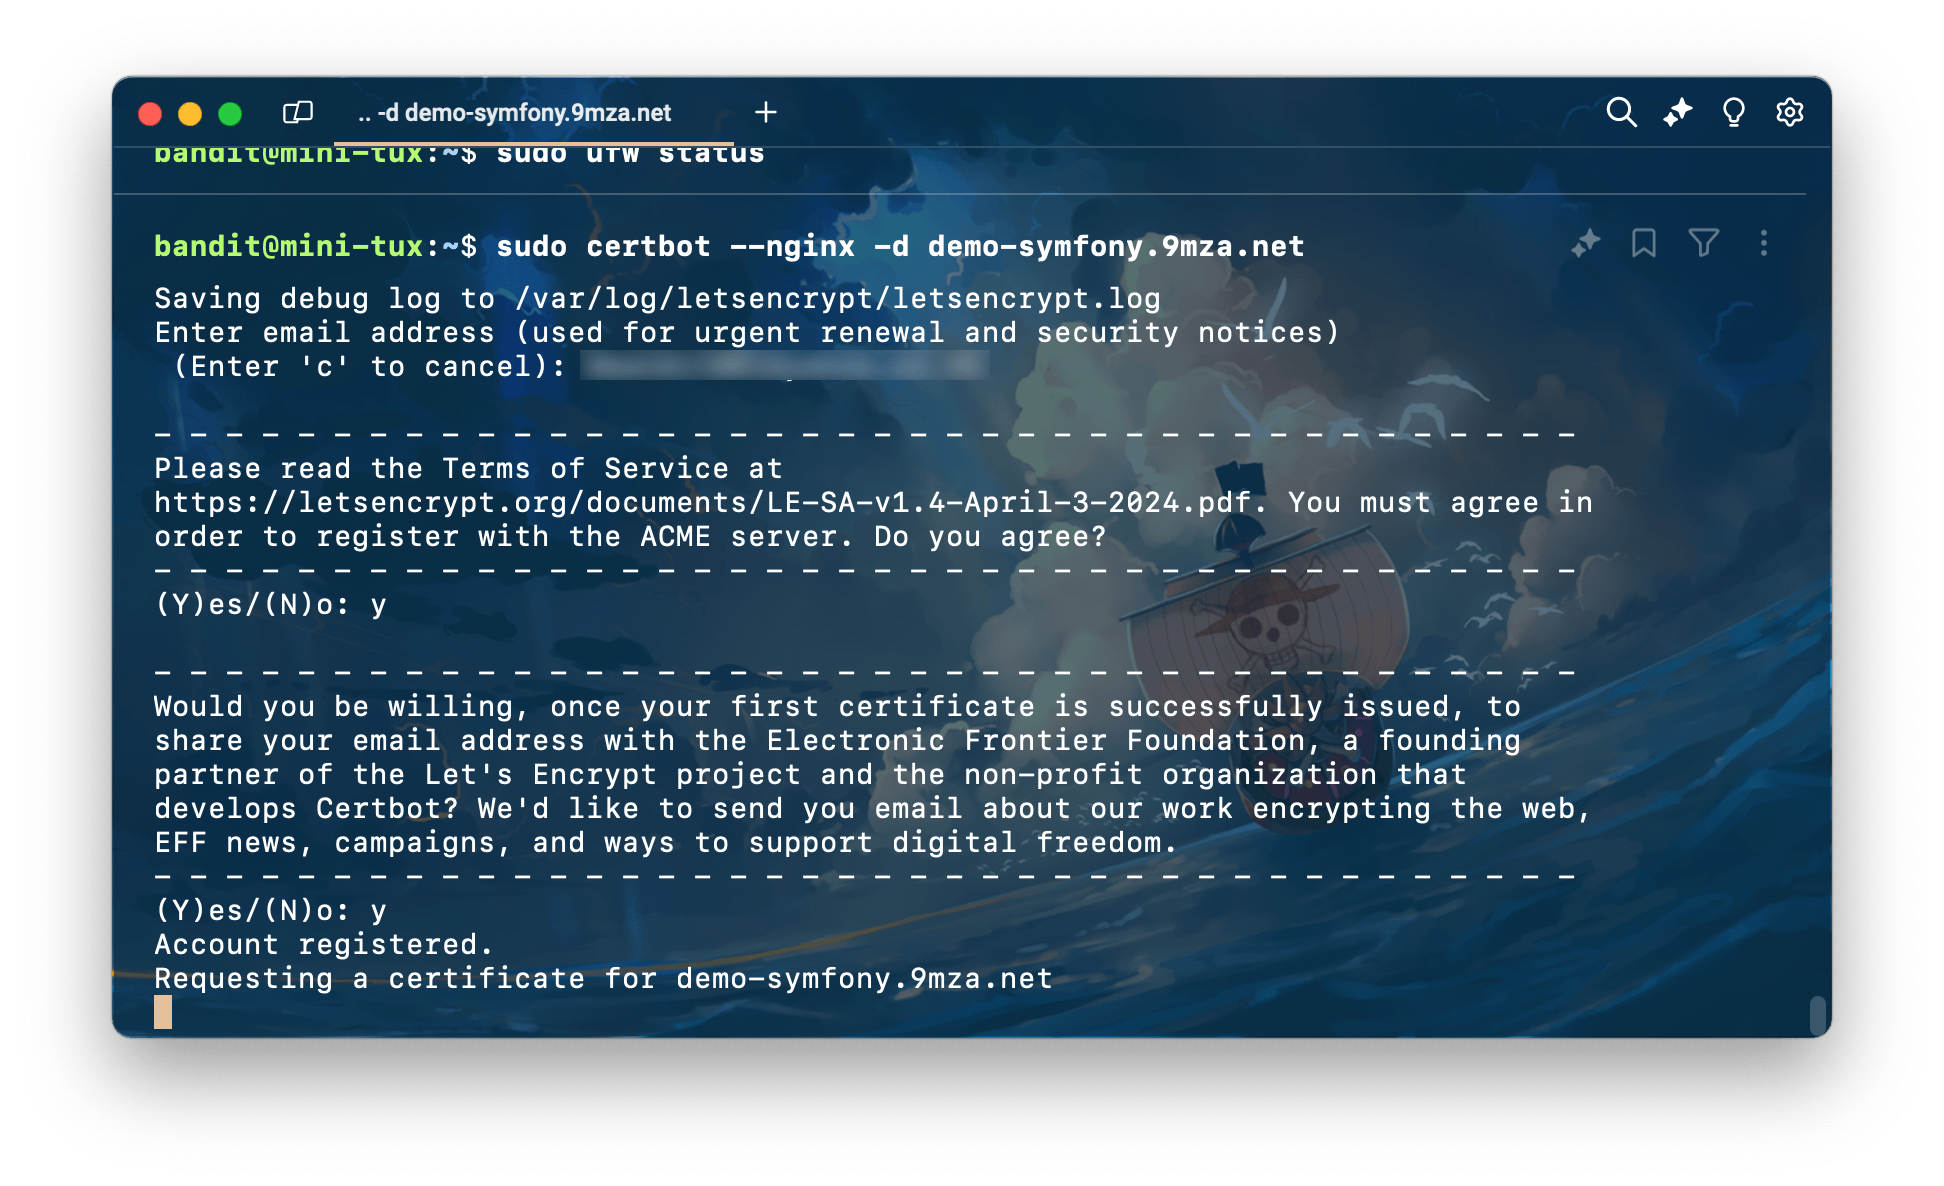
ต่อมาใช้ certbot เพื่อตั้งค่า SSL ด้วยคำสั่ง
ตรงนี้ใครใช้ domain ไหน ก็ใส่ domain ของตัวเองได้เลย
sudo certbot --nginx -d demo-symfony.9mza.netจากนั้นกรอก email address เสร็จแล้วกด Enter
ตอบ y เพื่อยอมรับเงื่อนไขการใช้งาน
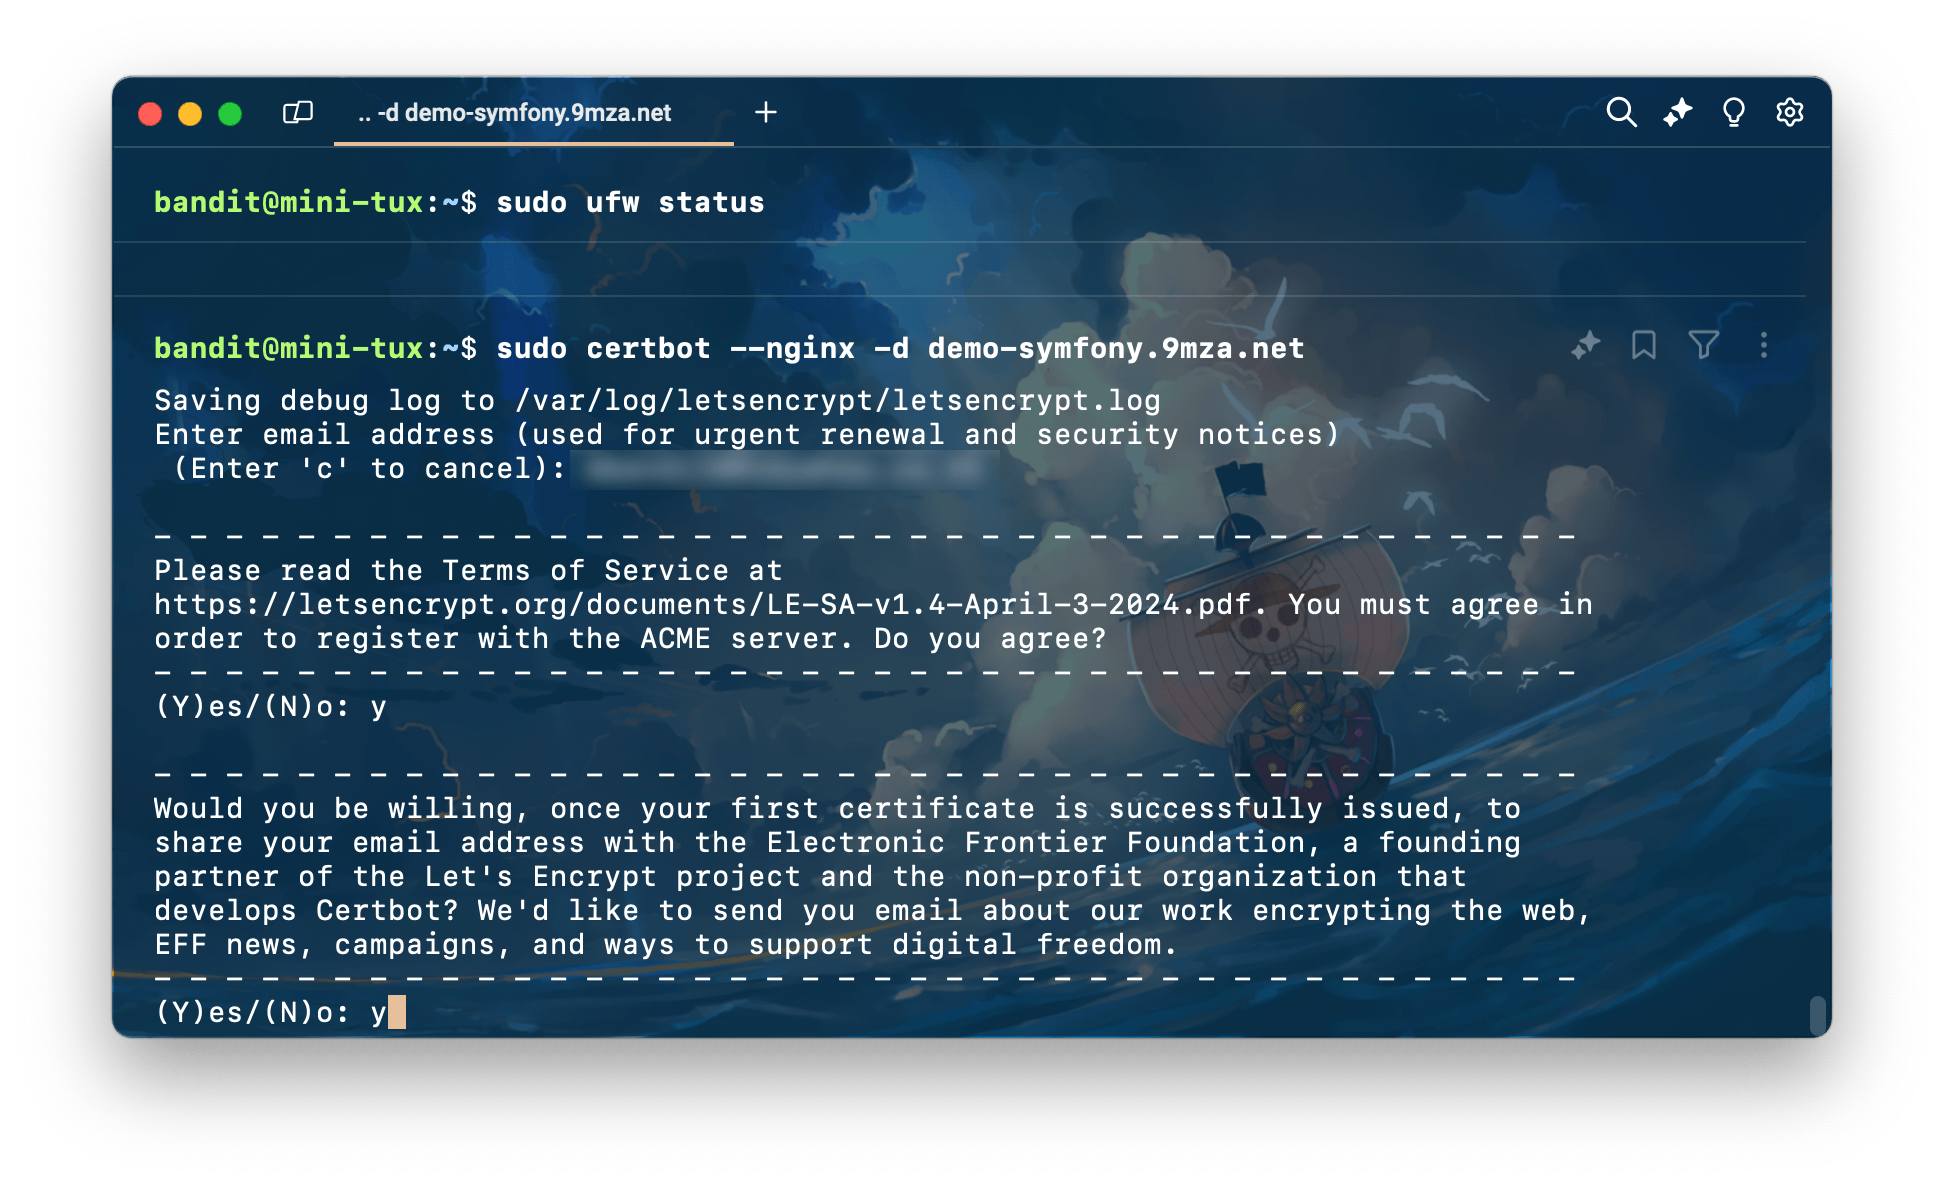
ตอบ y อีกครั้ง
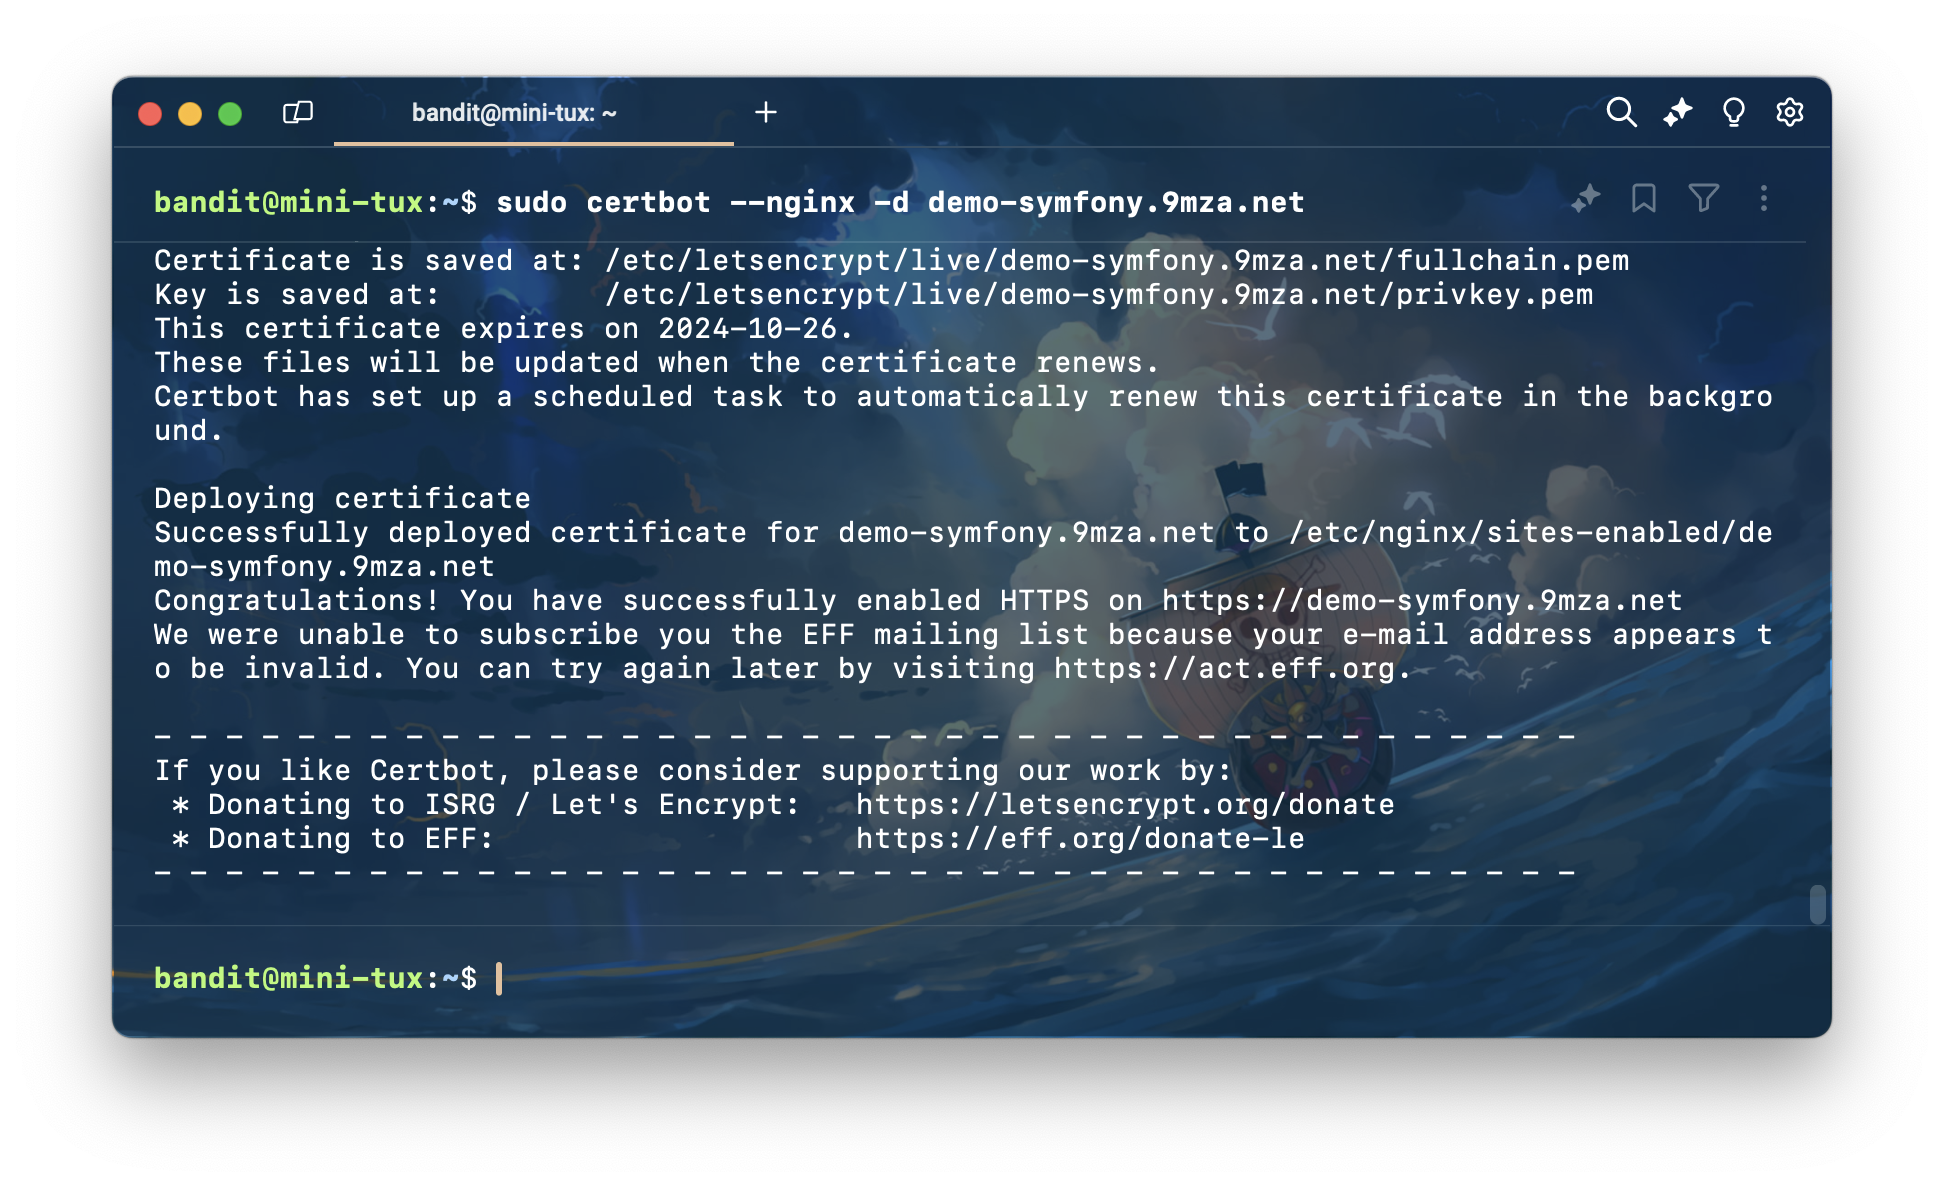
ถ้าขึ้นแบบนี้ ก็เป็นอันเรียบร้อยสำหรับการใส่ SSL Certificate
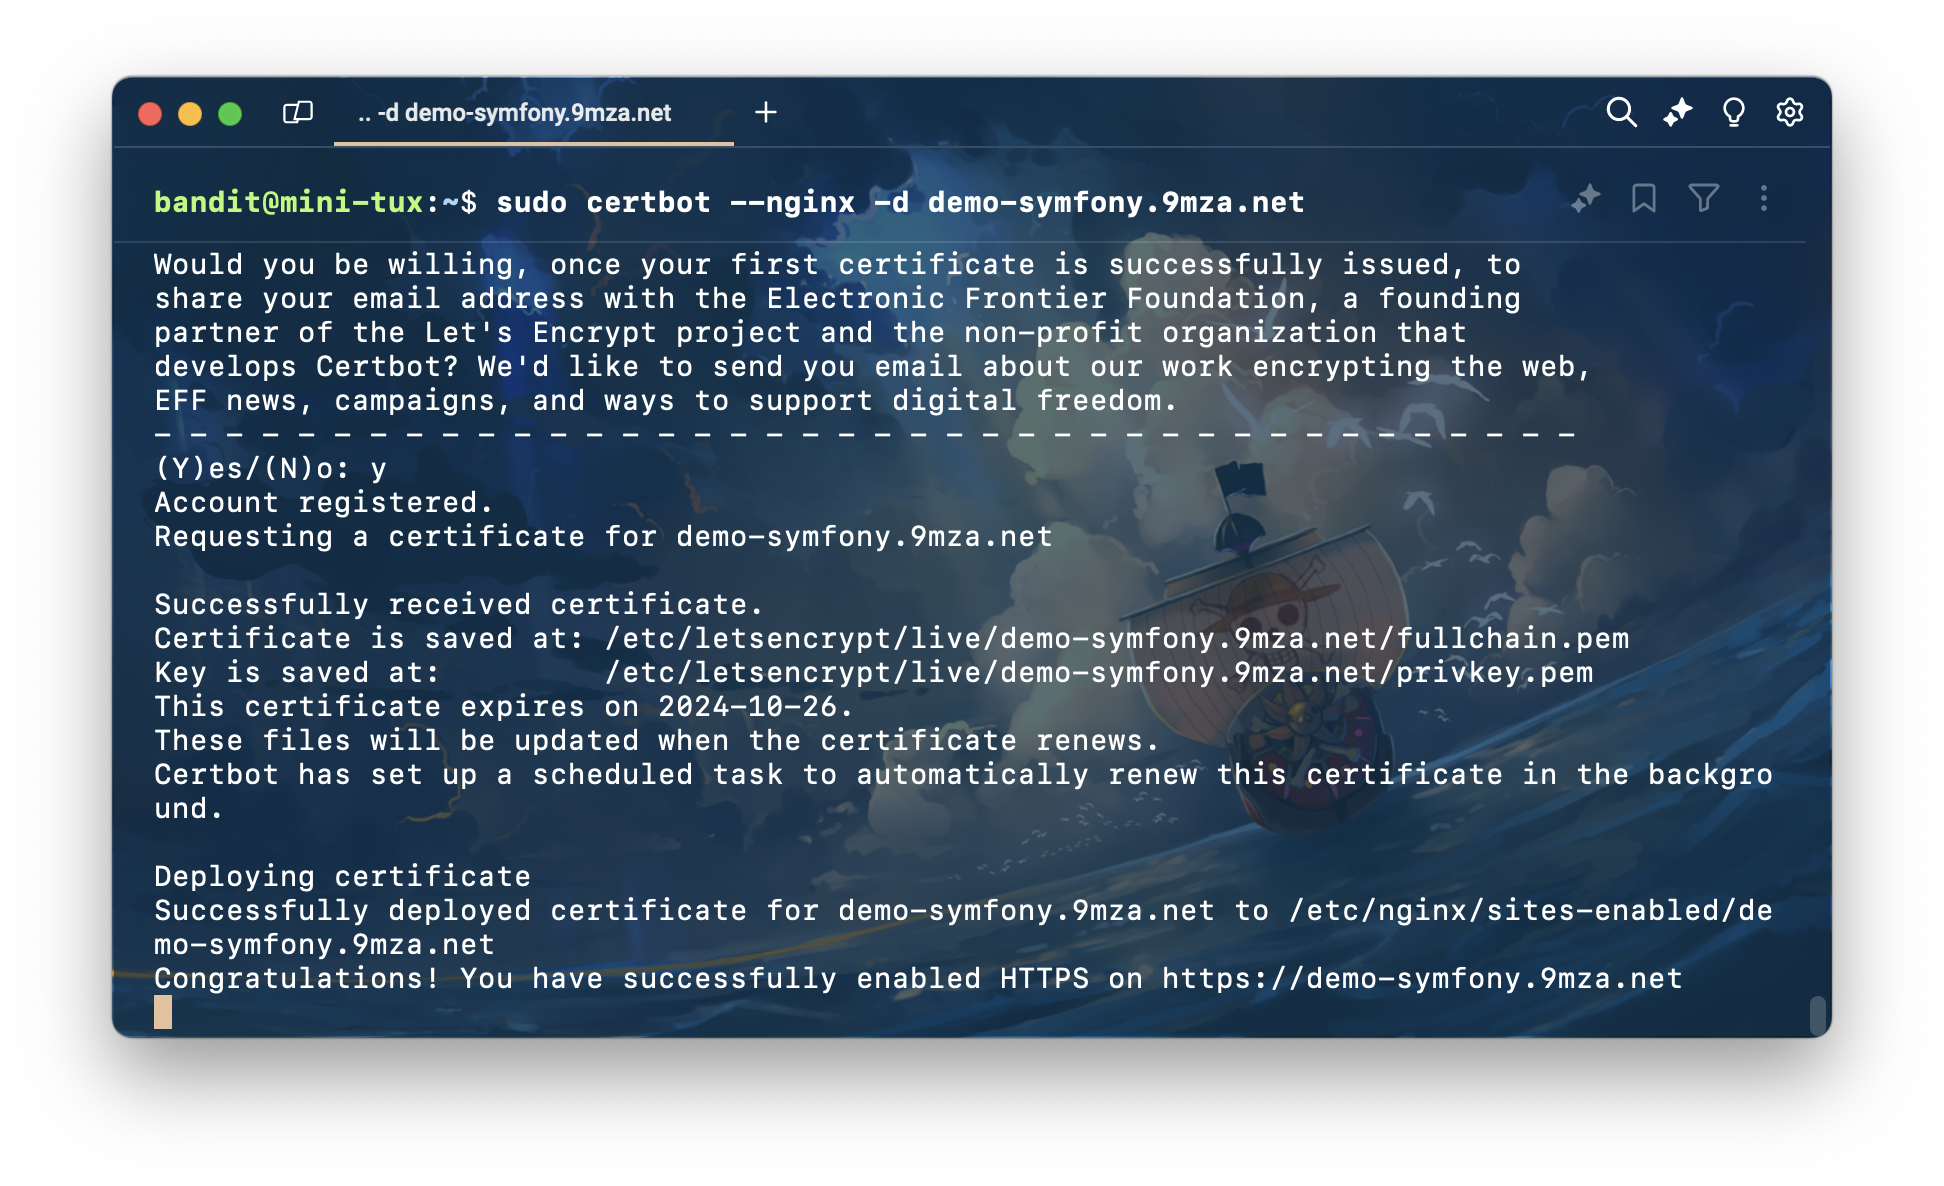
จากนั้นลองเข้ามาดูเว็บของเราใหม่ จะเห็นว่าข้อความ not secure จะหายไปแล้ว พร้อมมีรูปกุญแจ ก็เป็นอันเรียบร้อยสำหรับการใส่ SSL Certificate แล้ว
Production Environment
มาถึงขั้นตอนสุดท้ายละ ก็คือการทำให้ Symfony อยู่บน Production Environment ถ้าสั่งเกตจะเห็นแทบ Debug ด้านล่าง ซึ่งเราจะเอามันออกไปด้วยการเปลี่ยนเป็น Production Environment นั่นเอง
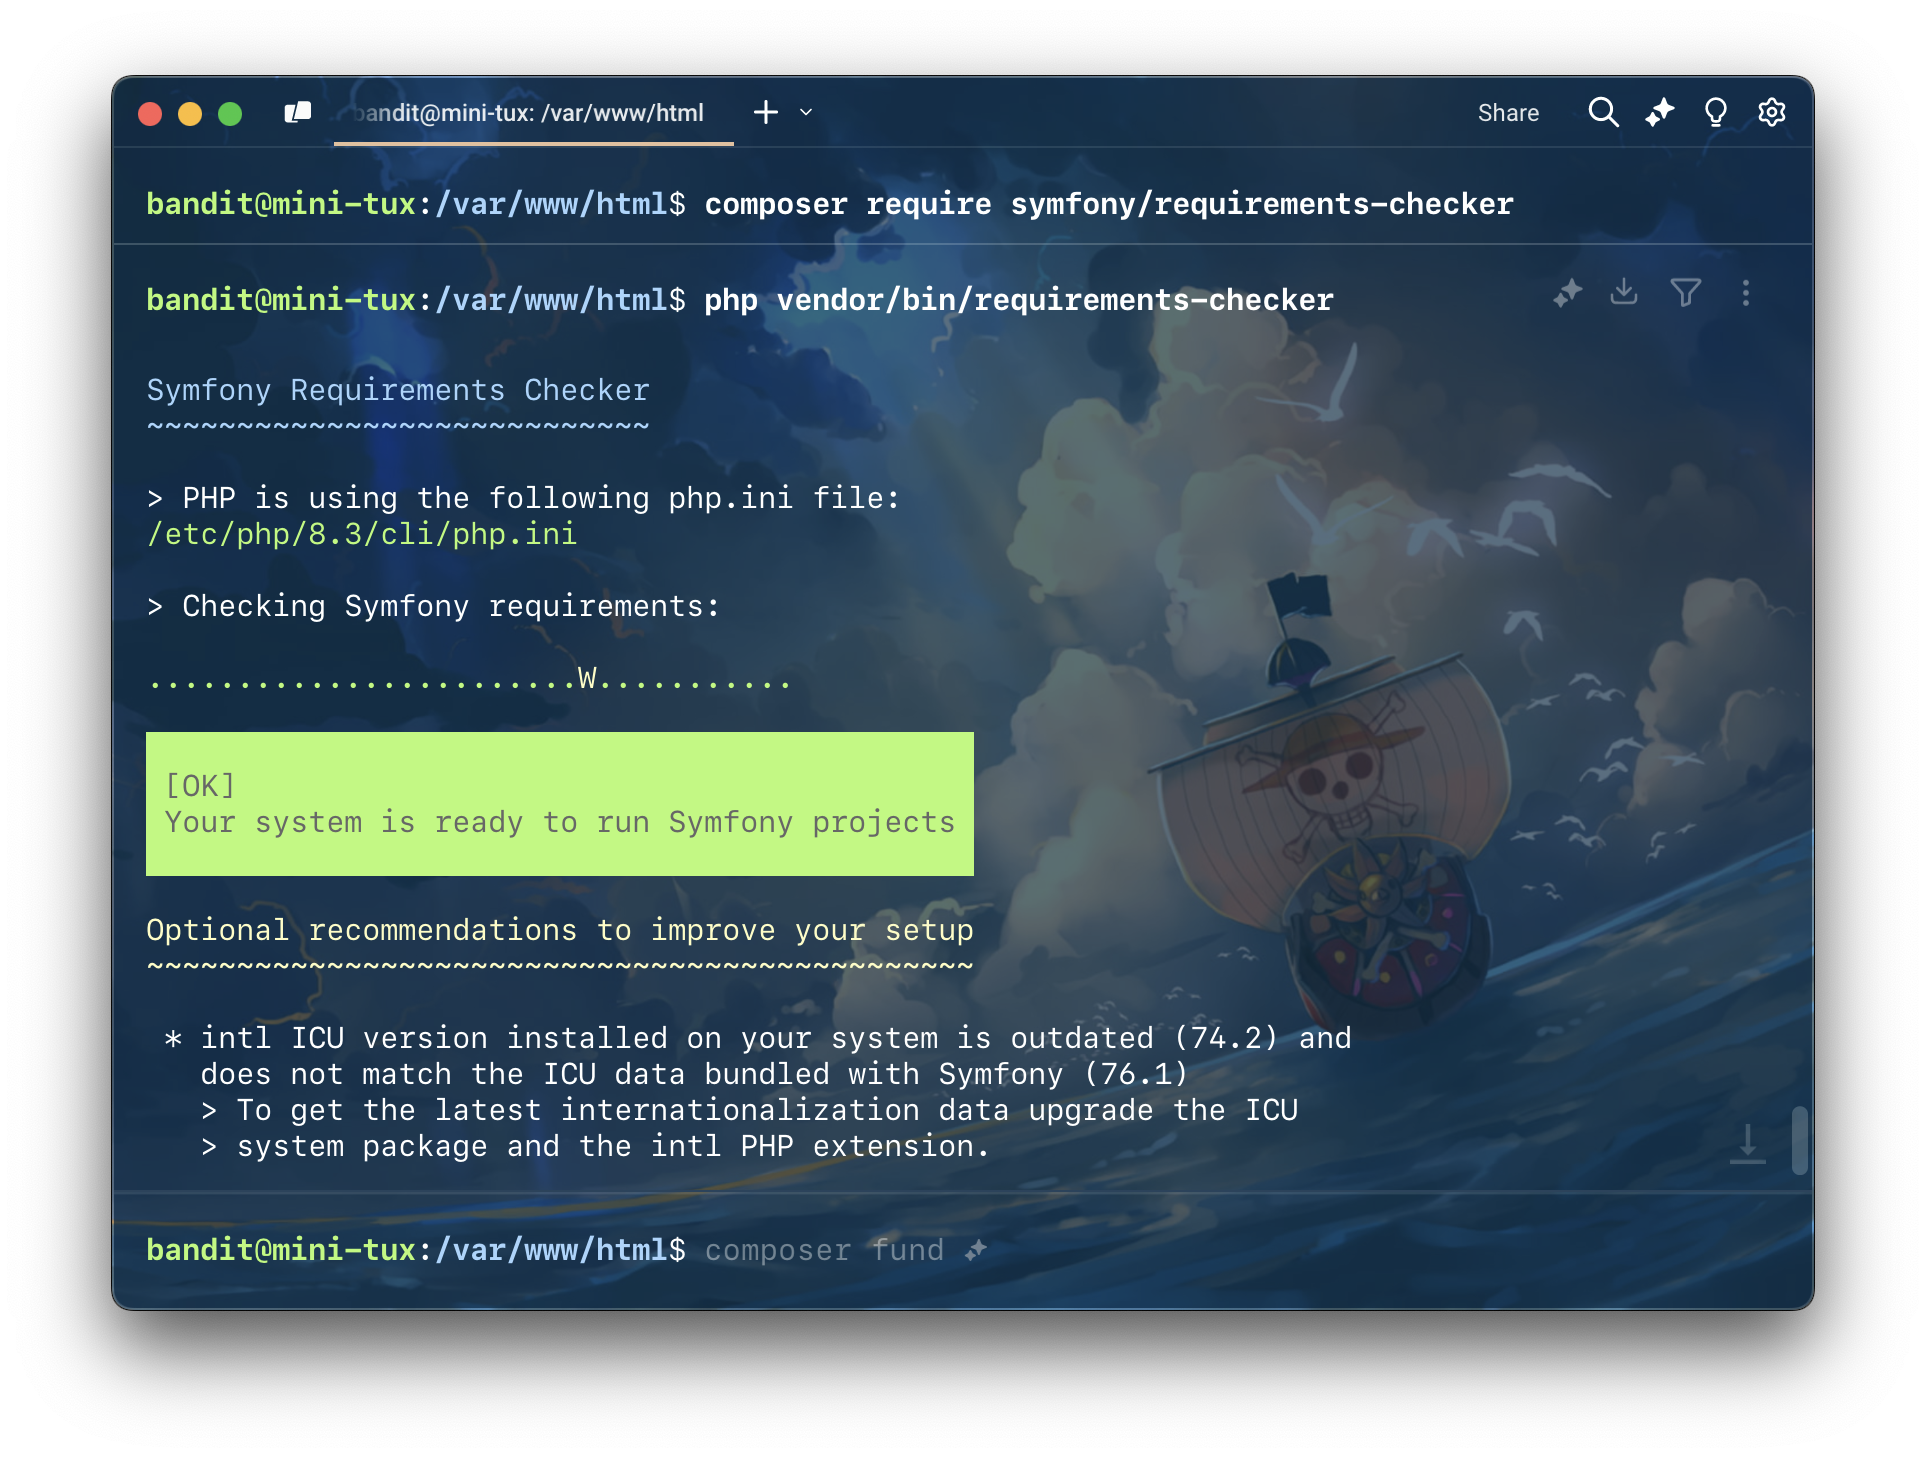
ก่อนอื่นเลยเรามาเช็ค symfony-requirements กันก่อน (ซึ่งจริงๆ เราควรจะทำเป็นอันดับแรก แต่ผมลืม 😅 ก็เลยเอาไว้ท้ายๆ เลยละกัน)
โดยเราจะ cd เข้าไปที่ project ของเรา แล้วต้องติดตั้ง symfony-requirements
composer require symfony/requirements-checkerจากนั้น ใช้คําสั่ง
php vendor/bin/requirements-checkerเพื่อเช็ค requirements ของ Symfony ว่าทุกอย่างติดตั้งครบตามที่ Symfony ต้องการ
จากนั้นทำการ dump env เป็น prod ด้วยคำสั่งนี้
ขั้นตอนนี้ก็คือการเปลี่ยนเปลี่ยน environment ของ Symfony เป็น Production นั่นเอง
composer dump-env prodถ้าสำเร็จจะขึ้นข้อความแบบนี้

จากนั้นทำการ install dependencies ใหม่ โดยรอบนี้เราจะไม่ติดตั้ง dev dependencies แล้ว
composer install --no-dev --optimize-autoloader
ลองเข้าเว็บจะขึ้นหน้าจอ error แบบนี้
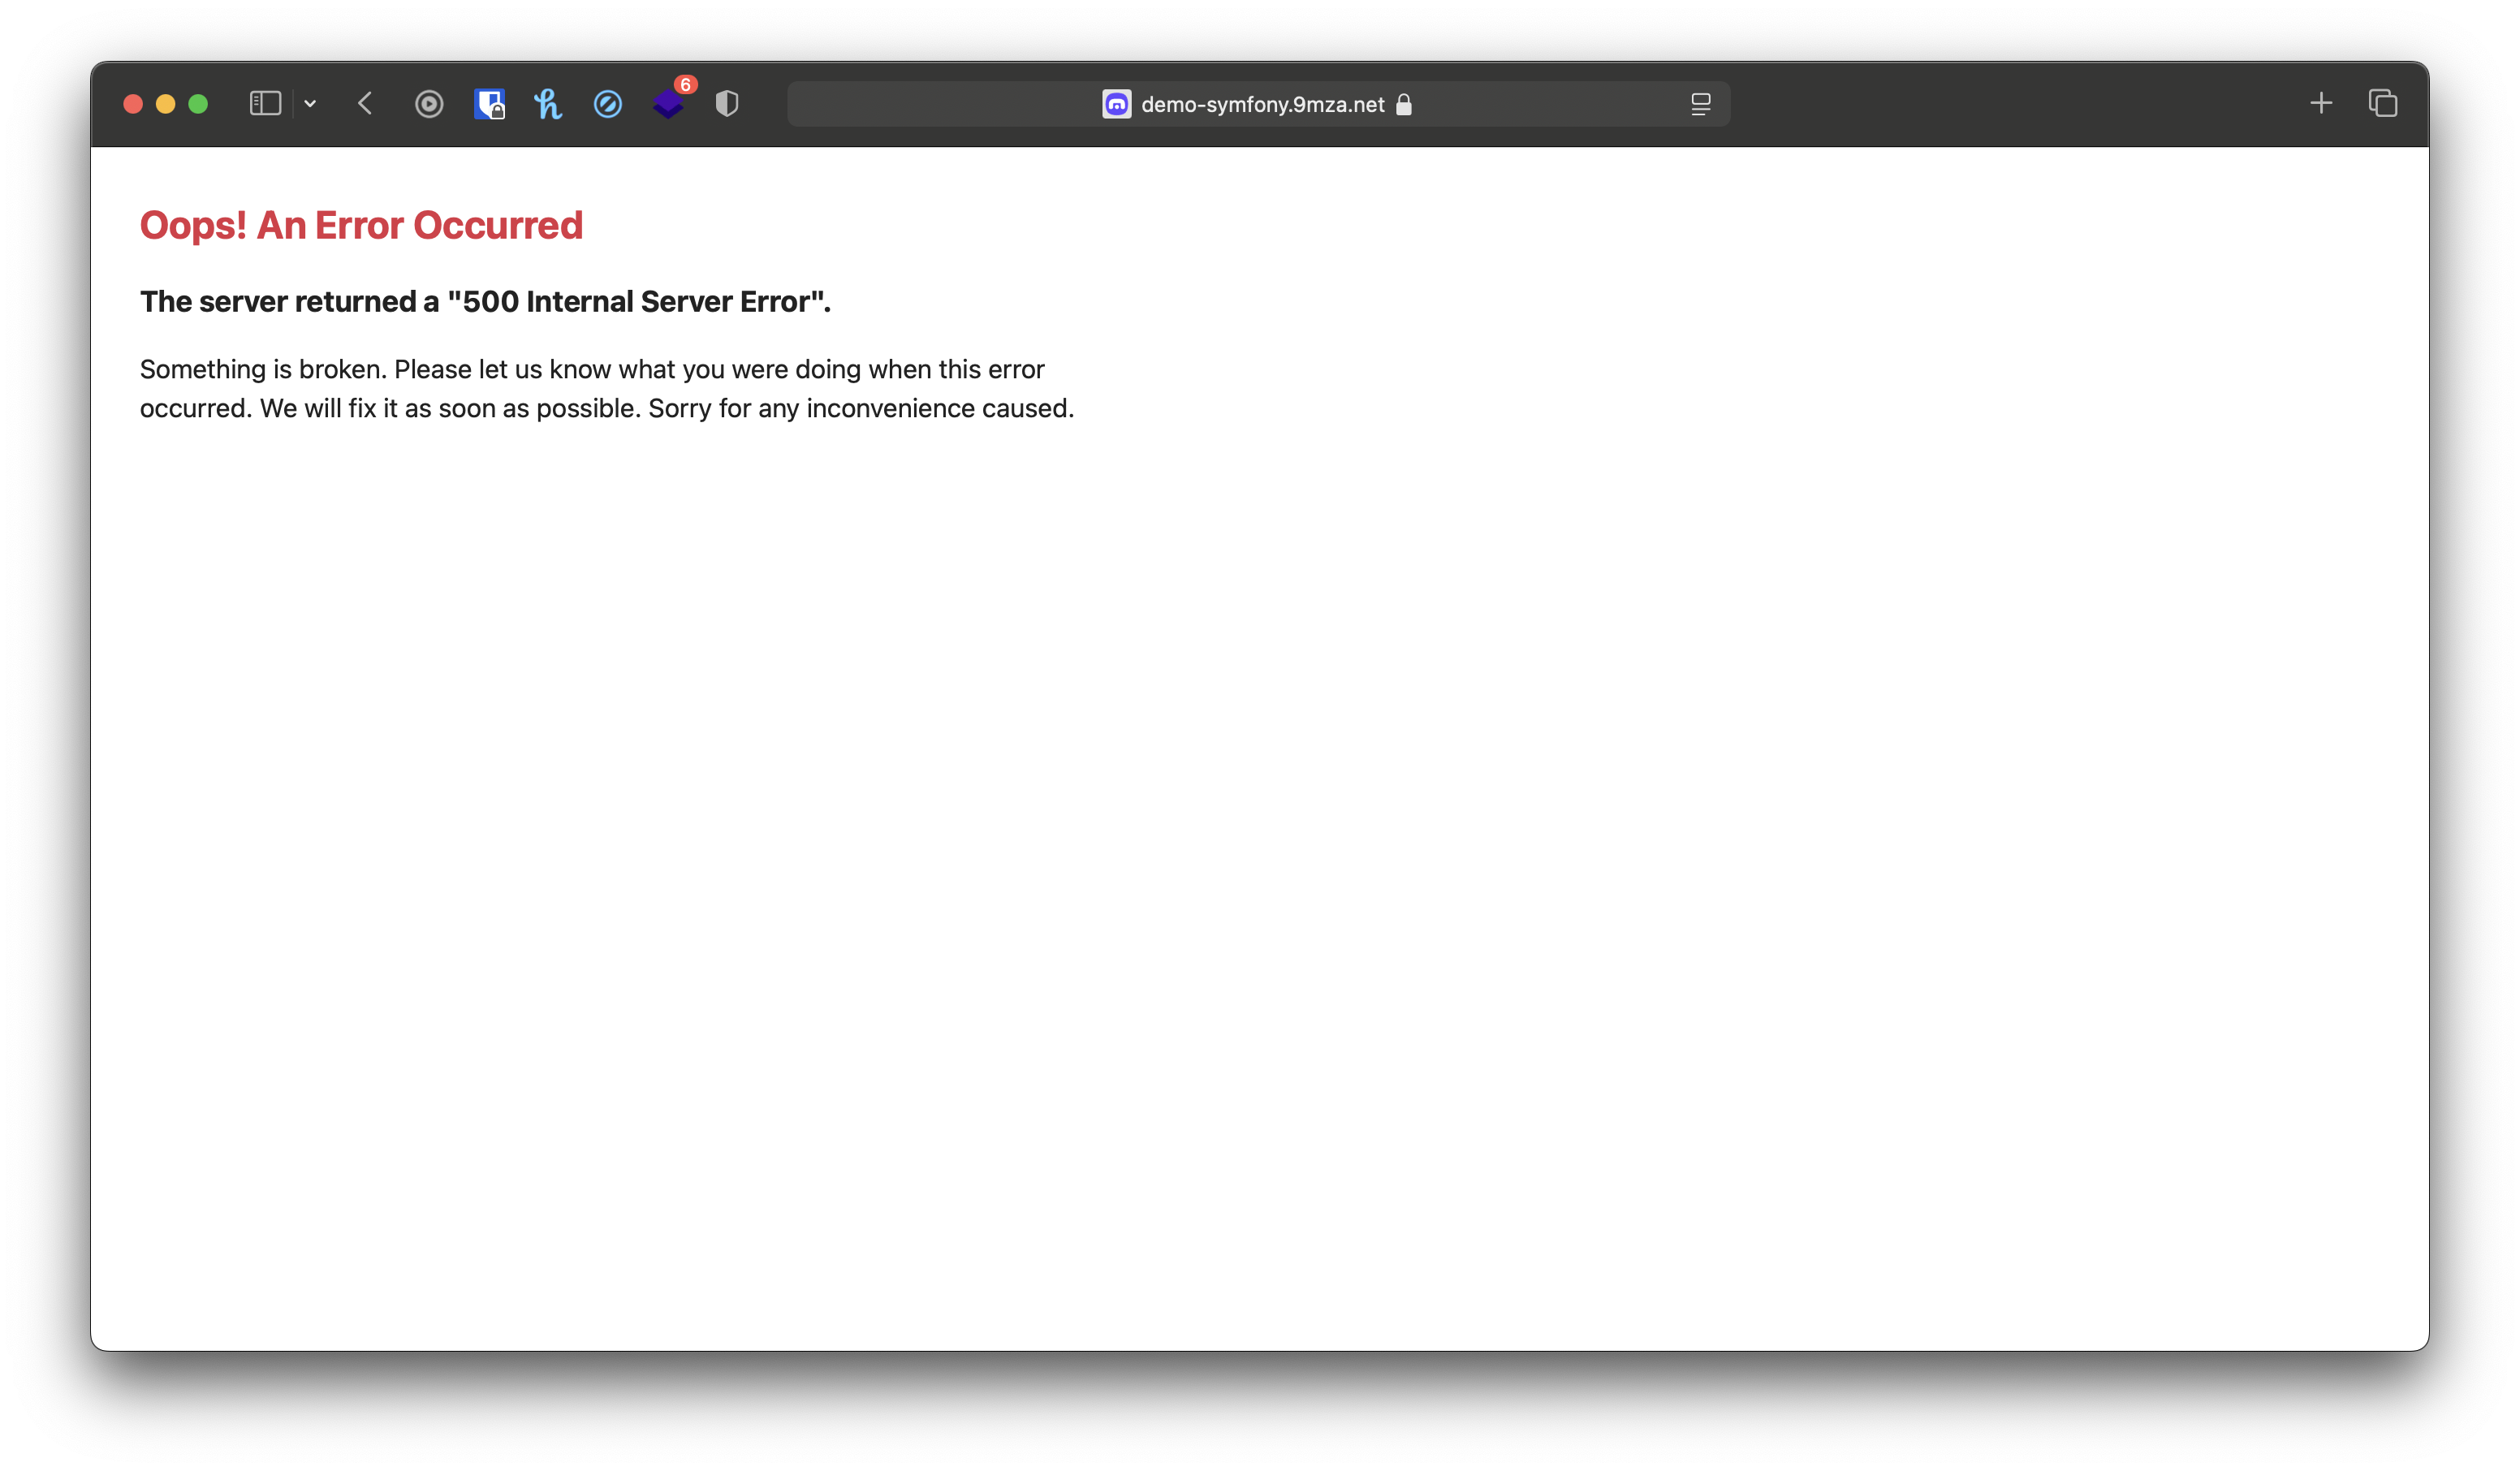
ก็ไม่ต้องตกใจไป
ให้พิมพ์คำสั่งนี้เพื่อ ล้าง cache
APP_ENV=prod APP_DEBUG=0 php bin/console cache:clear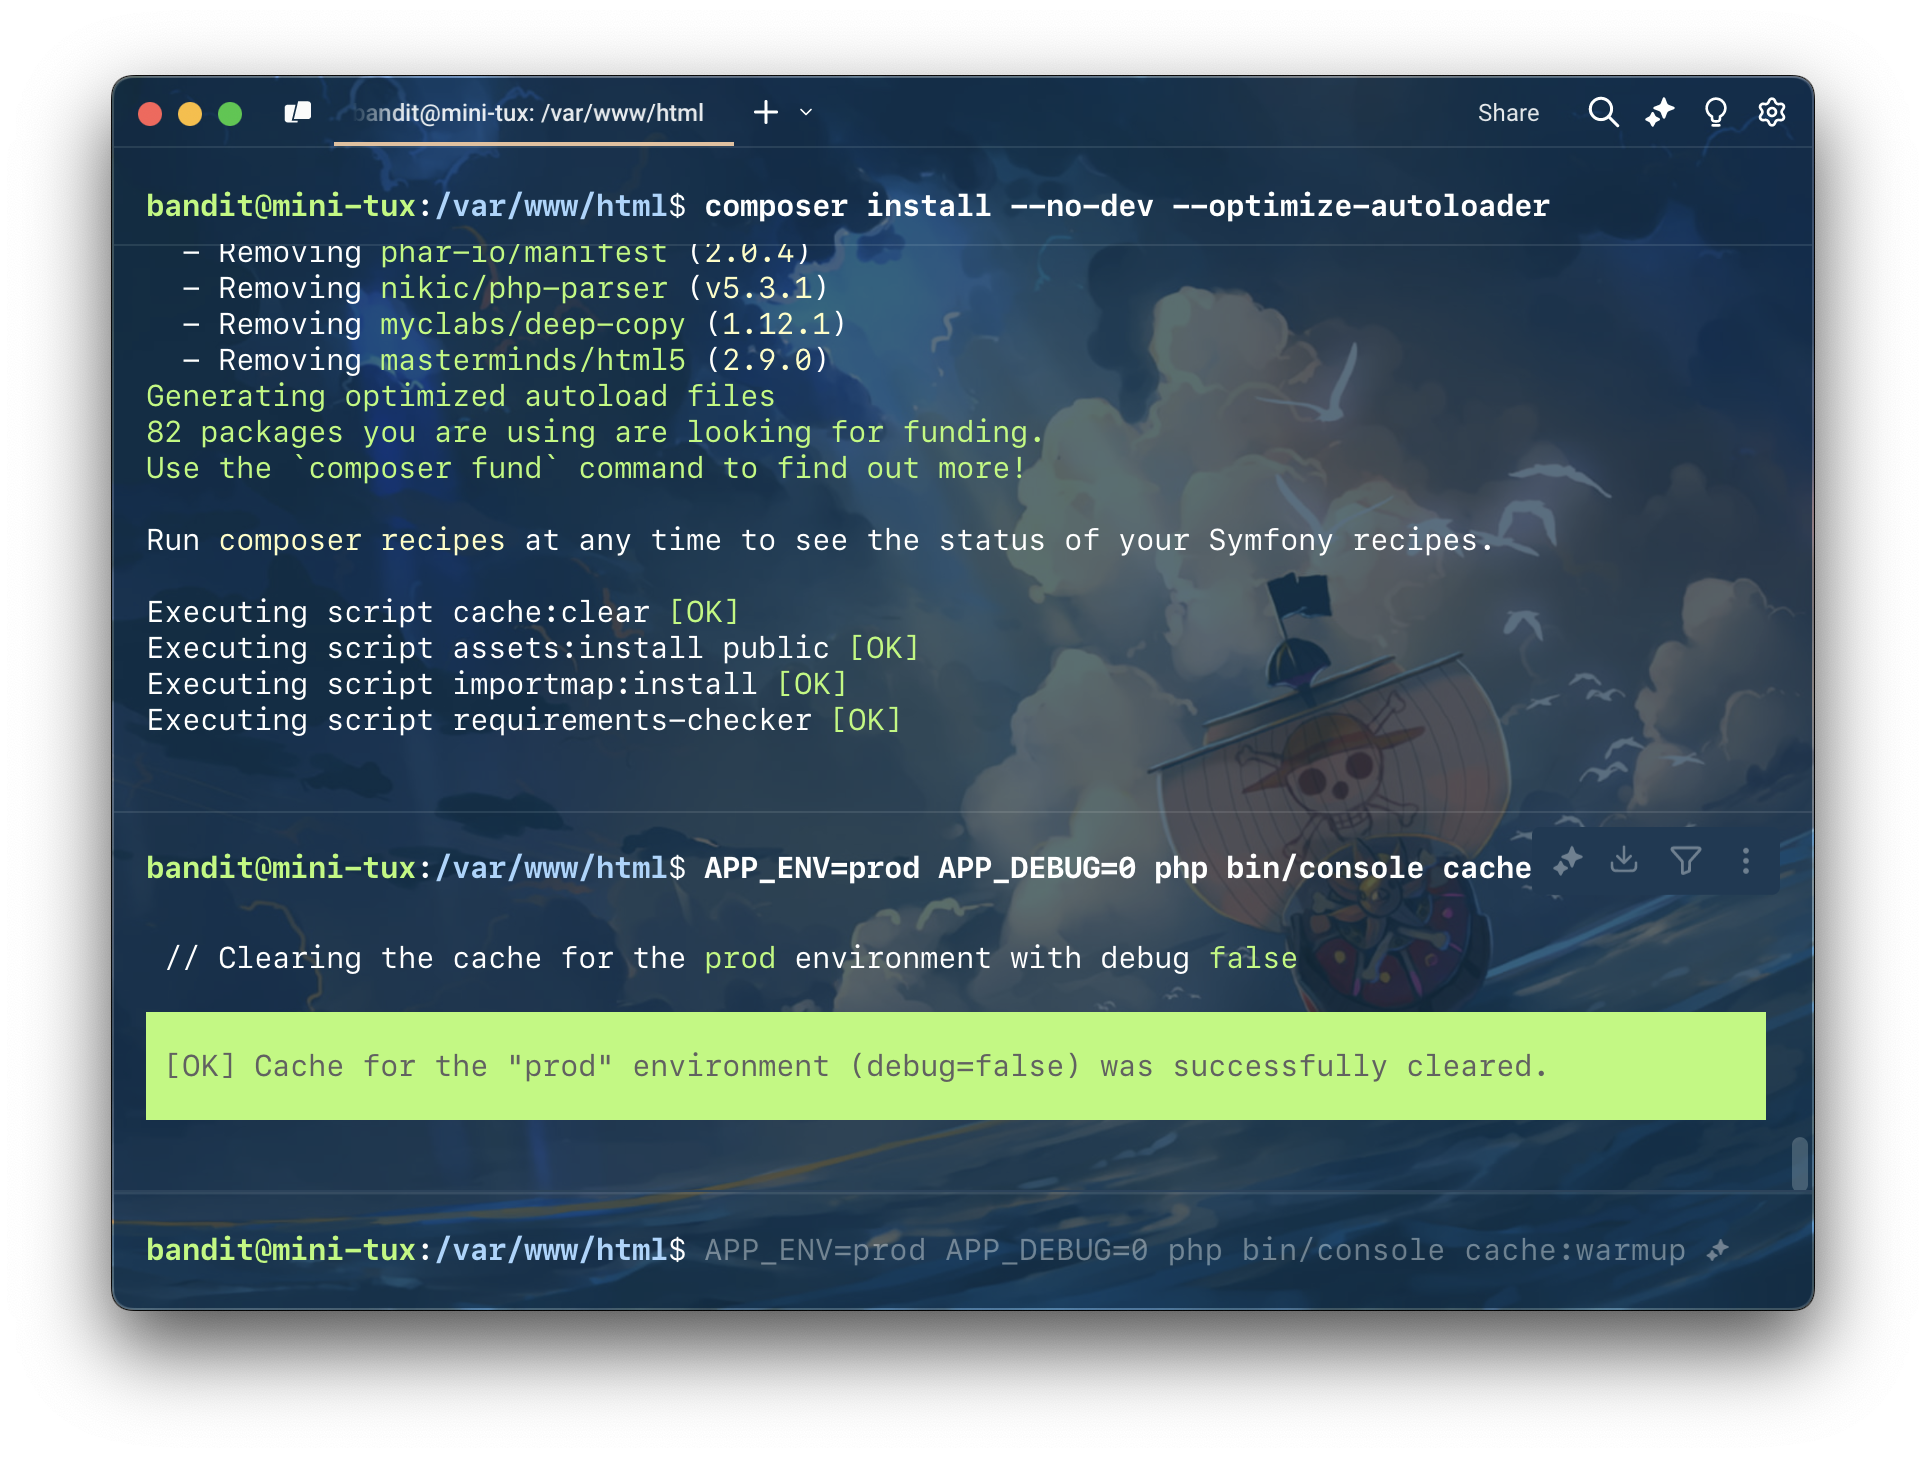
จากนั้นเพิ่ม permission ใน var/prod ด้วยคำสั่ง
sudo chmod -R 777 var/cache/prod/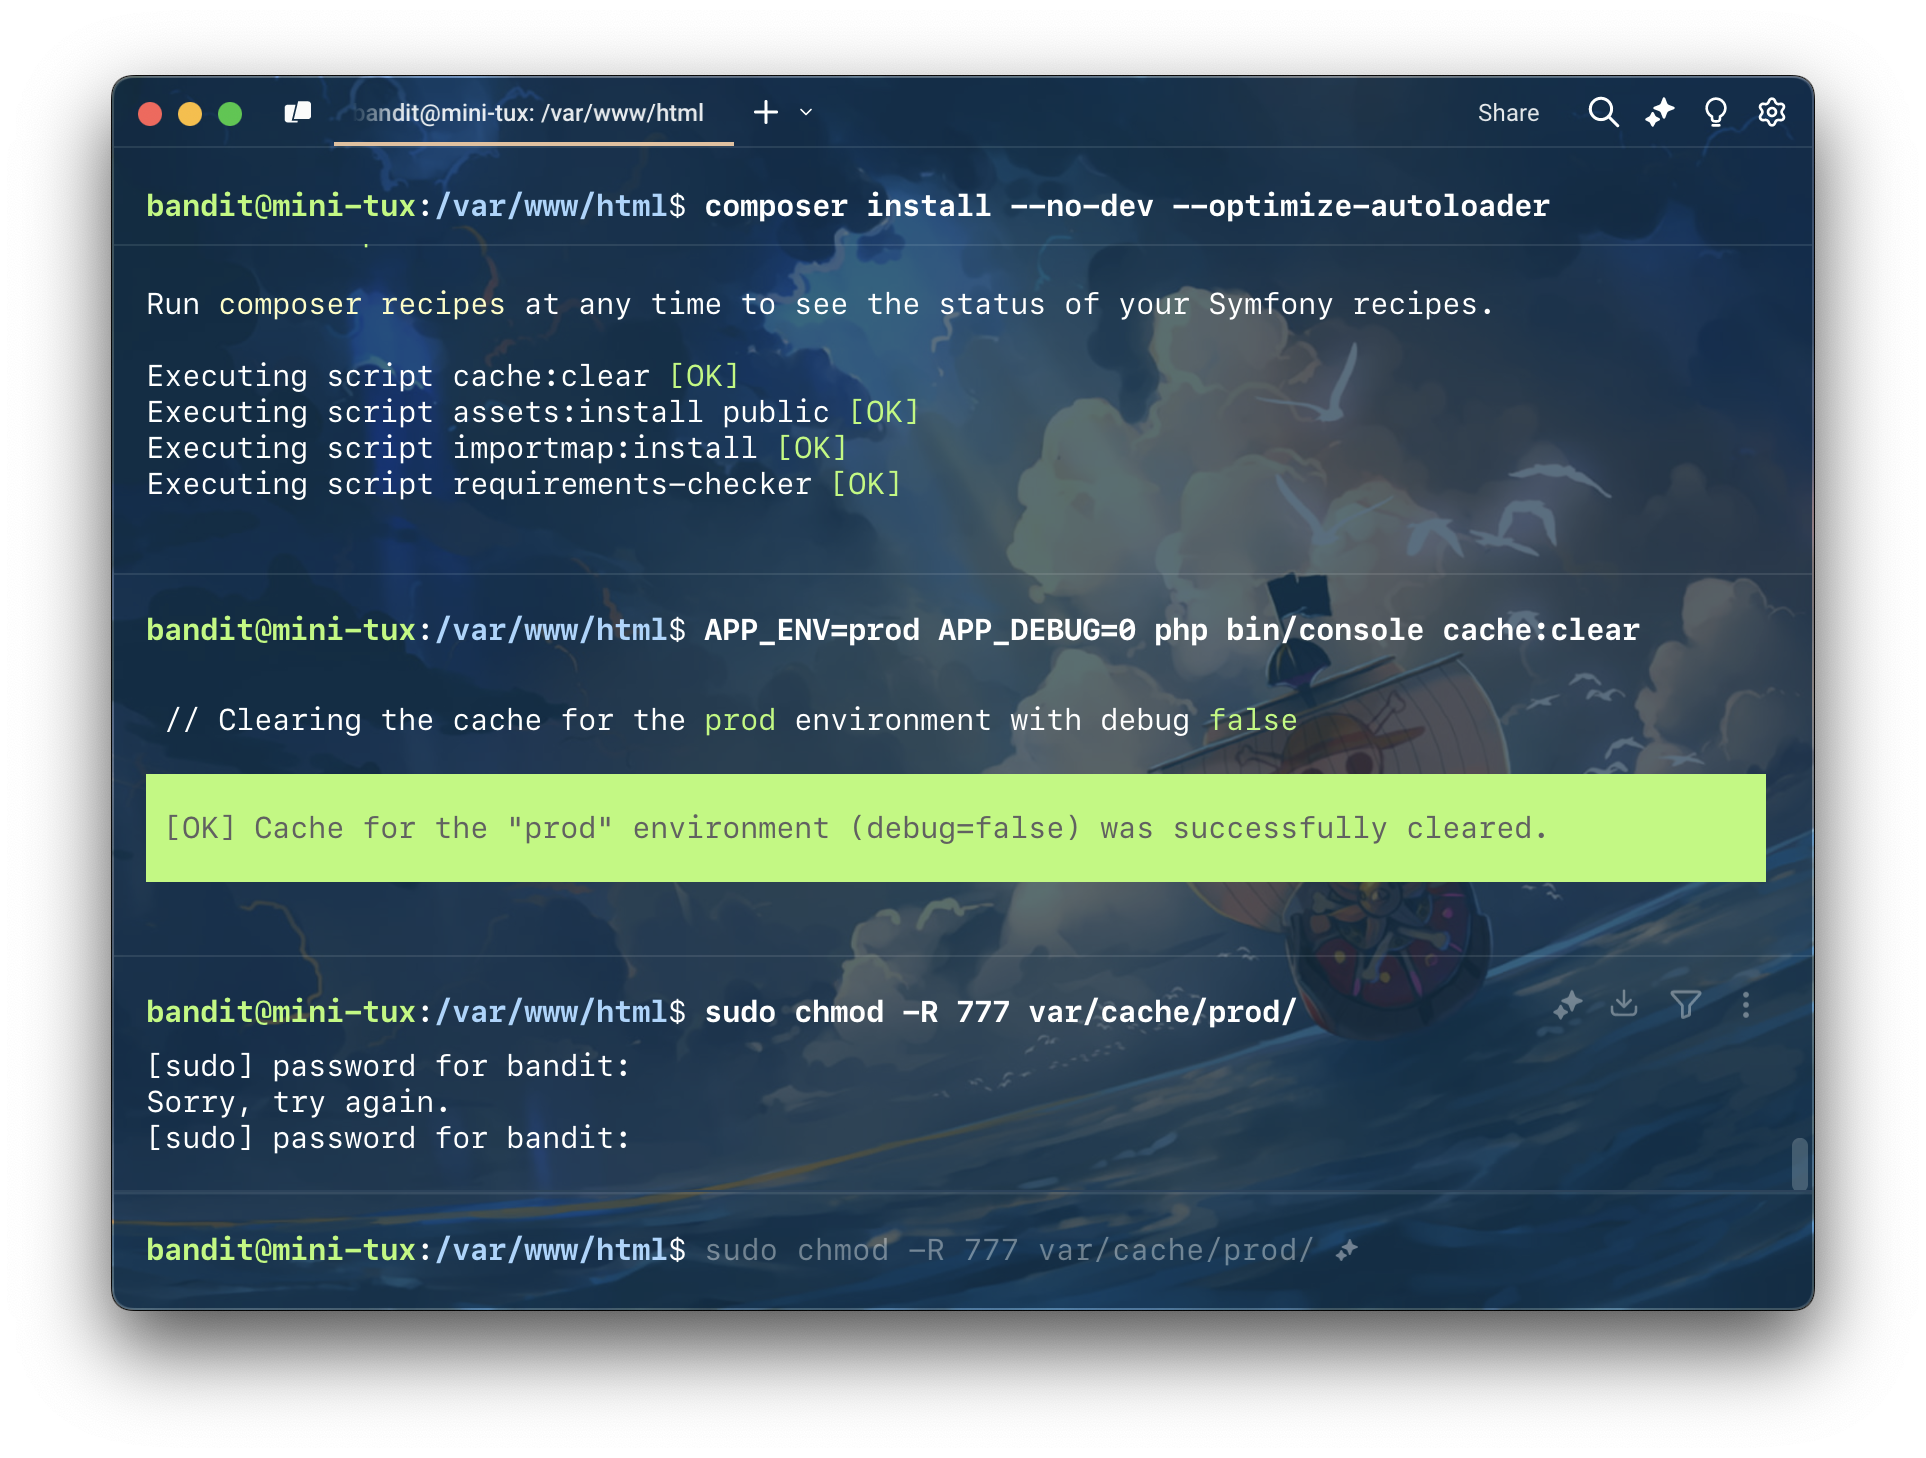
ลองเข้าเว็บดูอีกที
ก็เป็นอันใช้ได้ ก็จะเห็นว่าไม่ error และ แถบ debug ได้หายไปแล้ว
ก็หวังว่าบทความนี้จะช่วยสำหรับใครที่กำลังมองหาวิธีการ deploy Symfony บน Digital Ocean กันนะครับ สงสัยตรงไหนพิมพ์ไว้ด้านล่างได้เลยนะครับ