
ในบทความนี้ผมจะพูดถึงการ Deploy Symfony ไปยัง Droplet บน DigitalOcean โดย OS ที่ใช้จะเป็น ubuntu เพราะน่าจะง่ายที่สุดละ (จริงๆ มันมี tutorials เยอะดี 😀) และใช้ nginx เป็น Web Server สาเหตุที่ไม่ใช้ apache เพราะผมไม่ชอบ syntax มันเลย ค่อนข้างชอบ syntax ของ nginx มากกว่า รู้สึกอ่านง่ายดี
มาพูดถึง Symfony กันหน่อยเผื่อใครไม่รู้จัก ตัว Symfony ก็เป็น Framework นึงจากฝั่ง PHP ส่วน ซึ่งผมก็มีบางงานที่ต้อง Deploy ก็เลยถือโอกาสมาเขียนเป็นบทความไว้ เผื่อใครกำลังจะหาวิธีการ Deploy อยู่พอดี อาจจะนำวิธีการที่ผมนำเสนอในบทความนี้ไปใช้ต่อได้ บวกกับผมก็จดไว้กันลืมอะแหละ ก็เลยมาเขียนเป็นบทความซะเลย
วิธีการนี้ก็อาจจะดูเป็นวิธีการที่ tranditional สักหน่อย (ใช้คำซะหรูเชียว) ยุคนี้มันต้อง Deploy ด้วย Container กันแล้ว ก็เอาไว้ก่อนละกัน เอาแบบบ้านๆ ไปก่อนนะ 😅
ผมขอข้ามวิธีการสมัครและสร้าง Droplet ใน DigitalOcean ไปเลยนะครับ เราเข้าสู่ขั้นตอนการ remote เข้าเครื่องเพื่อจัดการ server กันเลย
Setup Server
เริ่มด้วยการ remote เข้าไปที่ server ด้วย ssh
Remote to server
ใช้คำสั่ง ssh เพื่อเชื่อมต่อกับ server โดยวิธีการก็จะเป็น
ssh root@your_server_ip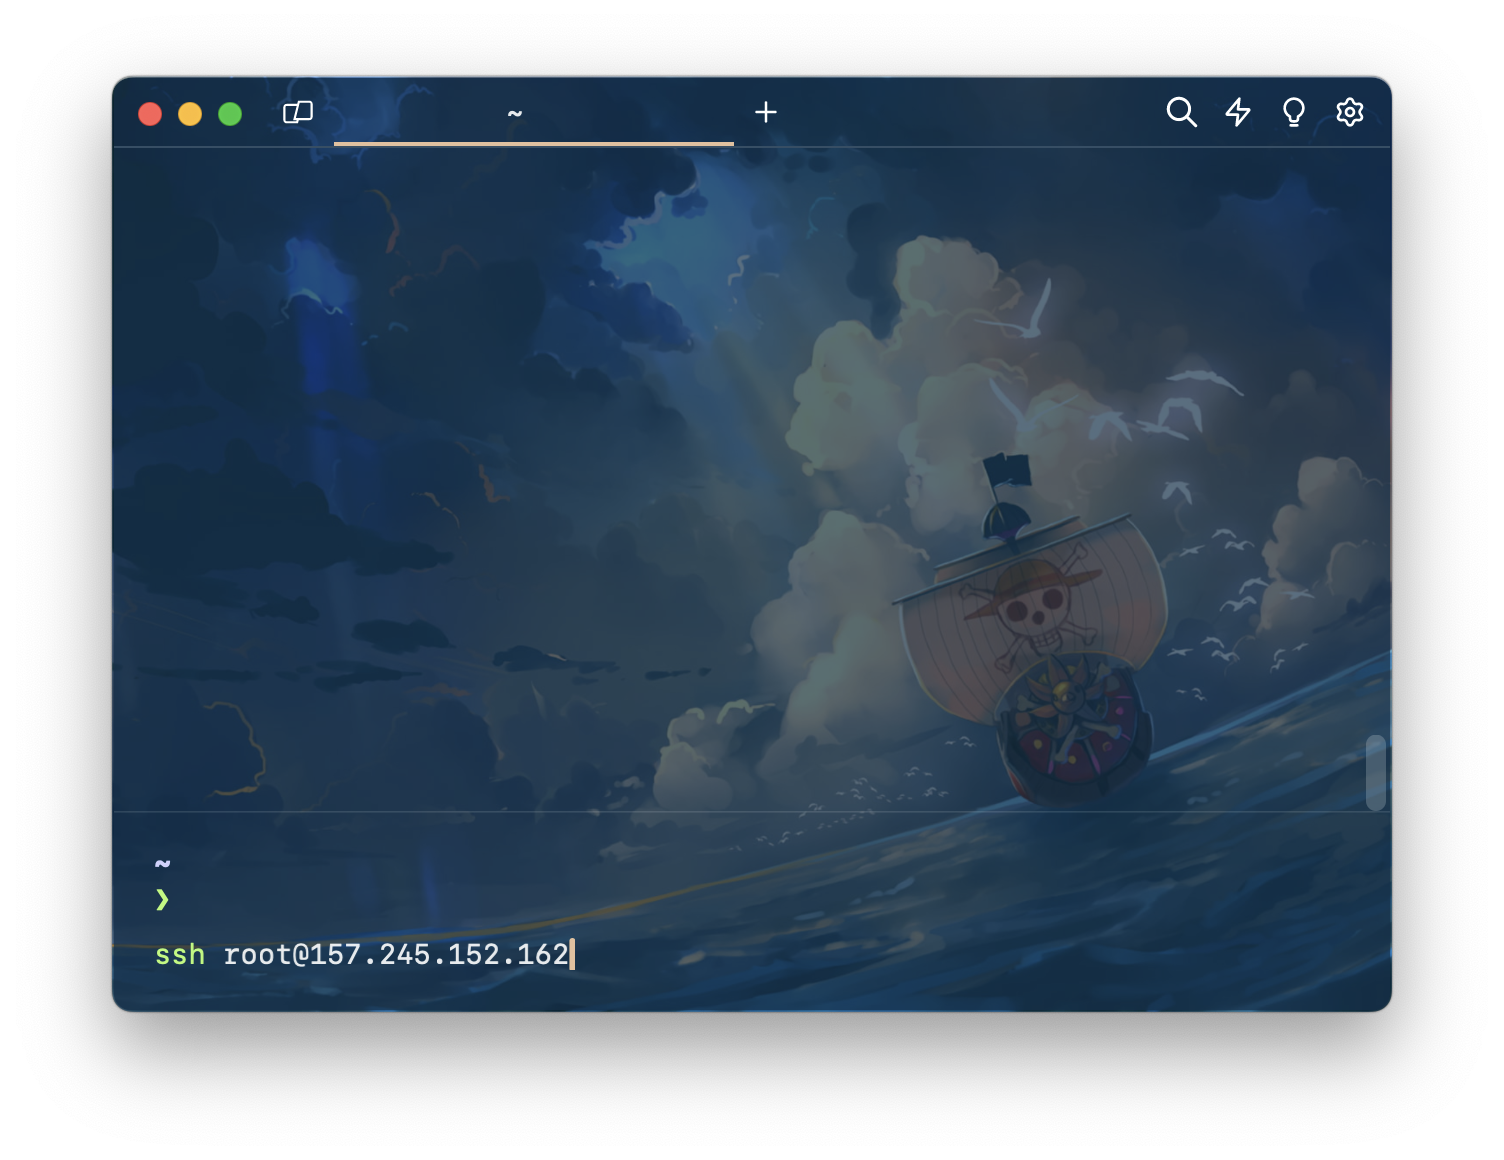
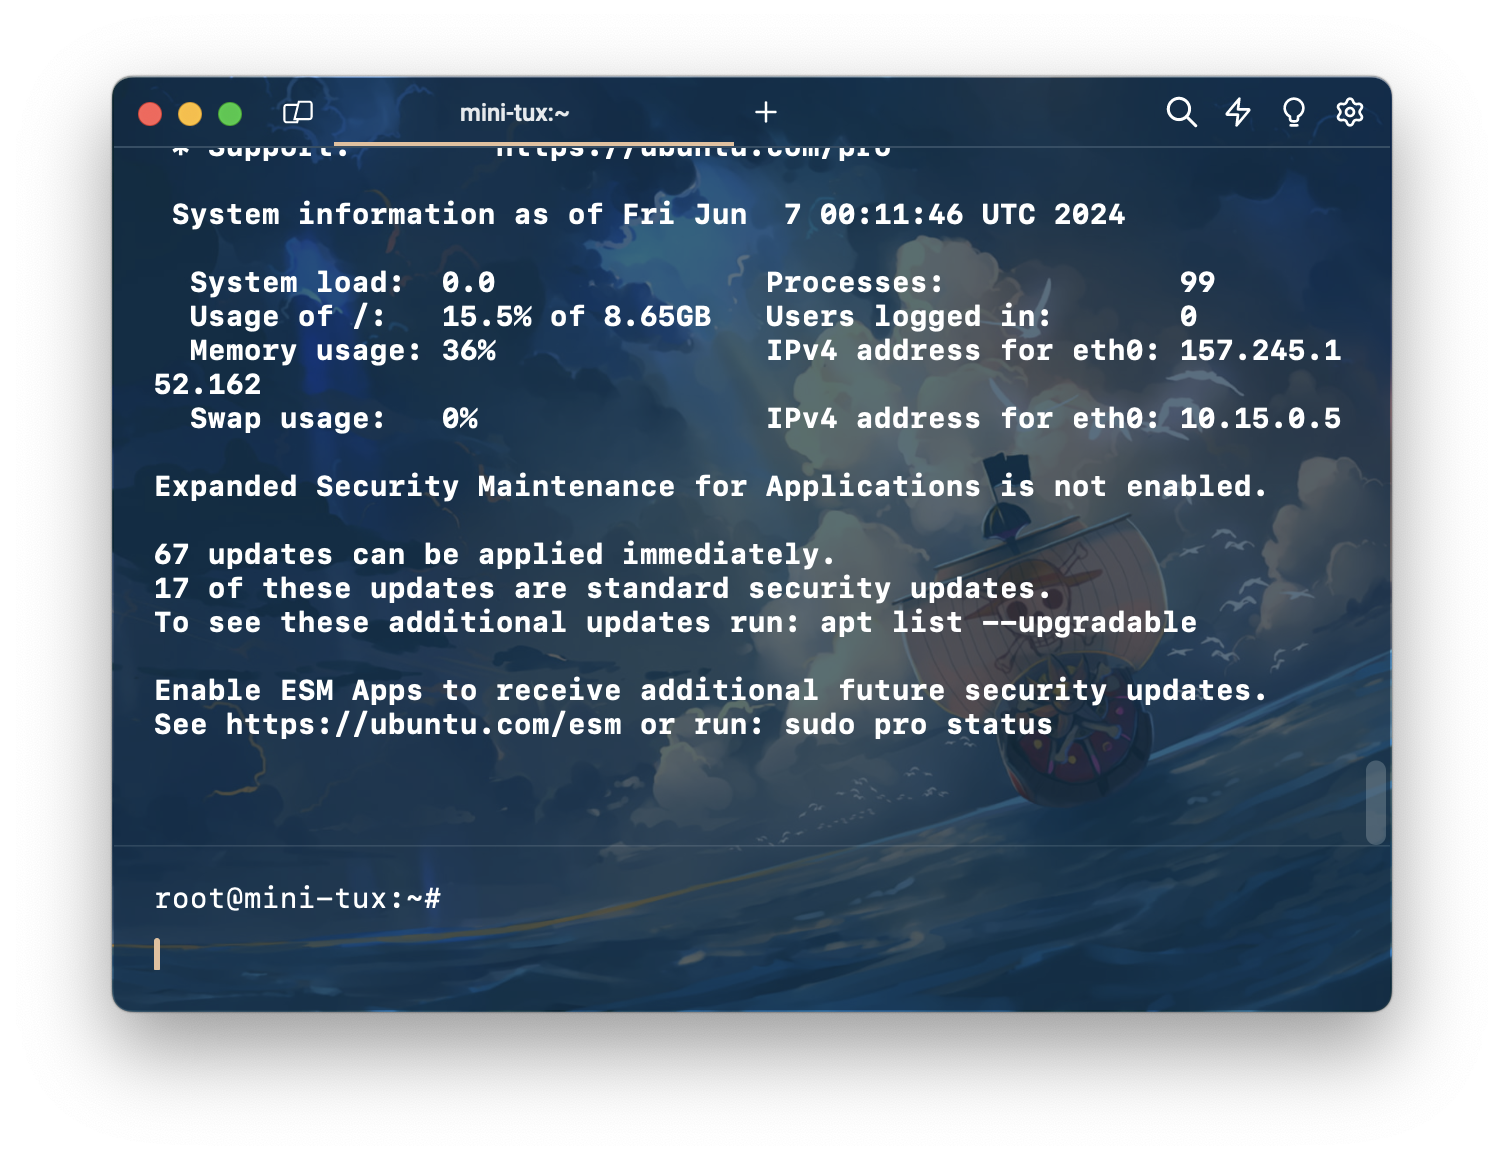
เมื่อเข้ามาแล้ว ก็จะได้หน้าตาแบบนี้
Create new user
ผมจะมาสร้าง user ใหม่ไว้ใช้ใน server กันก่อน เพราะไม่อยากจะใช้ root ตลอดเวลาขนาดนั้น
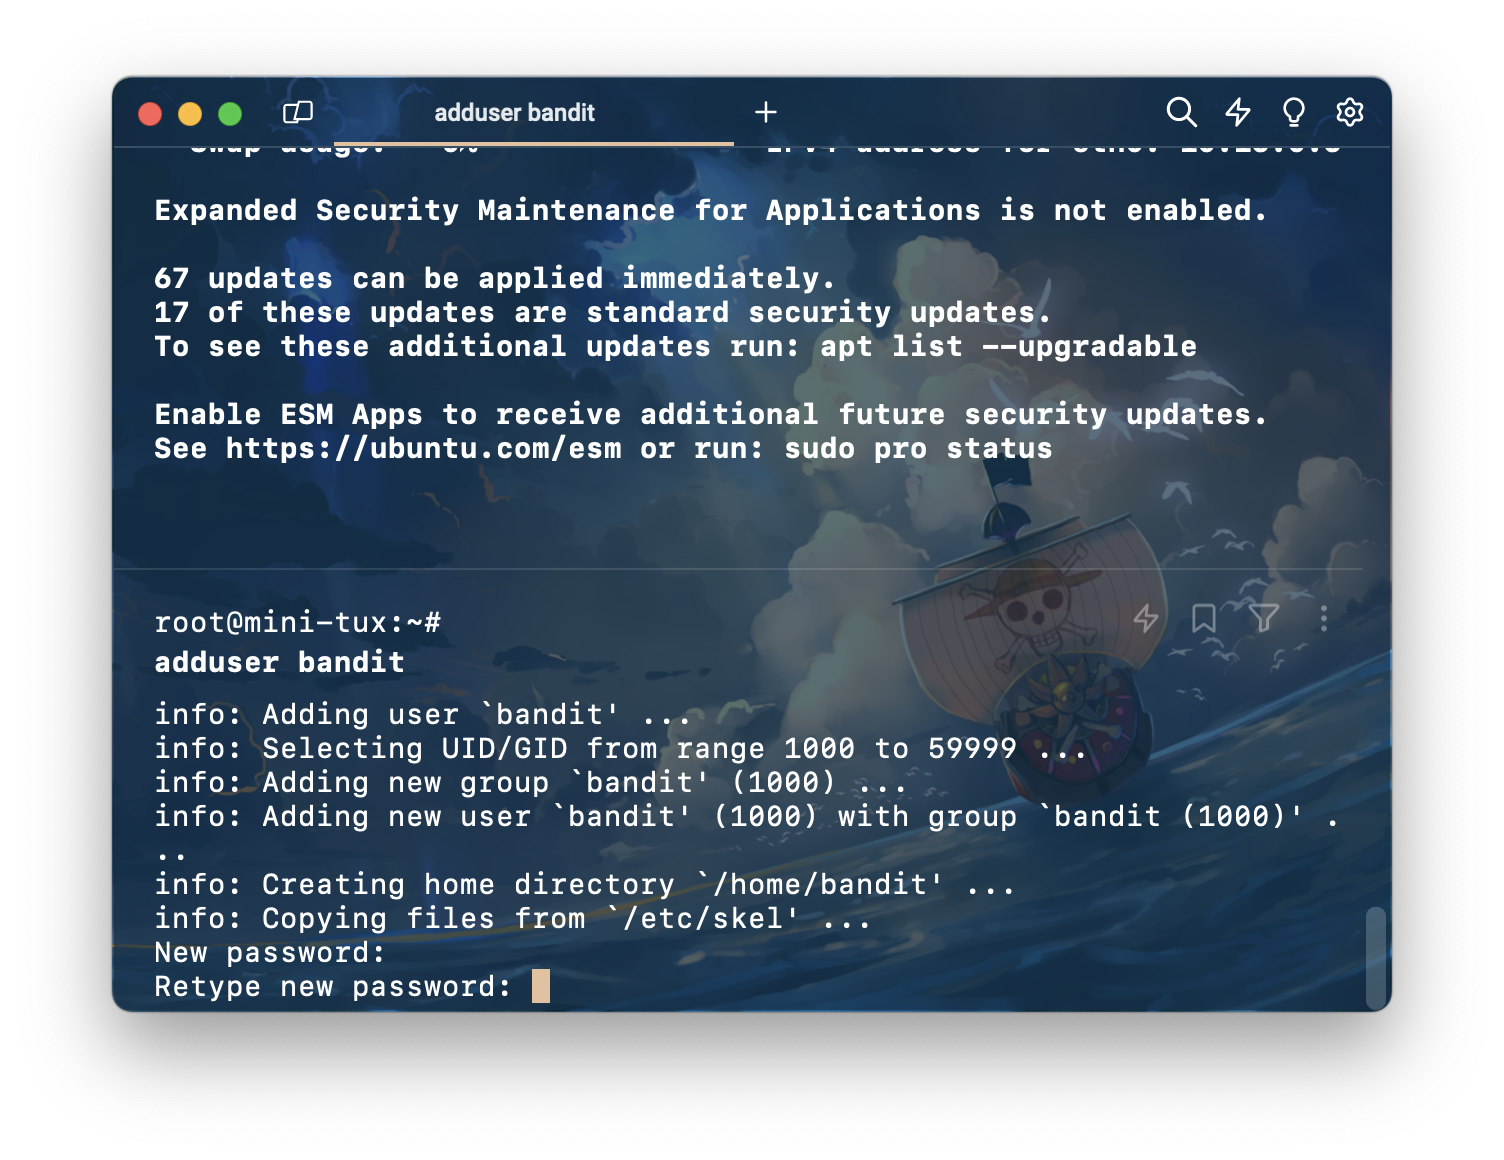
สร้าง user ใหม่ ด้วยคำสั่ง
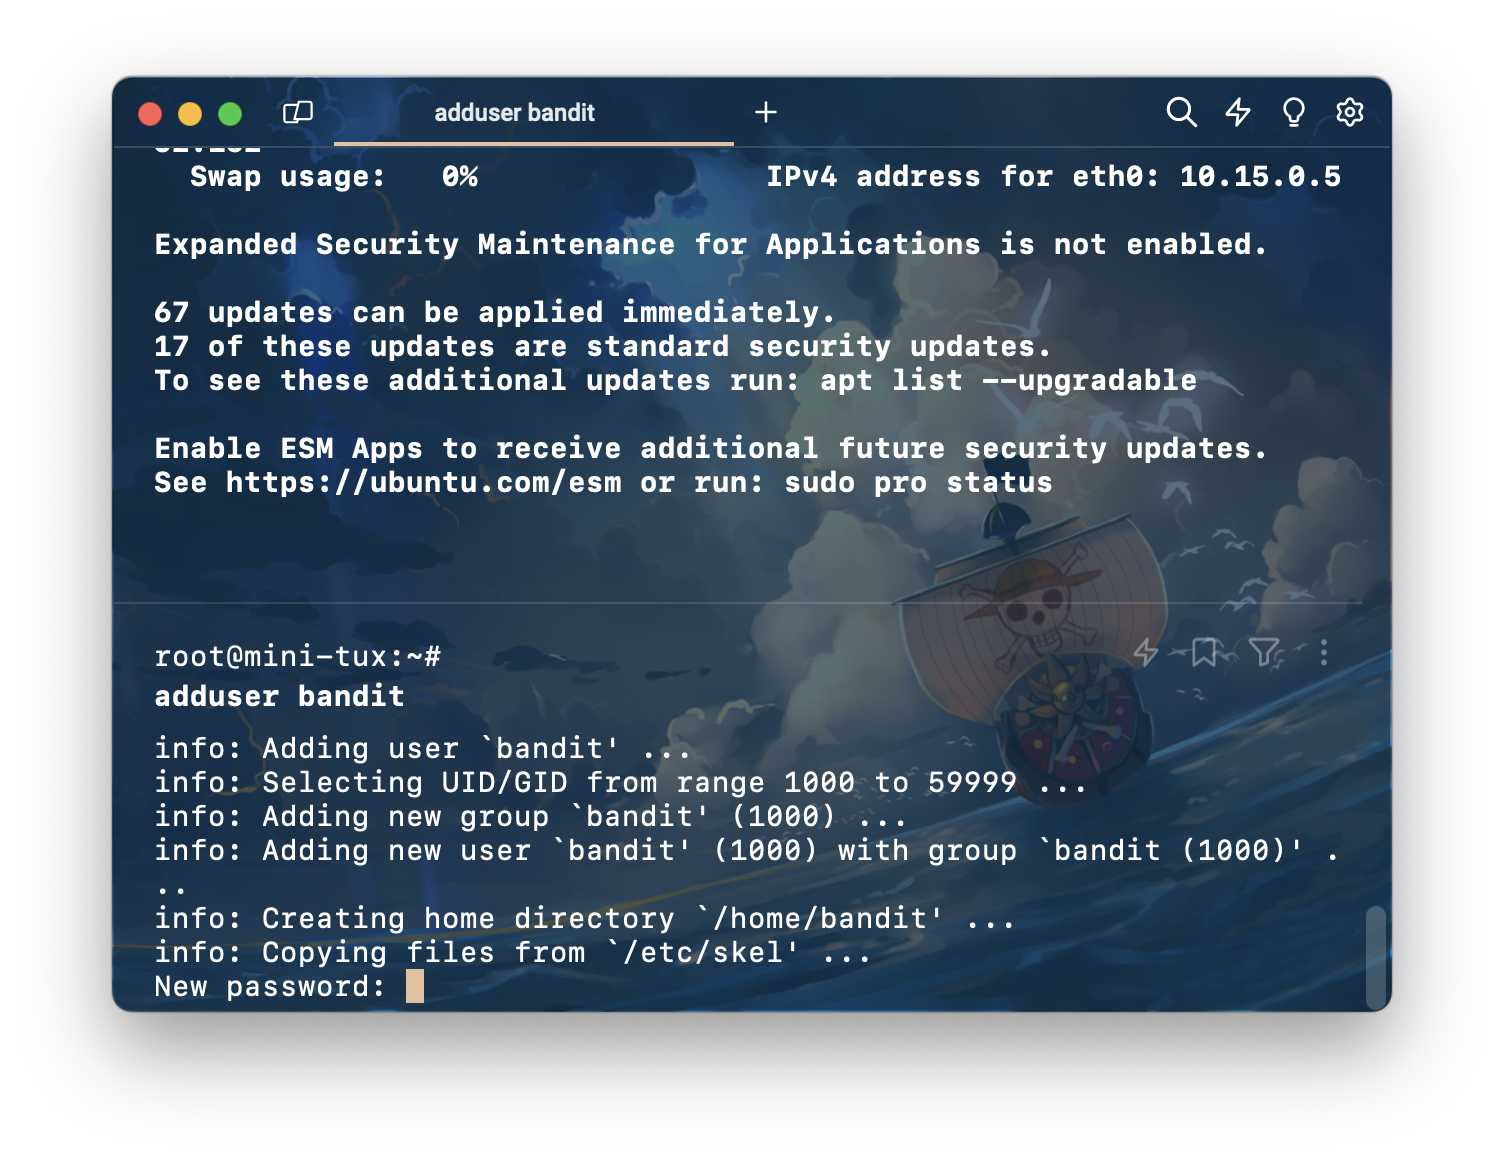
adduser bandit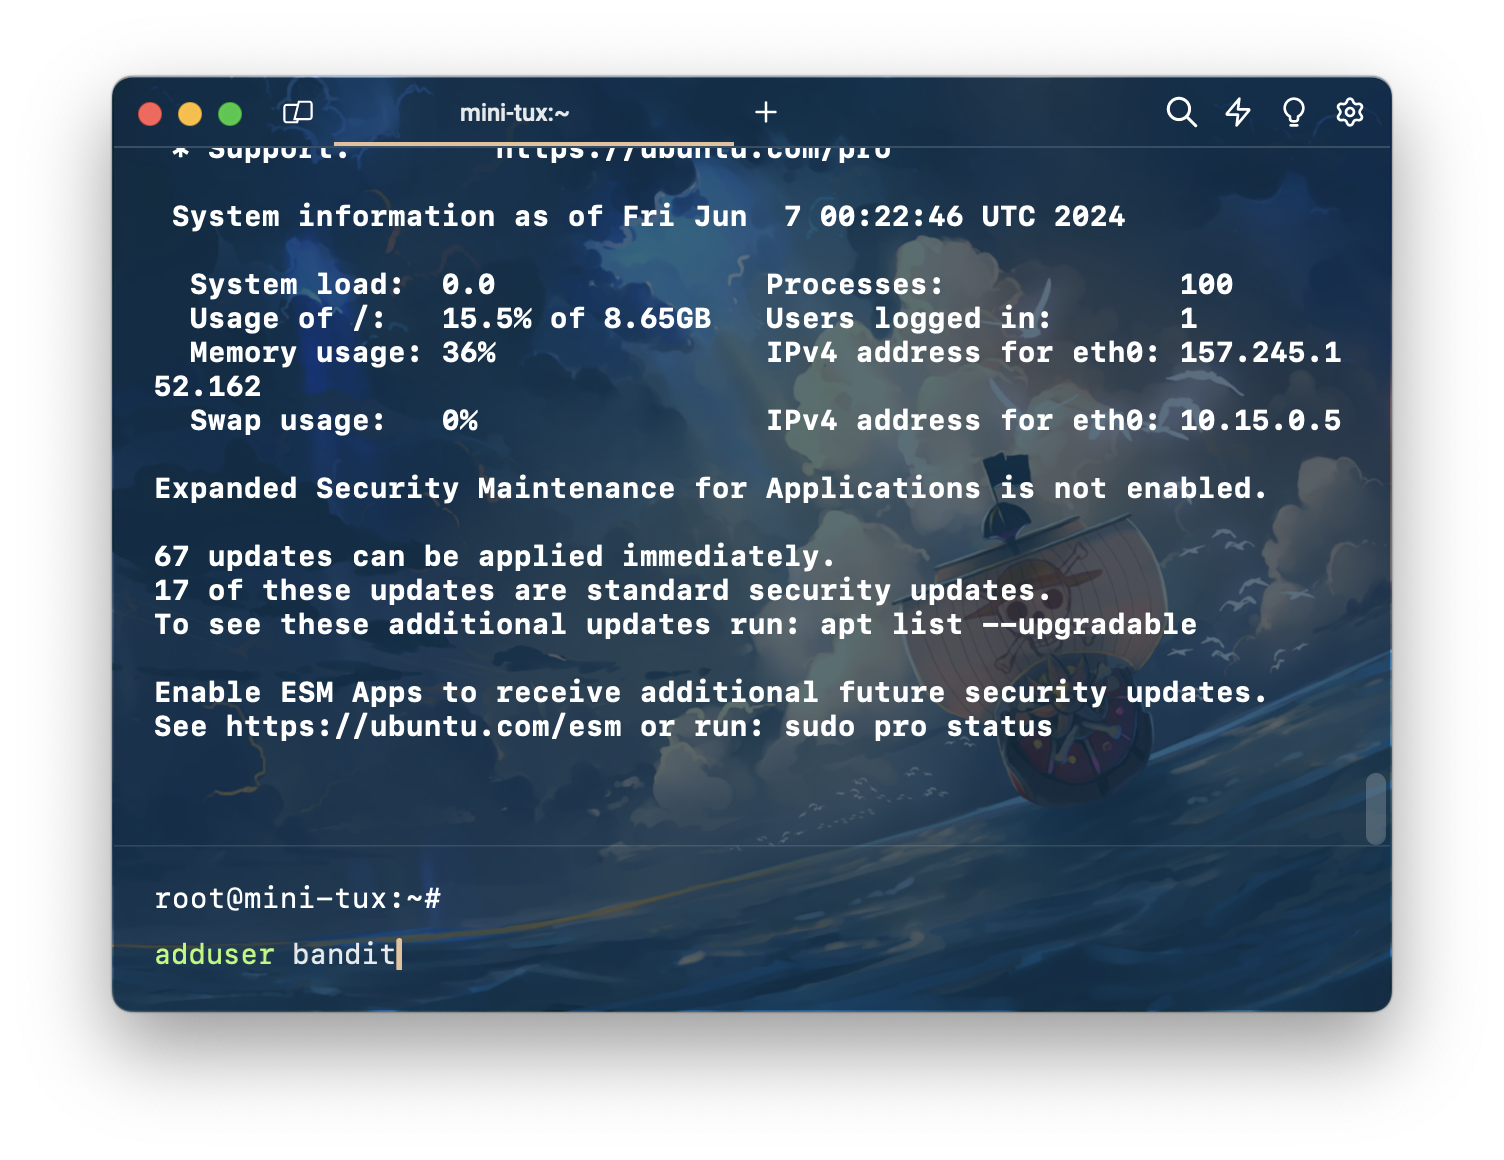
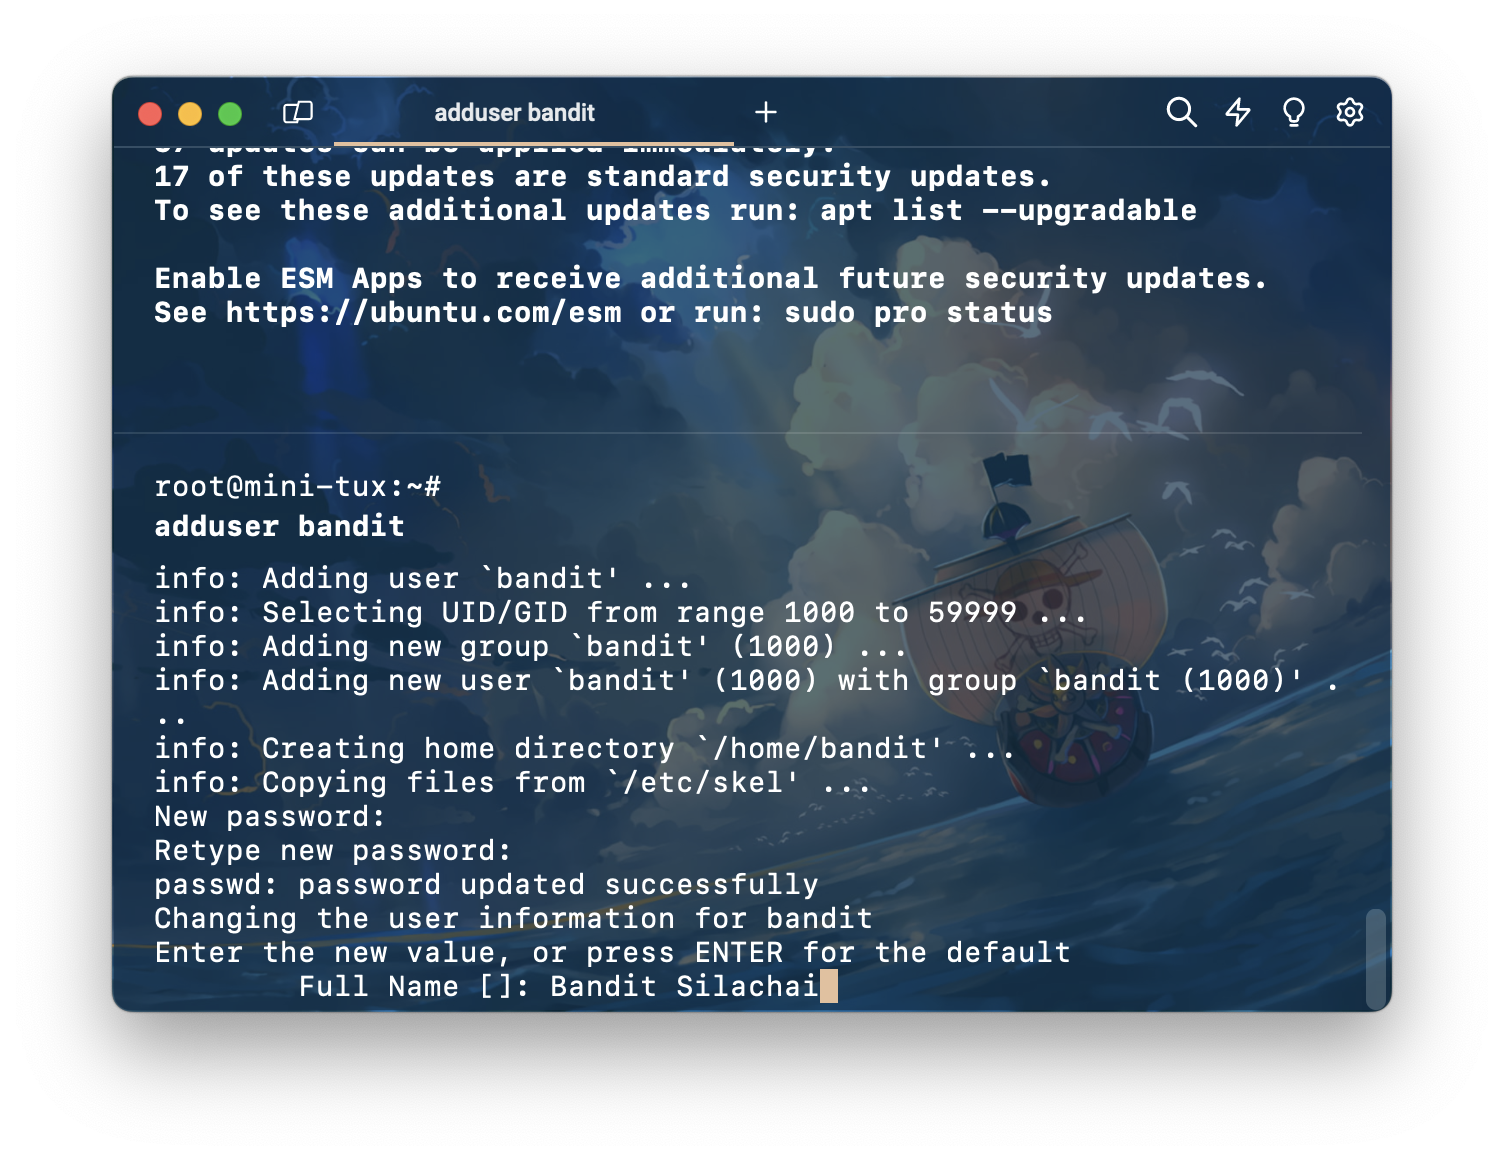
กรอก password
กรอก password อีกครั้ง
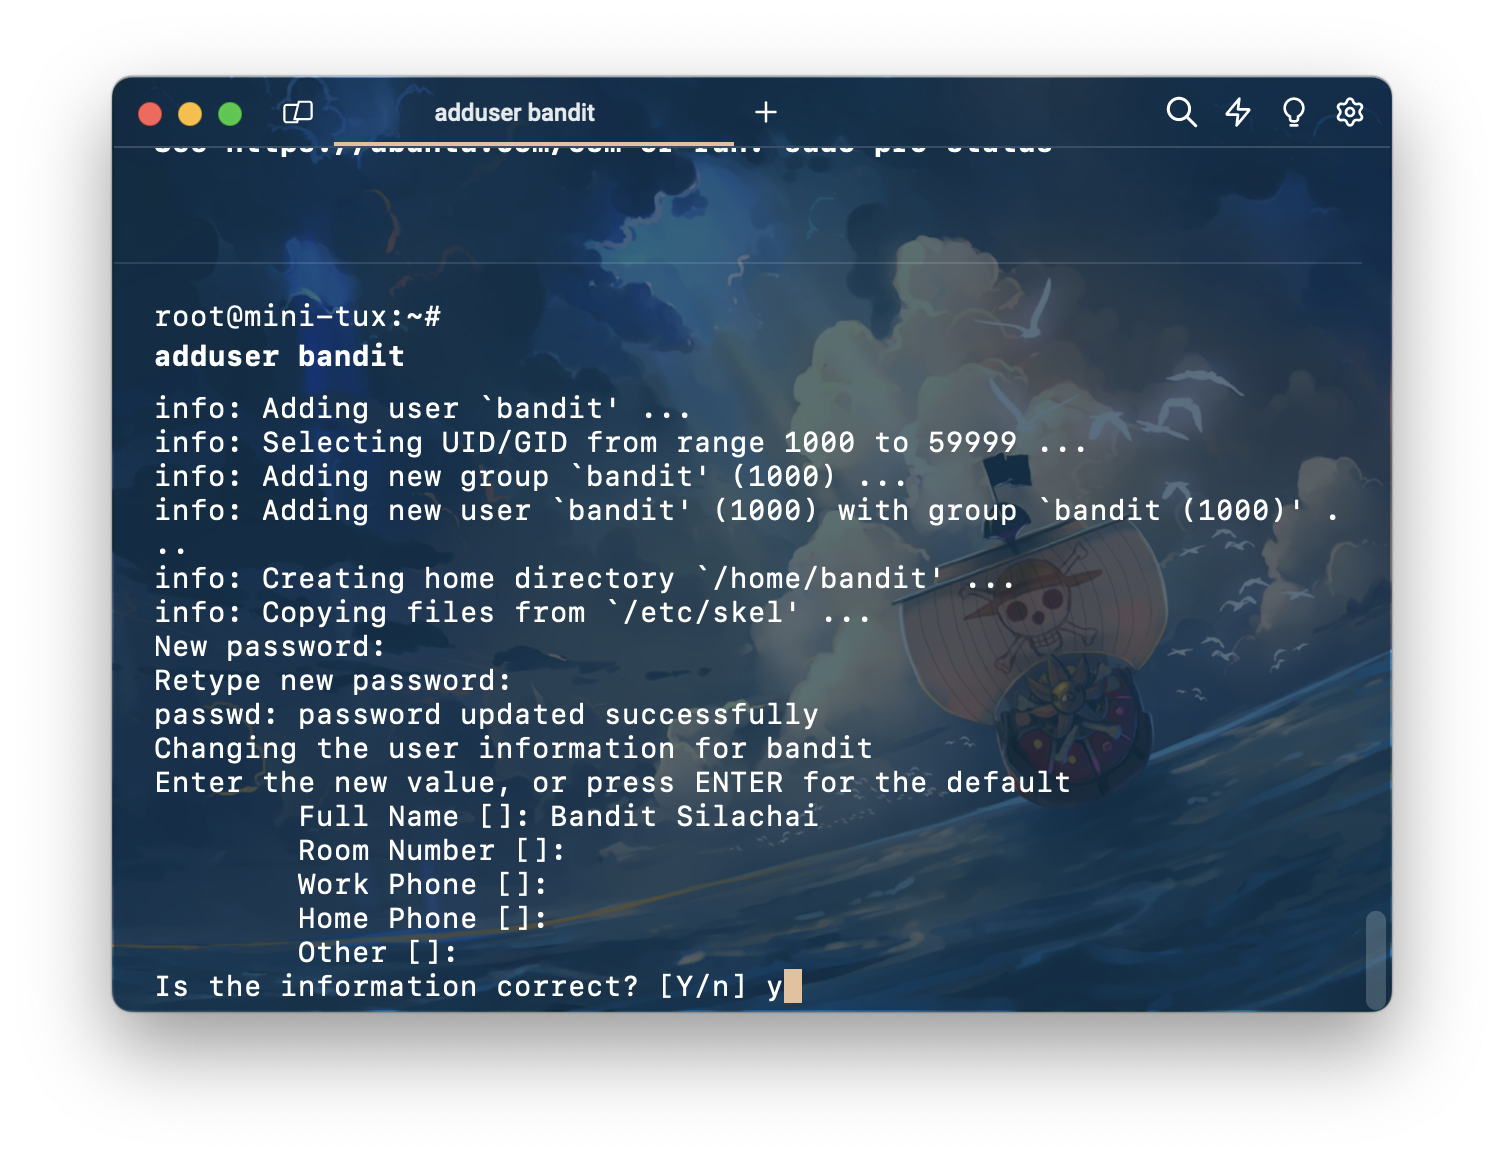
เพิ่ม fullname ให้กับ user
ตอบ y เพื่อยืนยันความถูกต้องของข้องมูล user
Add privileges to user
เพิ่มสิทธิ์ให้ user ใหม่ มีสิทธิ์เทียบเท่ากับ root
usermod -aG sudo bandit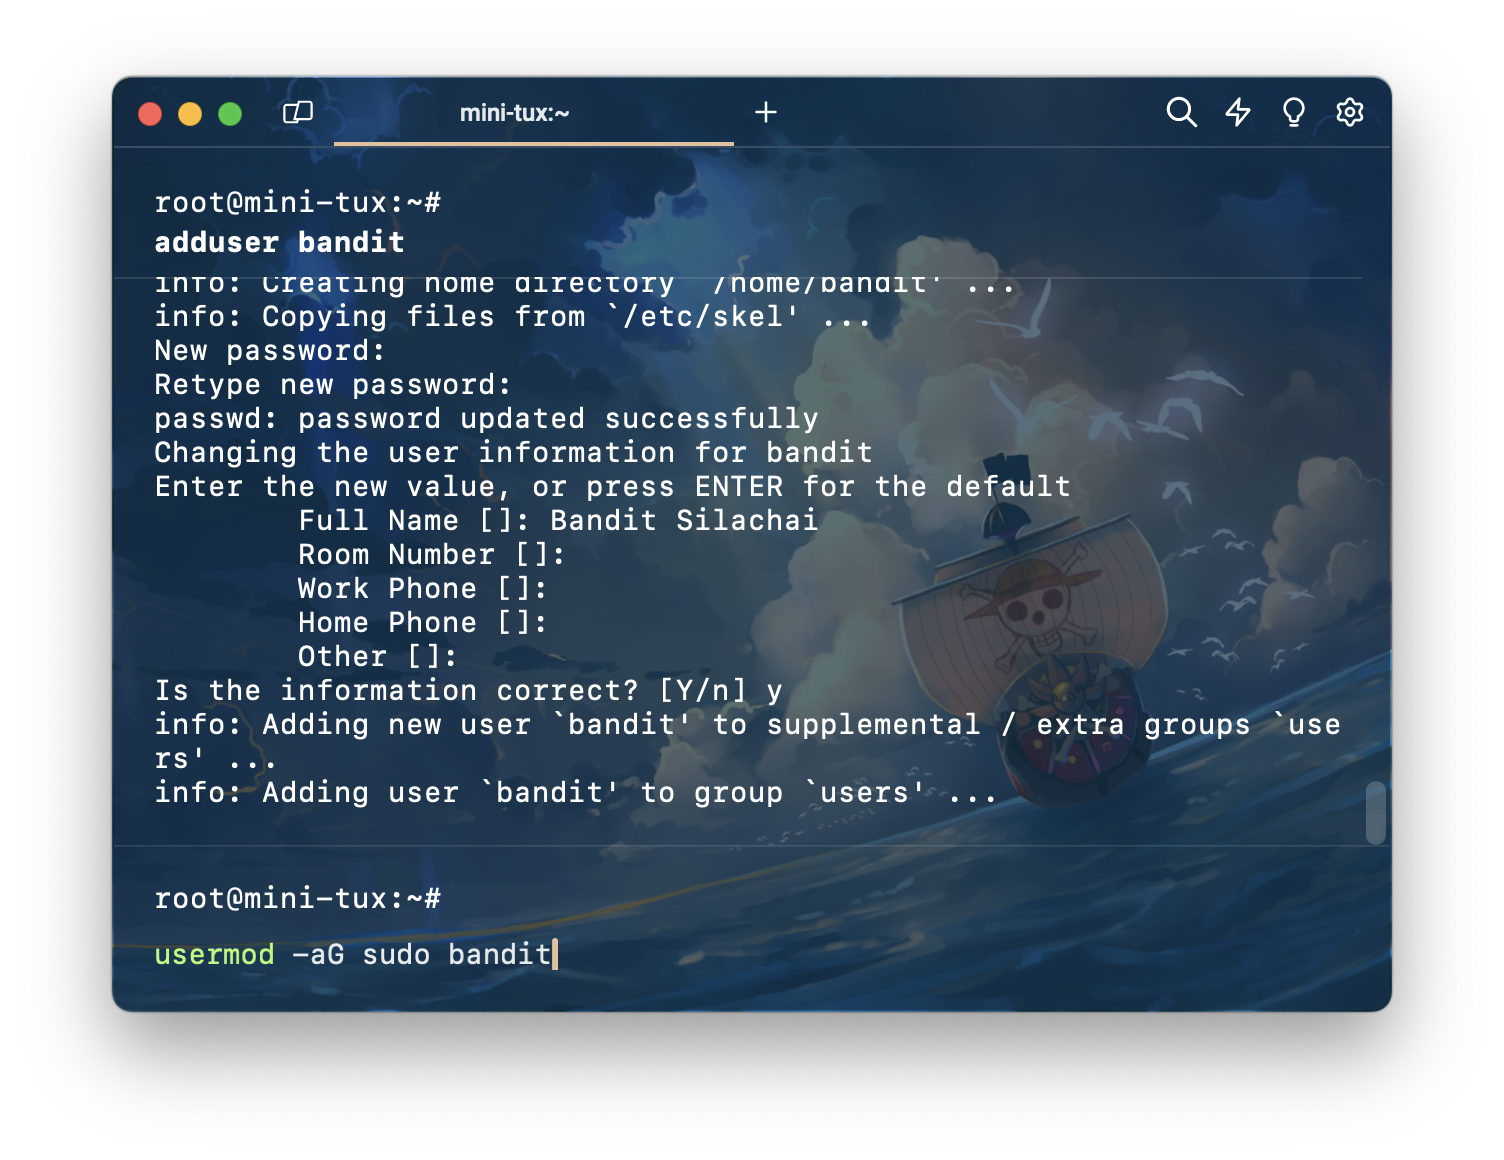
Copy ssh key
คัดลอกไฟล์ .ssh จาก user root ไปยัง user ที่เราสร้างใหม่ด้วย เพื่อจะได้ remote เข้าเครื่องโดยใช้ user ที่เราสร้างใหม่
rsync --archive --chown=bandit:bandit ~/.ssh /home/bandit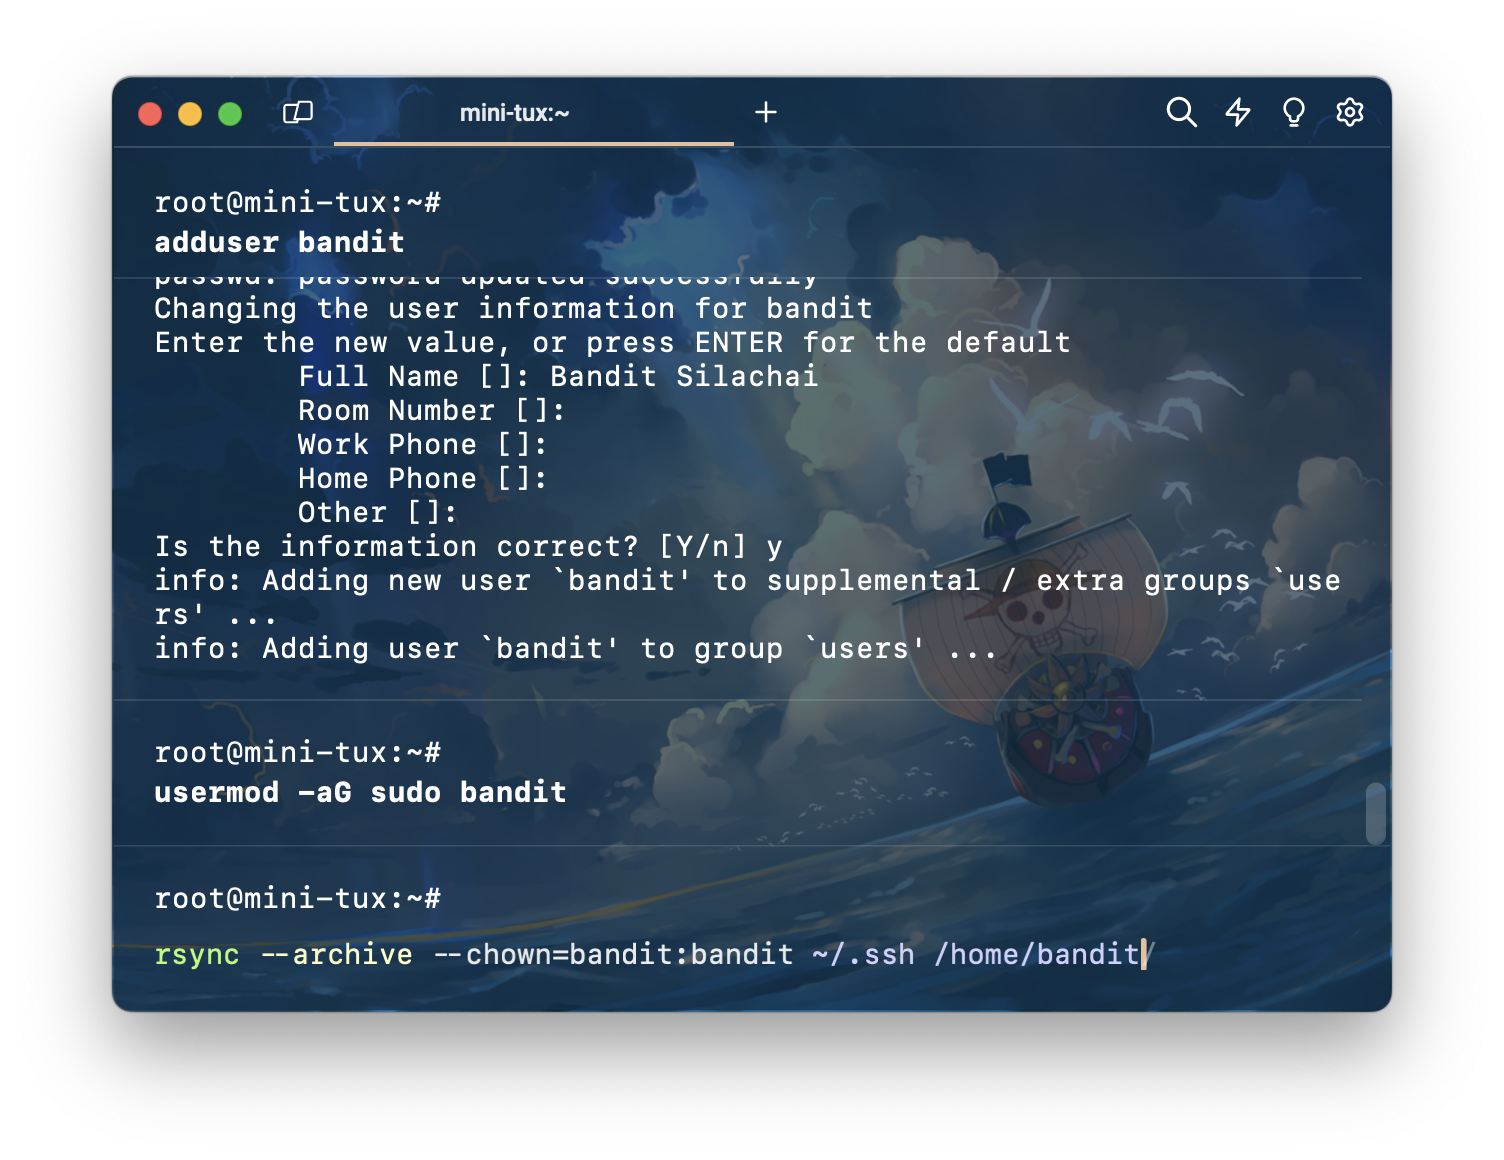
Enable Firewall
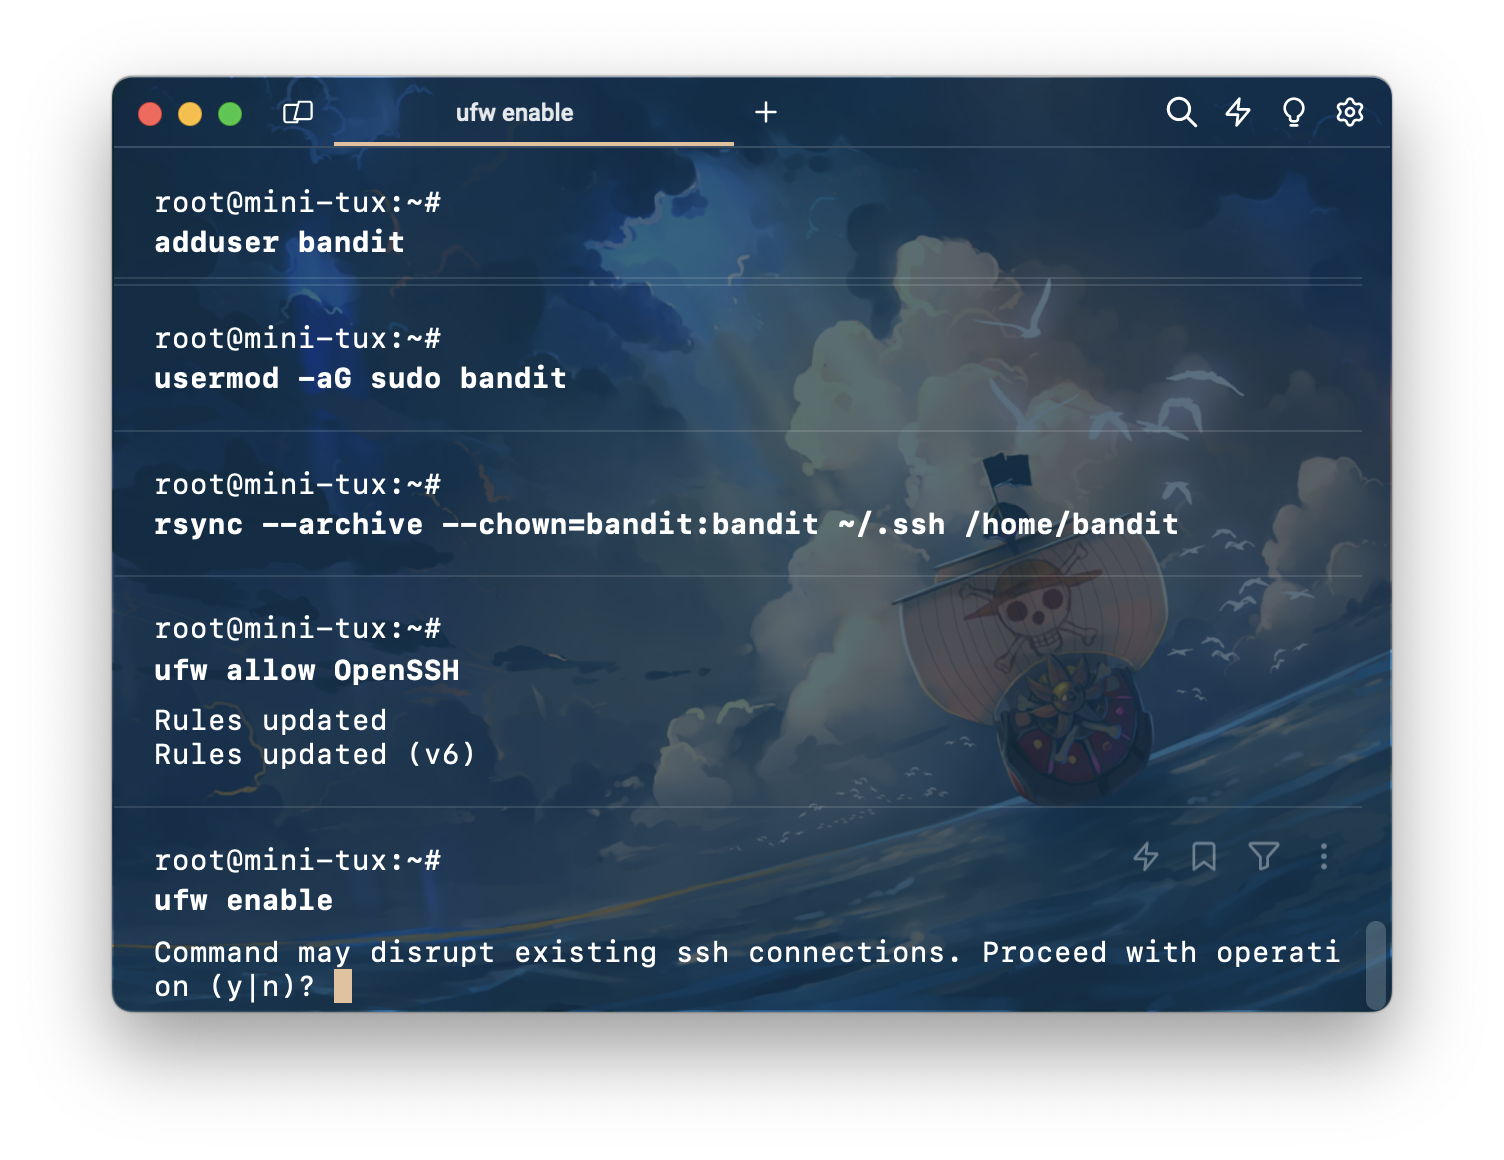
allow ssh ด้วยคำสั่ง ufw allow OpenSSH

เปิดใช้งาน firewall ด้วยคำสั่ง ufw enable
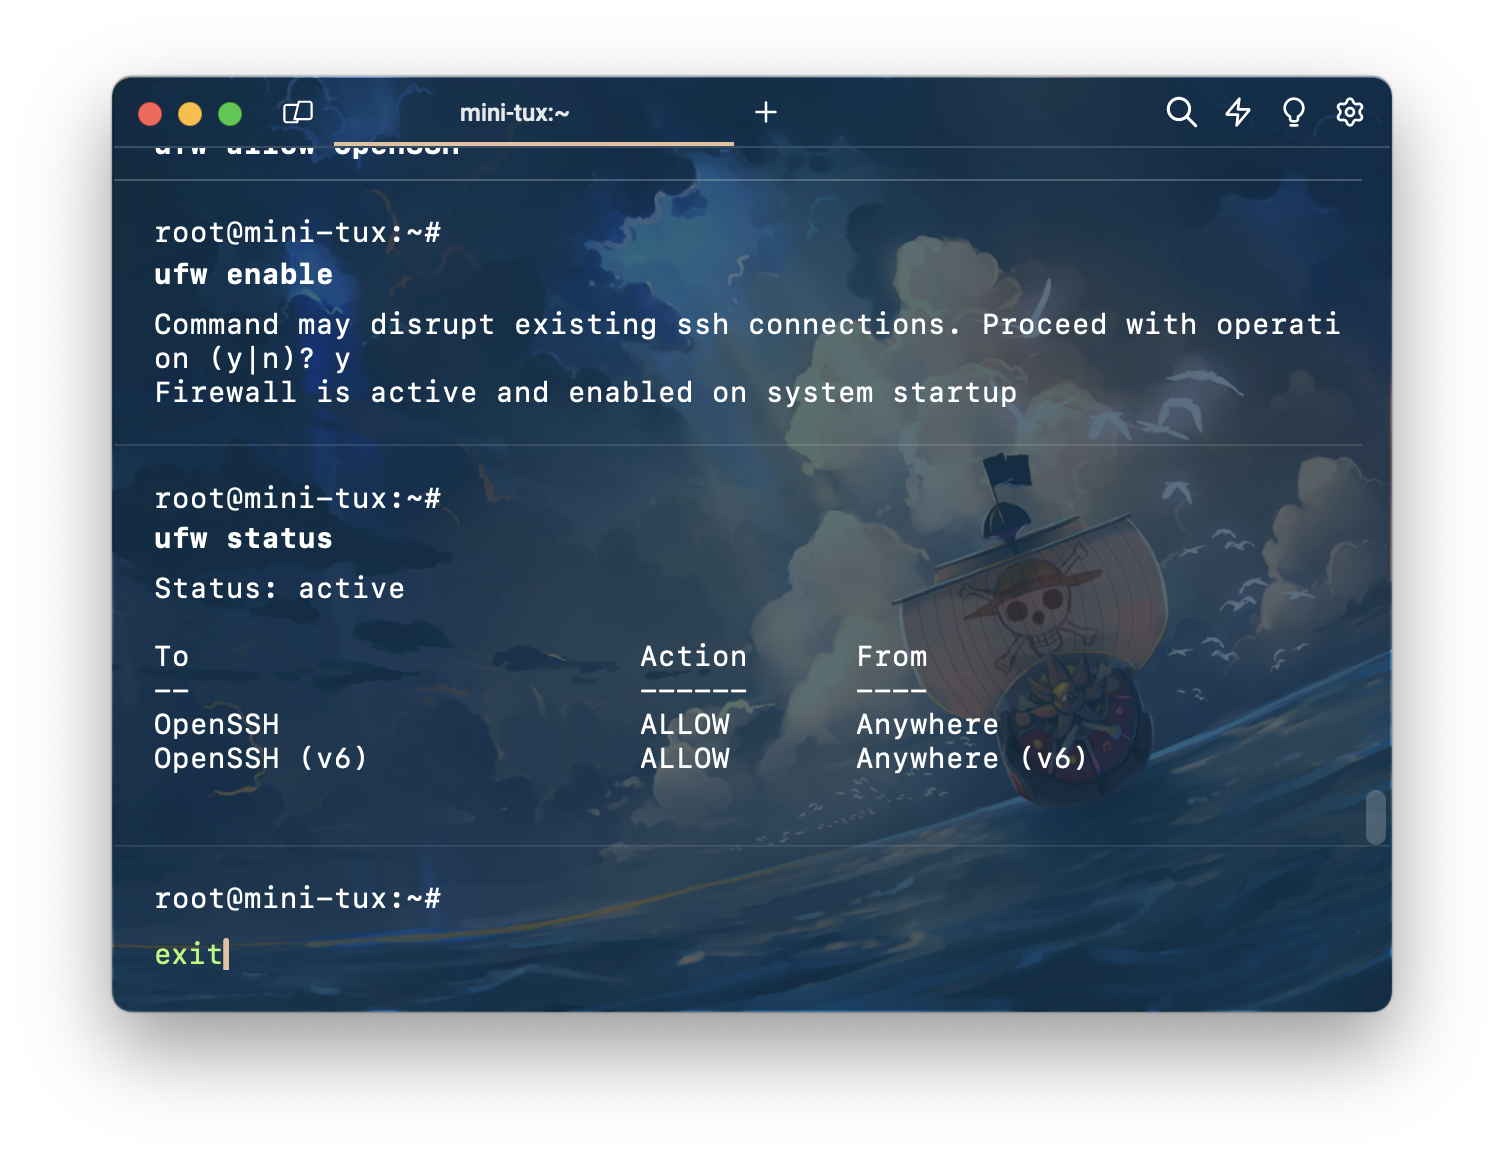
ดูสถานะ firewall ด้วยคำสั่ง ufw status
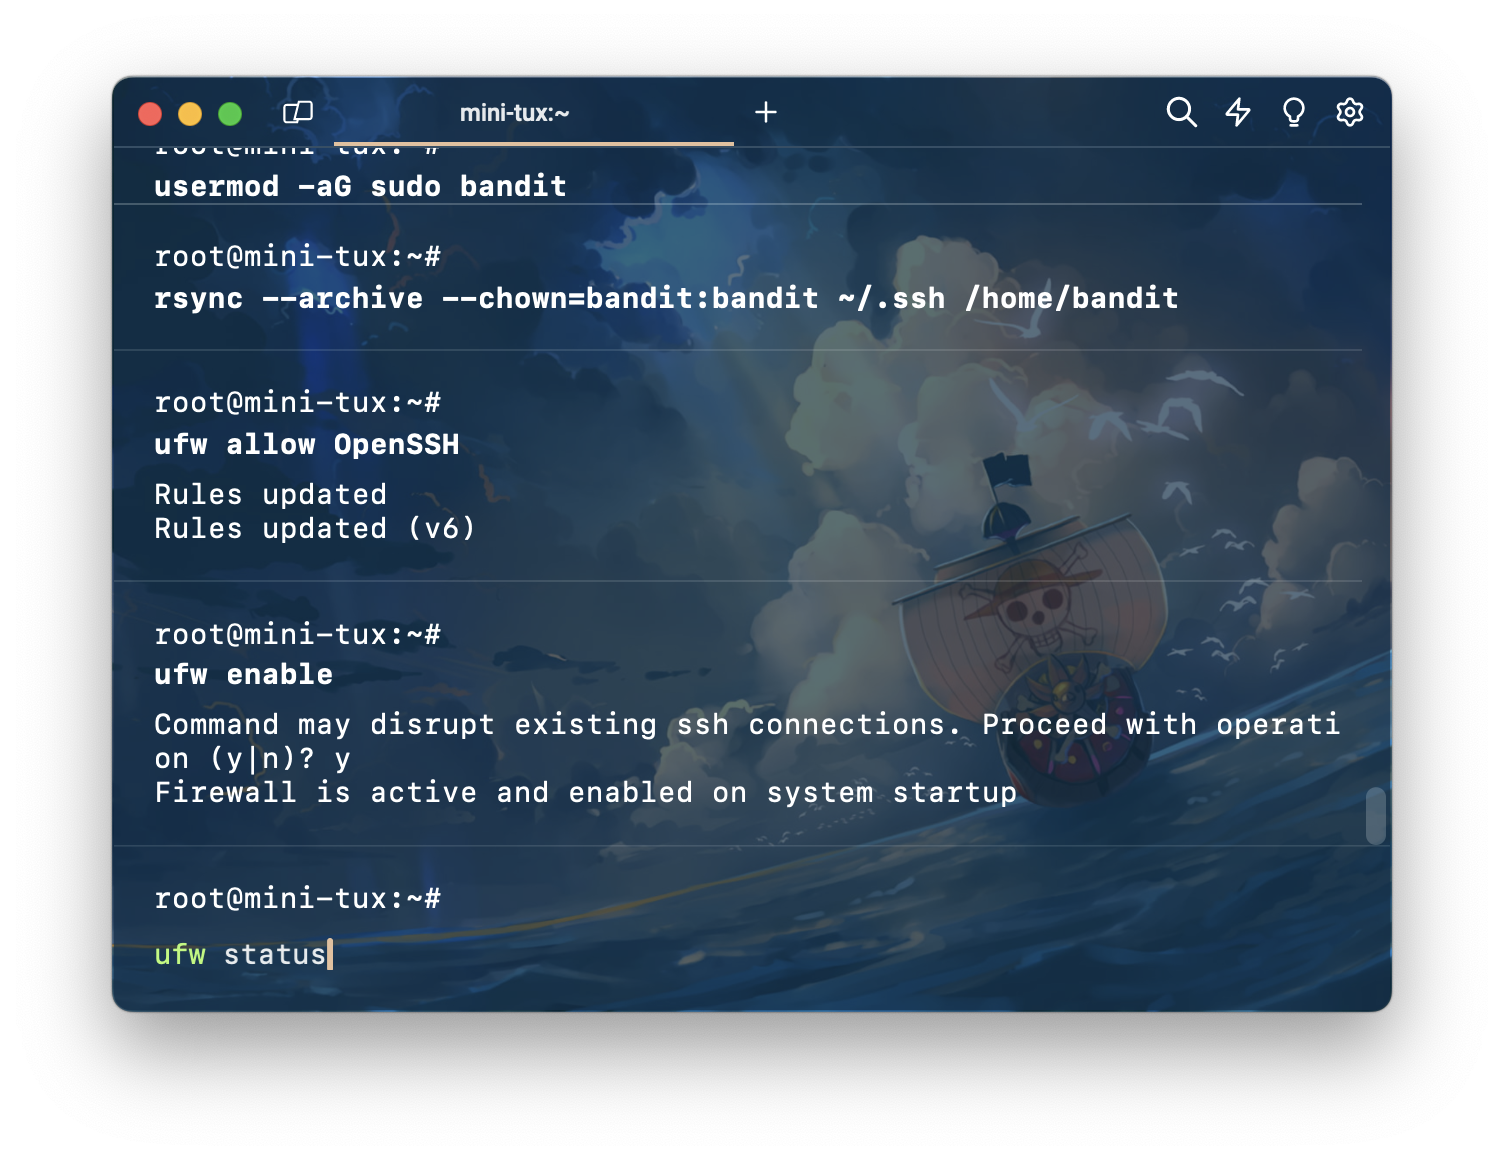

จากนั้นก็พิมพ์คำสั่ง exit เพื่อตัดการเชื่อมต่อกับ server
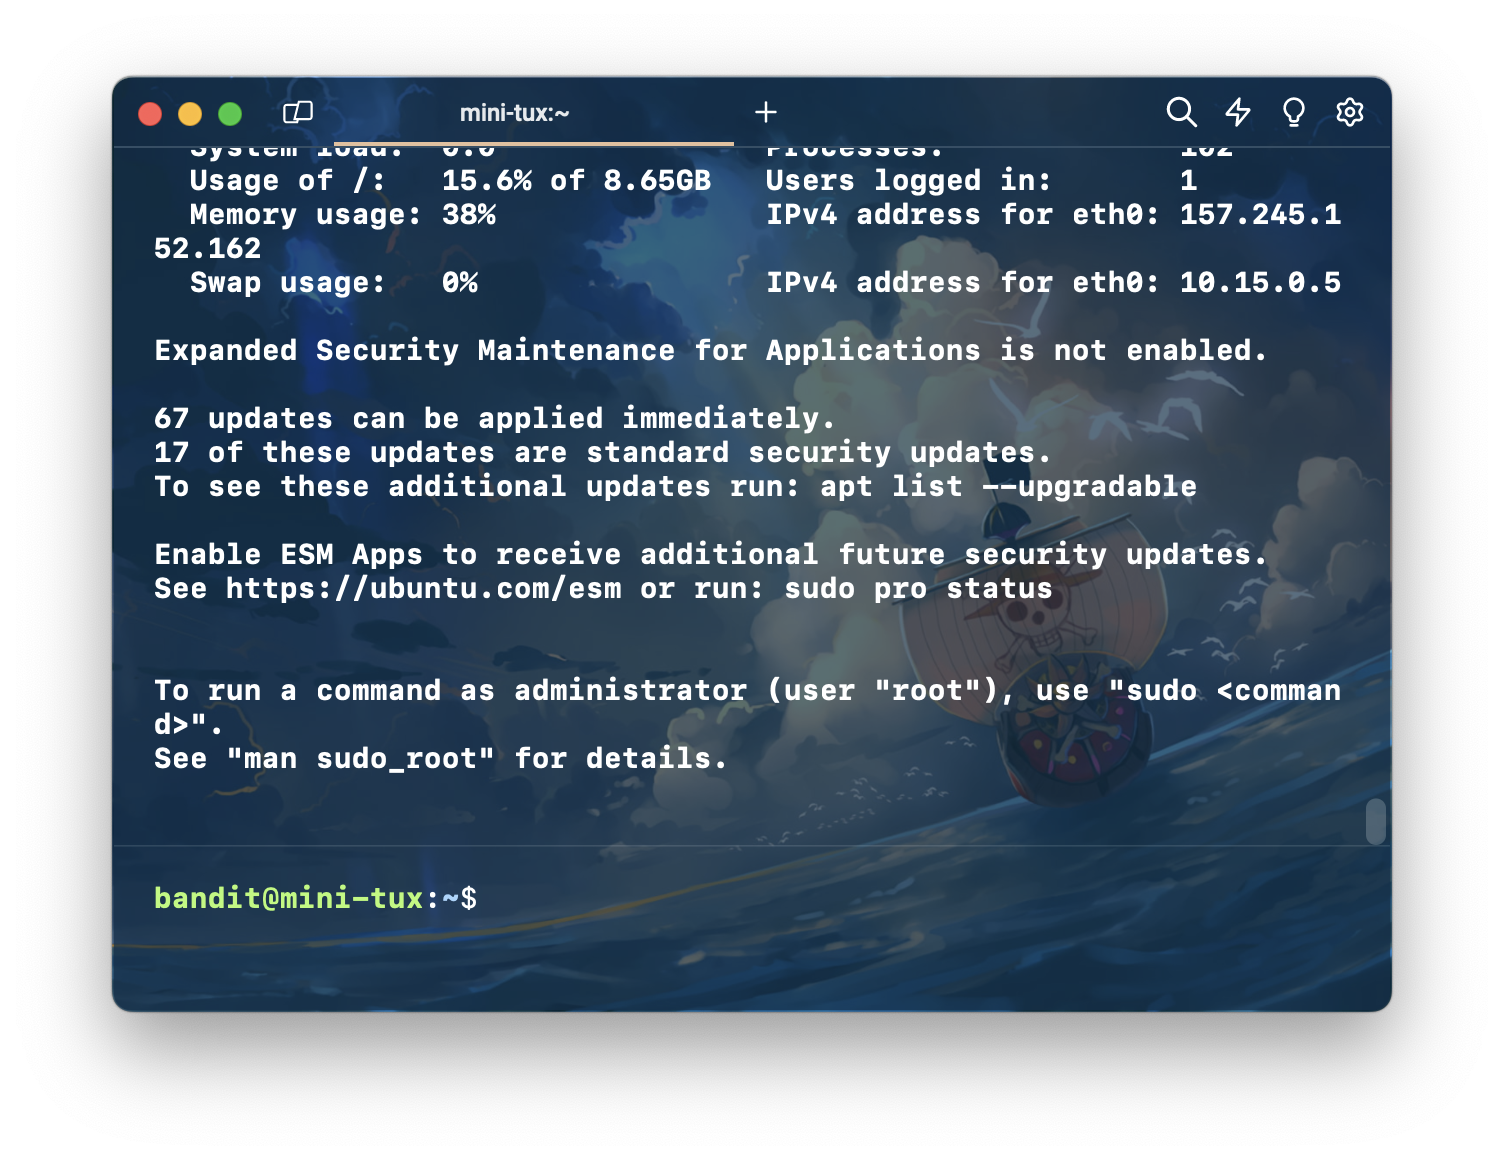
ssh by new user
ต่อมาเราจะมาลอง Remote เข้า server ด้วย user ใหม่ ที่เราเพิ่งสร้างไป
ssh bandit@your_server_ip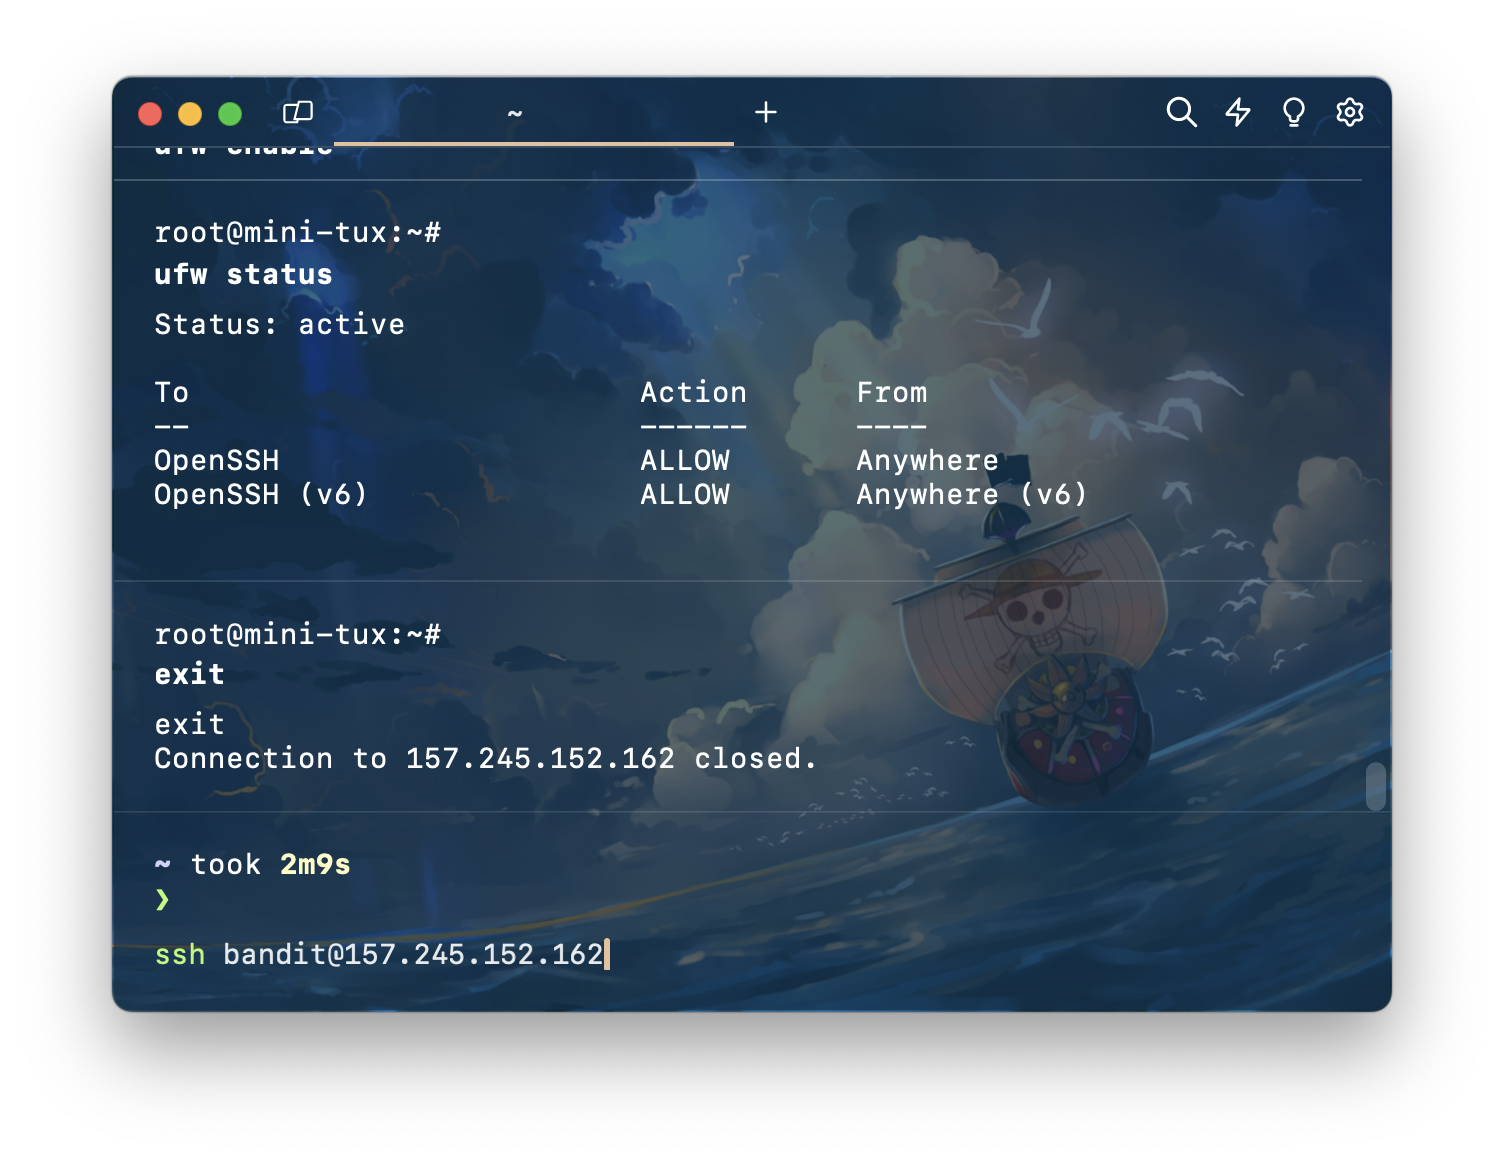
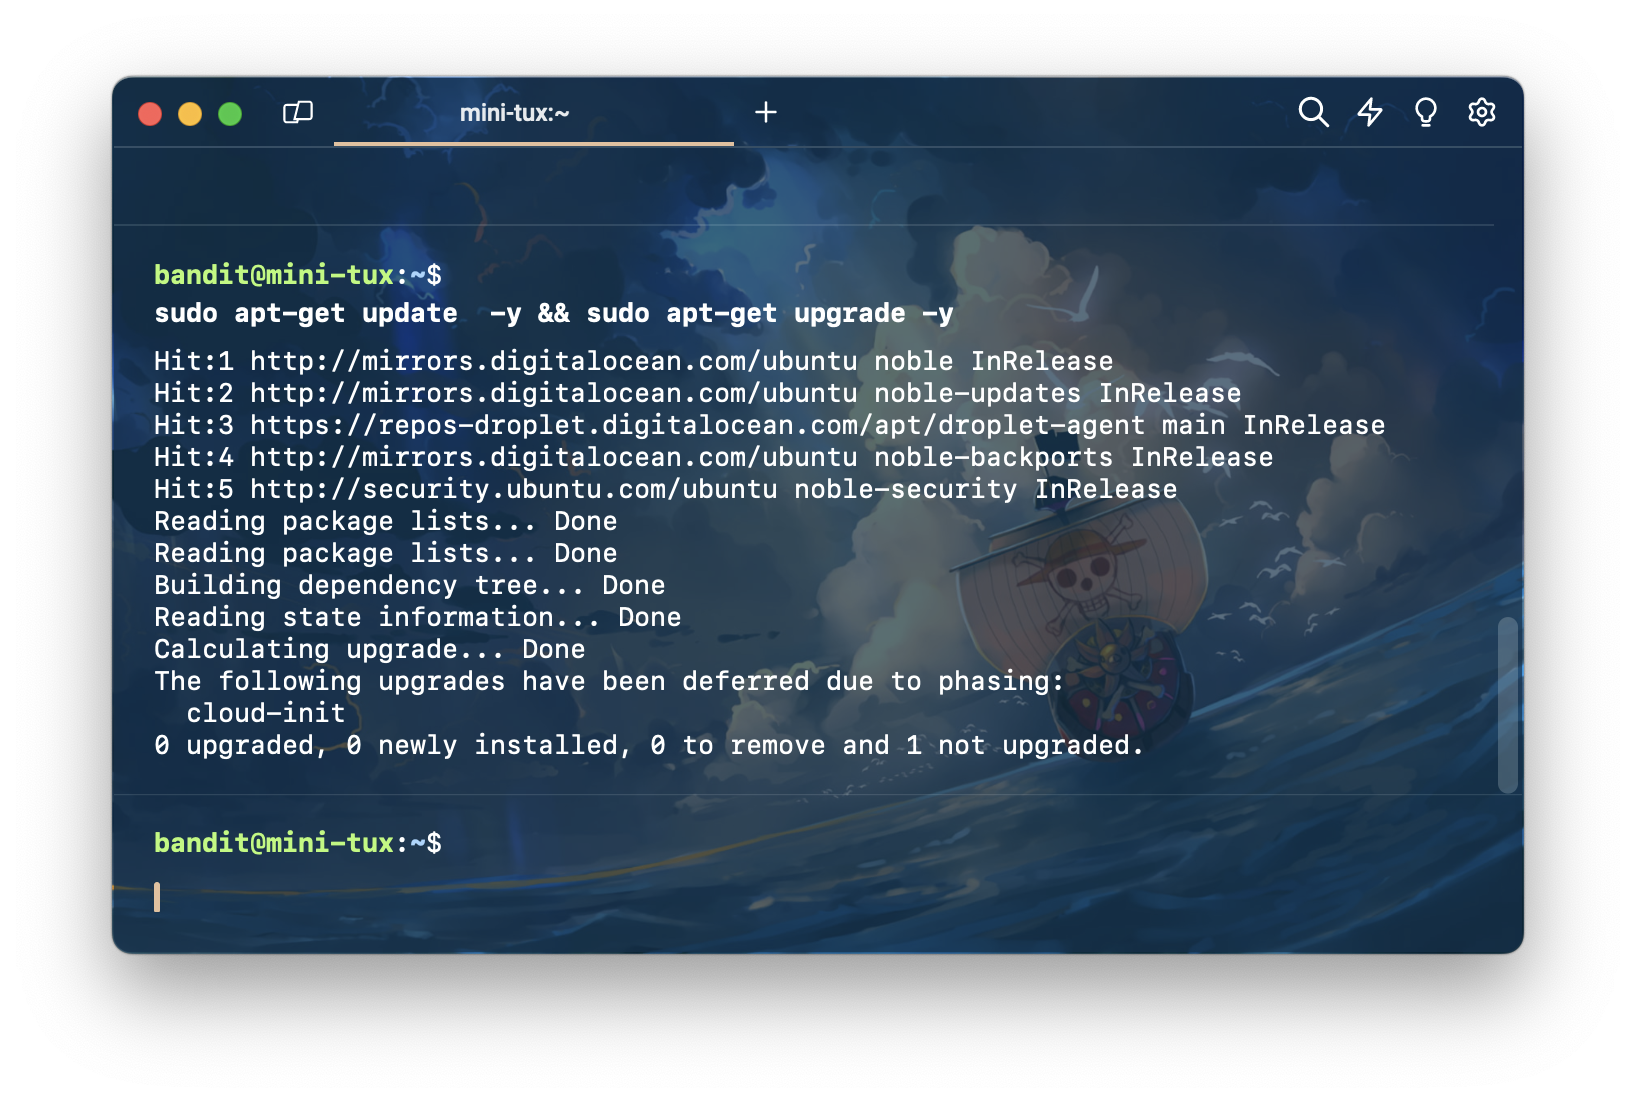
Upgrade package
หลังจากสร้าง user ใหม่เรียบร้อยแล้ว ก็ update package ซะหน่อย ด้วยคำสั่งที่คุ้นเคย
sudo apt-get update -y && sudo apt-get upgrade -y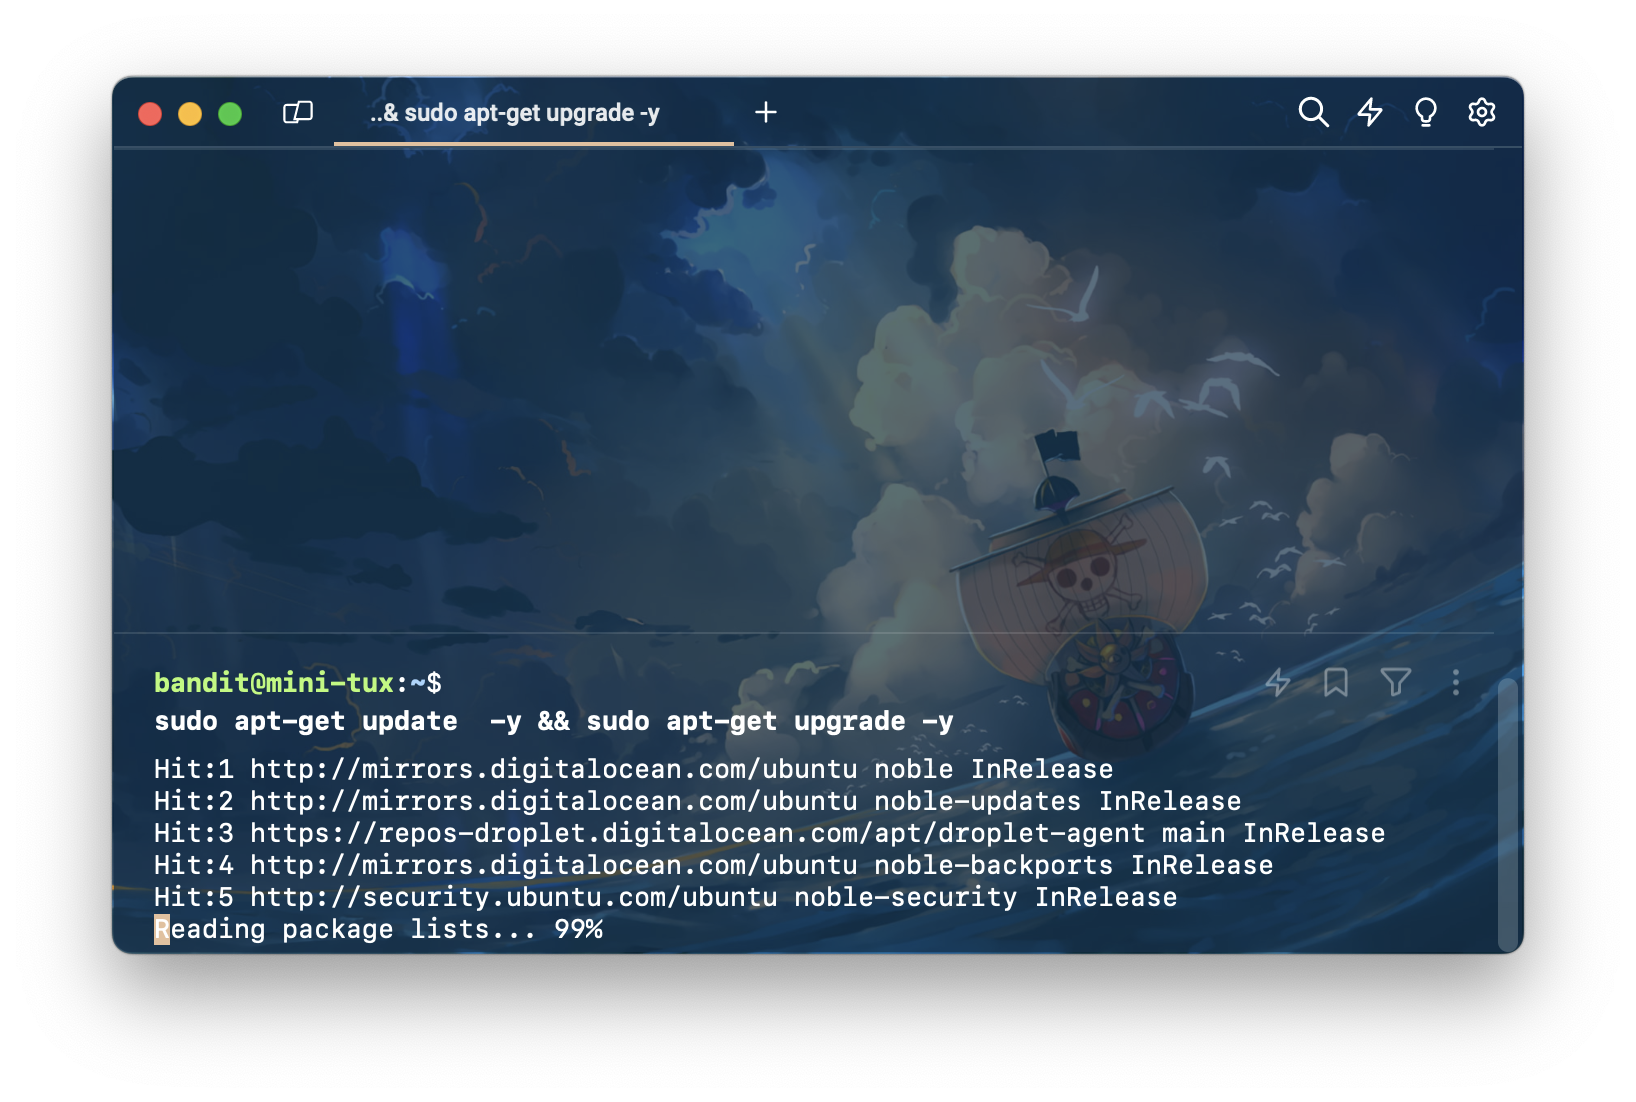
Install Nginx and PHP
ต่อมาถึงขั้นตอนการติดตั้ง nginx กับ PHP
Add ondrej/php repository
เราจำเป็นต้อง add ppa:ondrej/php เพราะ ubuntu ไม่มี php 8.3 แบบ official
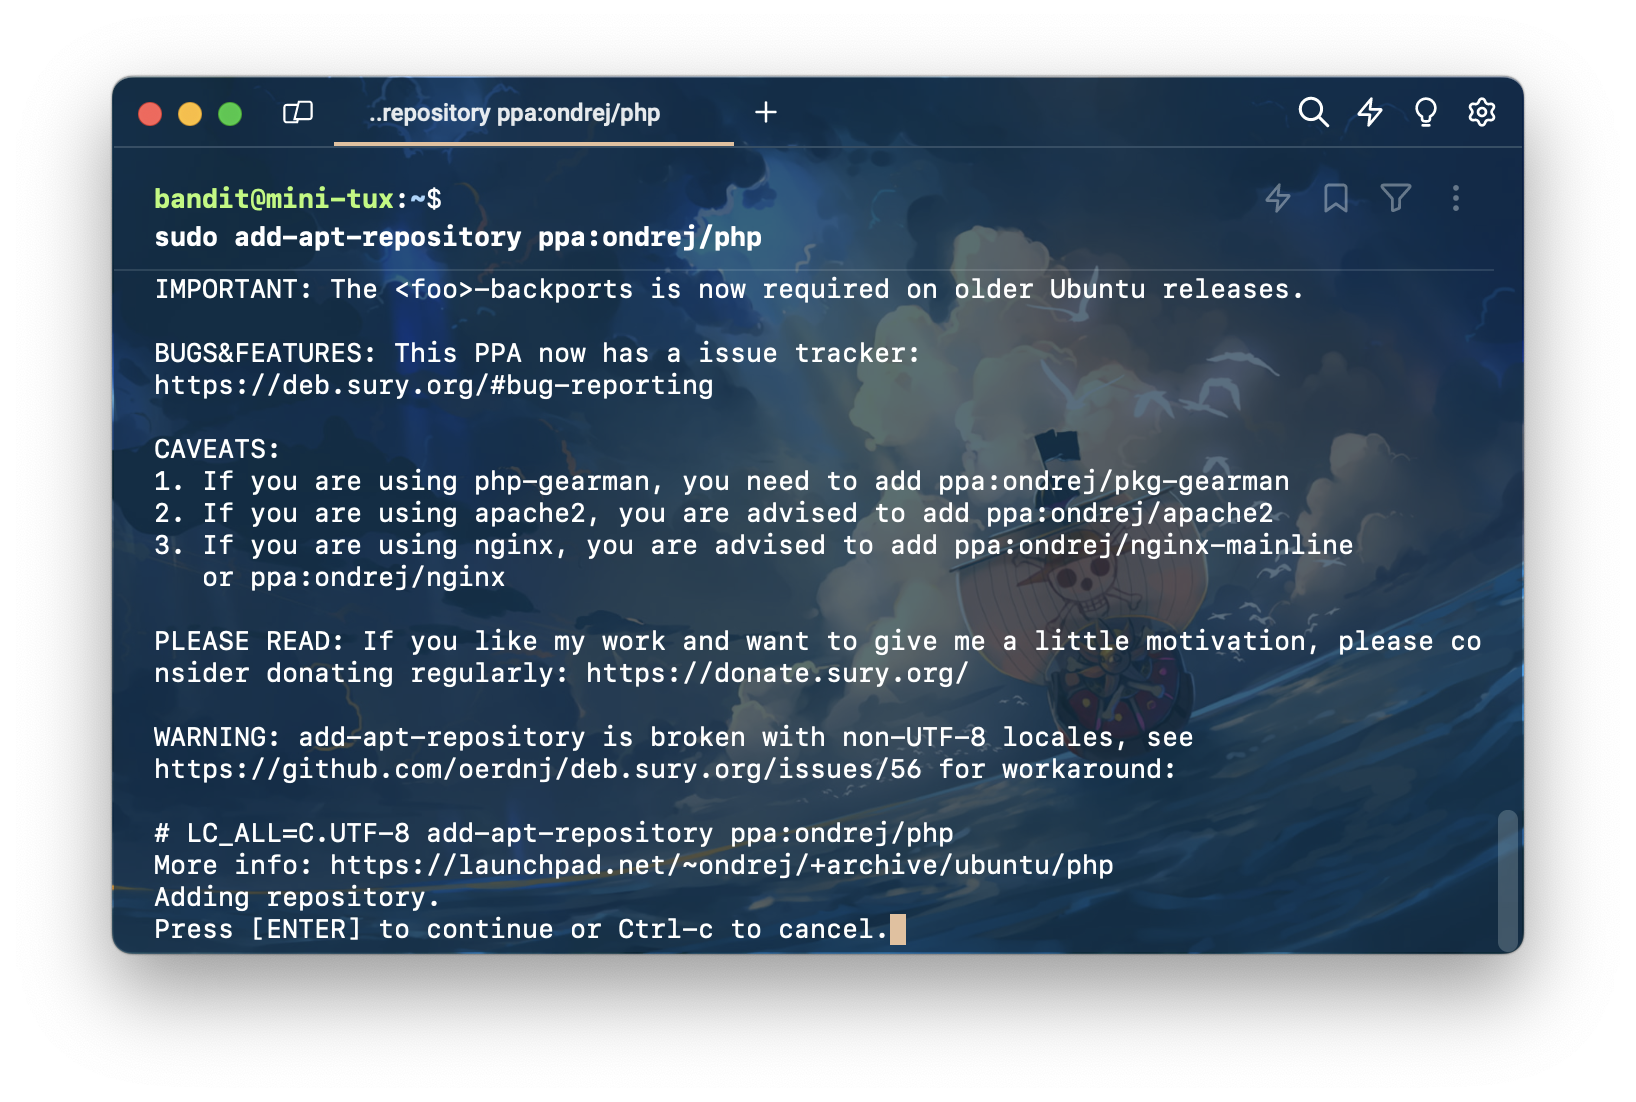
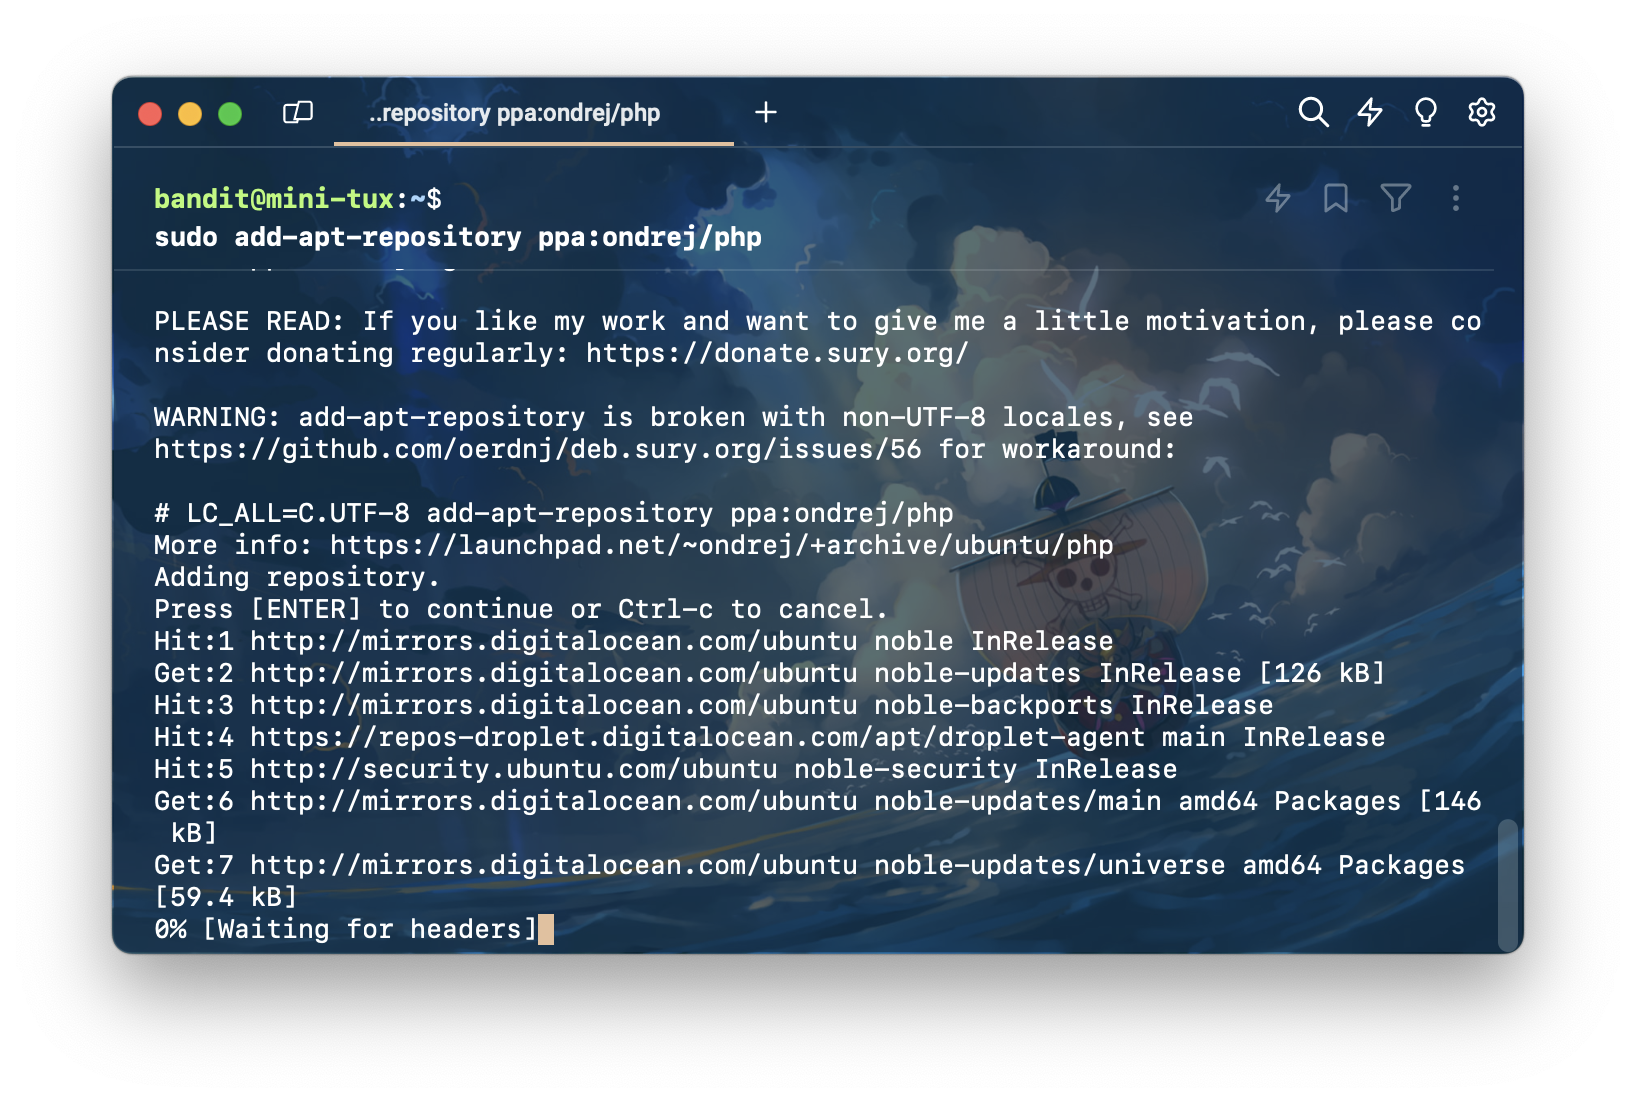
โดยเริ่มจากการพิมพ์คำสั่ง sudo add-apt-repository ppa:ondrej/php เพื่อเพิ่ม ppa:ondrej/php
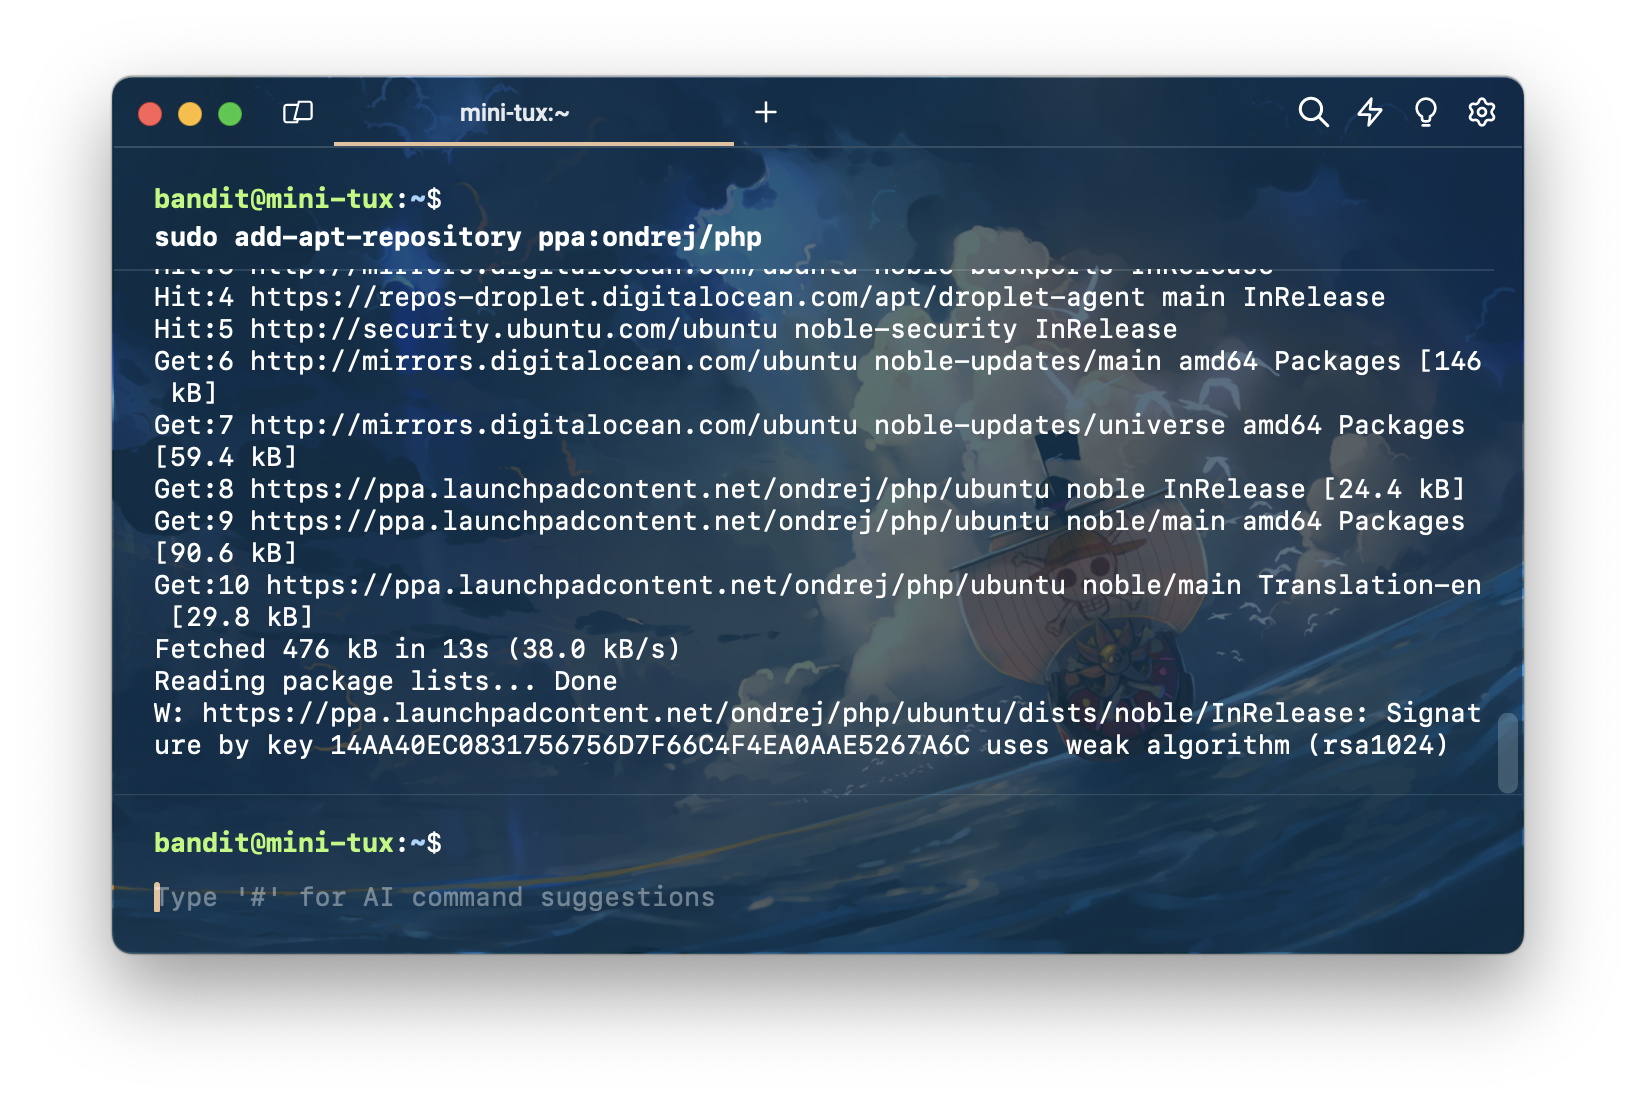
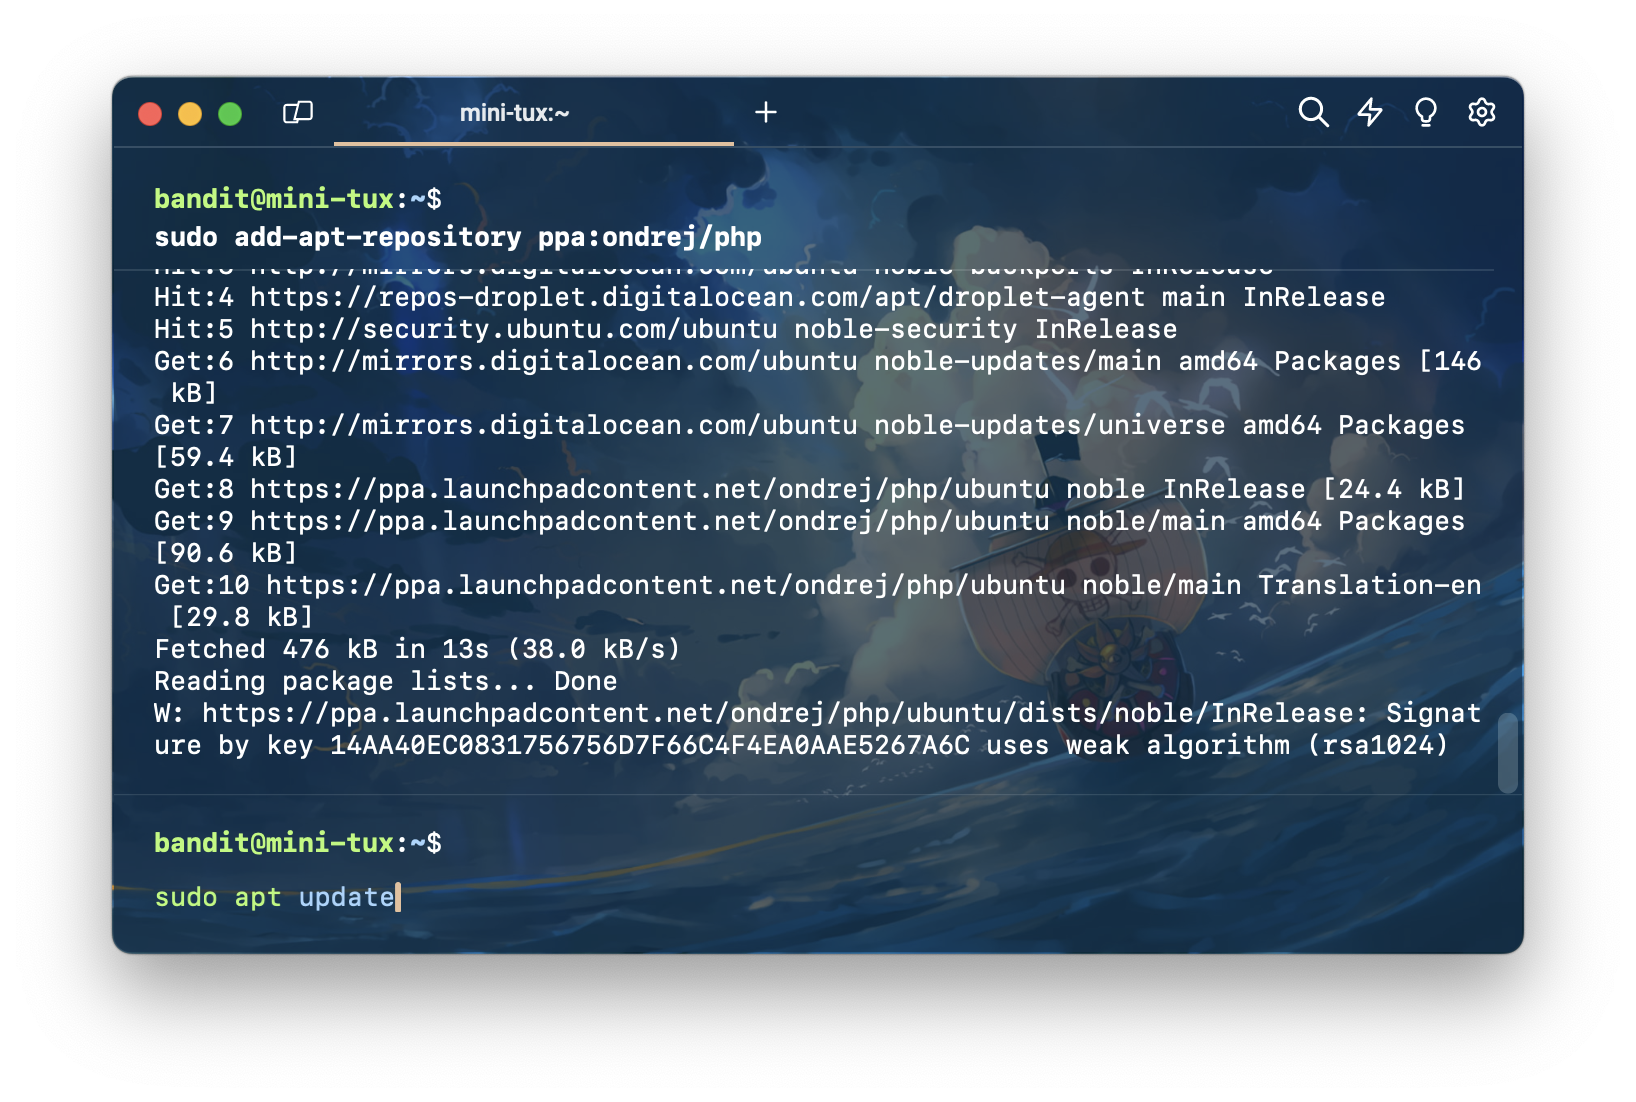
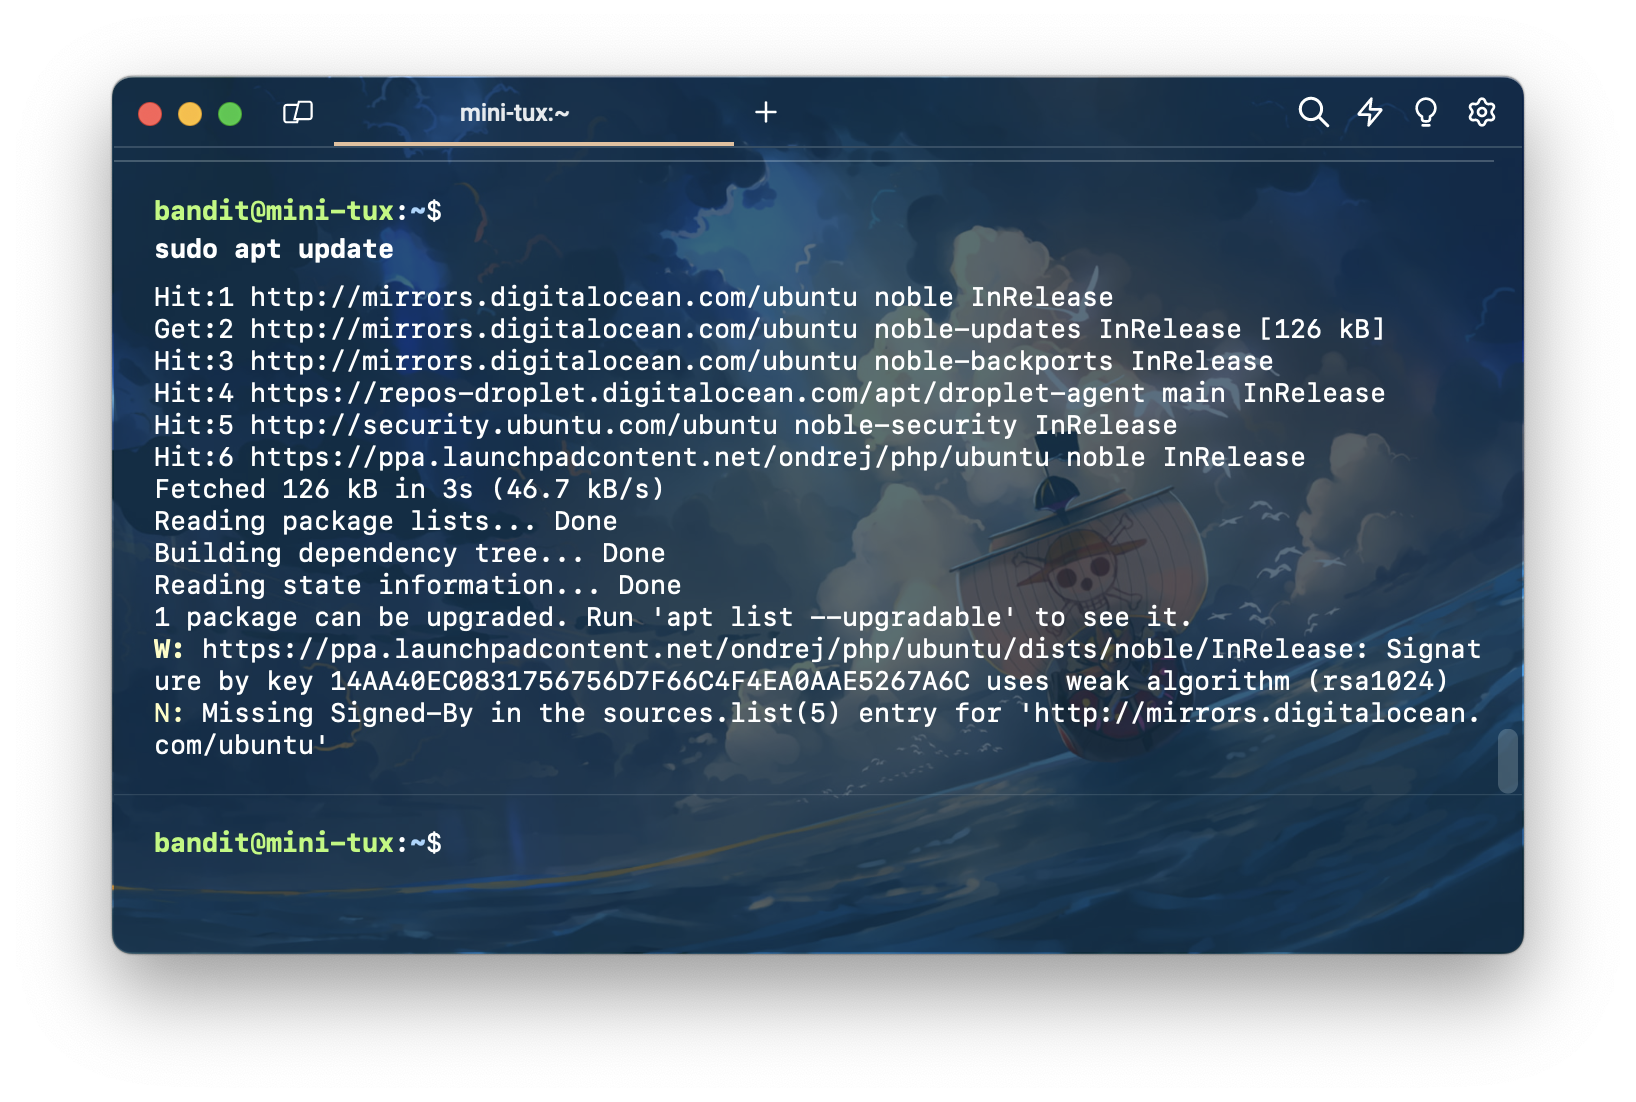
จากนั้น พิมพ์คำสั่ง sudo apt update เพื่อ update package
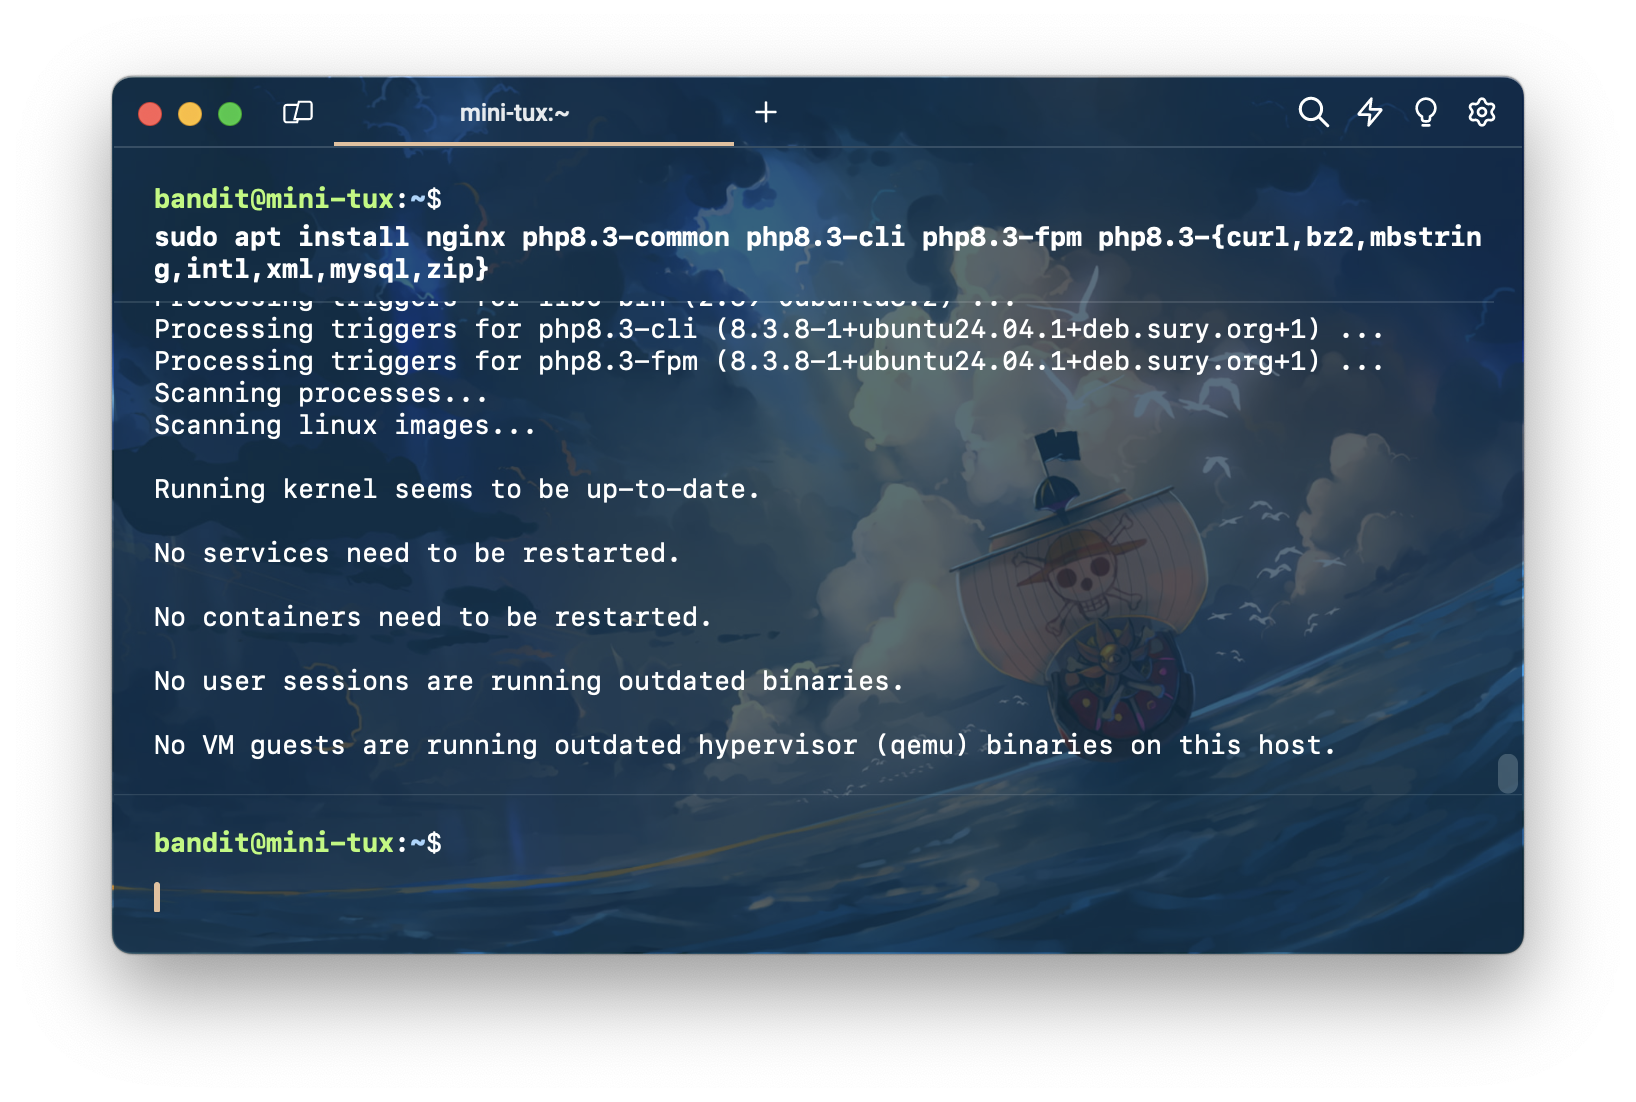
จากนั้นติดตั้ง nginx กับ PHP
sudo apt install nginx zip unzip php-zip php8.3-common php8.3-cli php8.3-fpm php8.3-{curl,bz2,mbstring,intl,xml,mysql,zip,intl}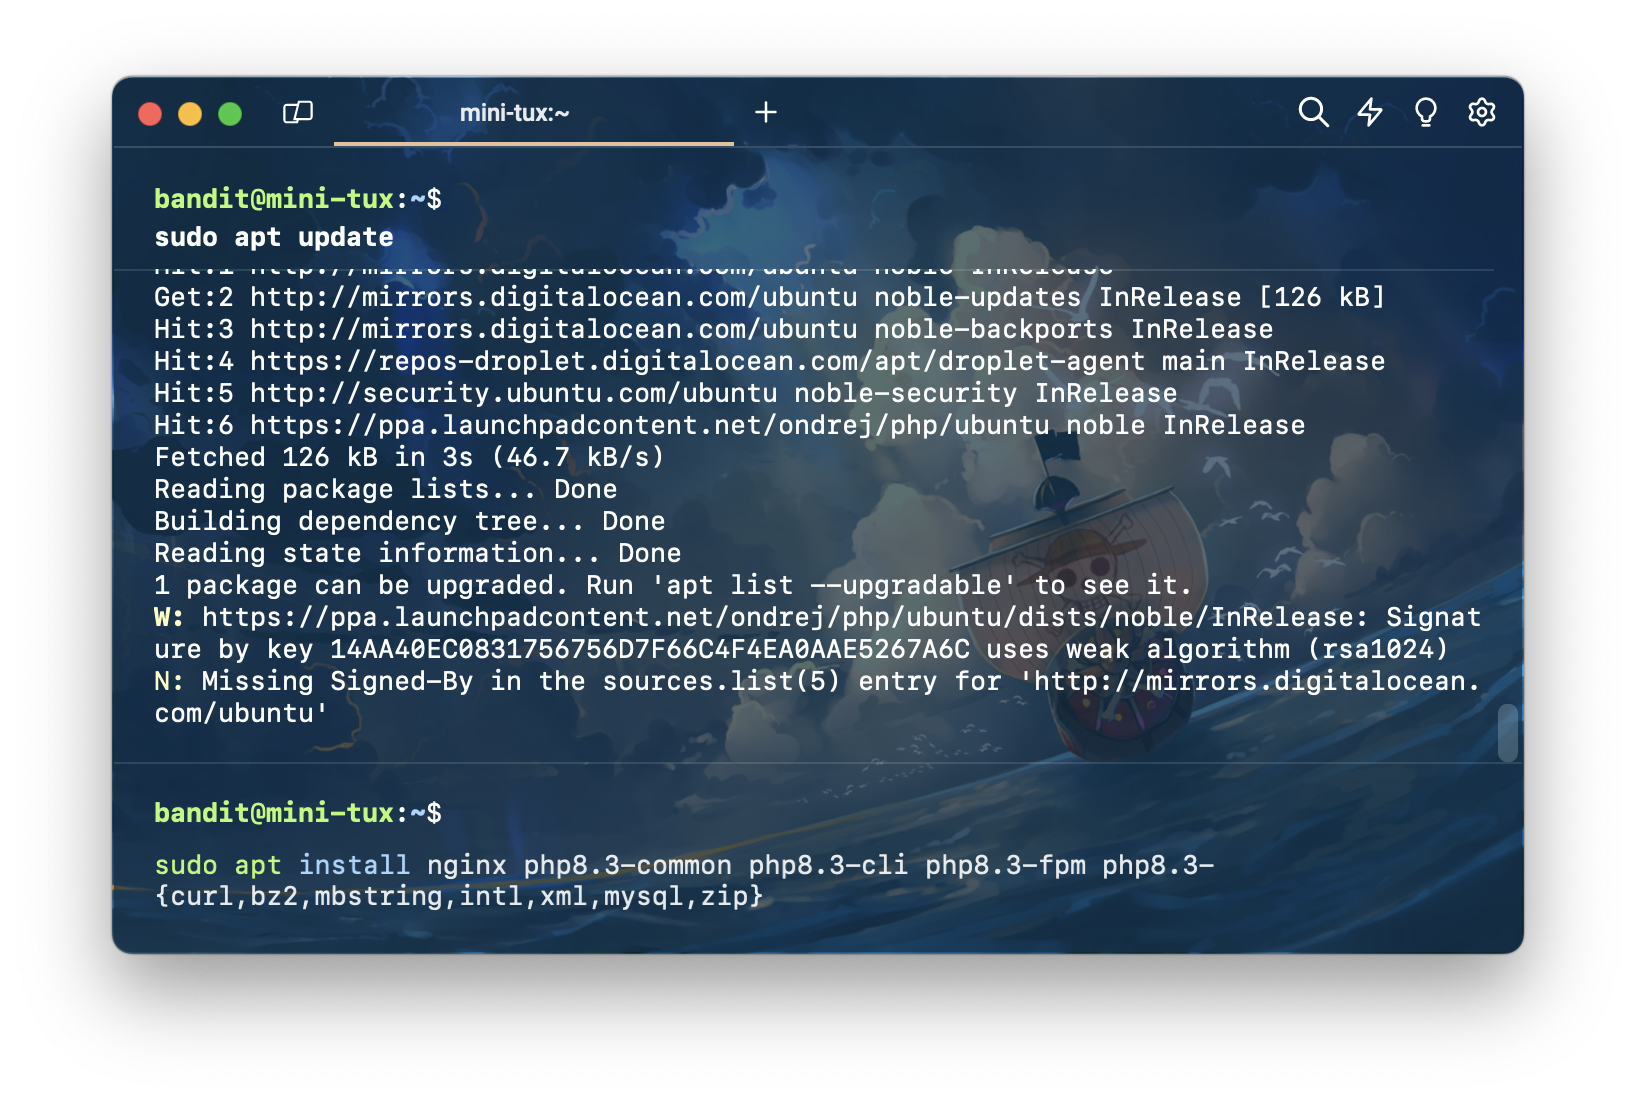
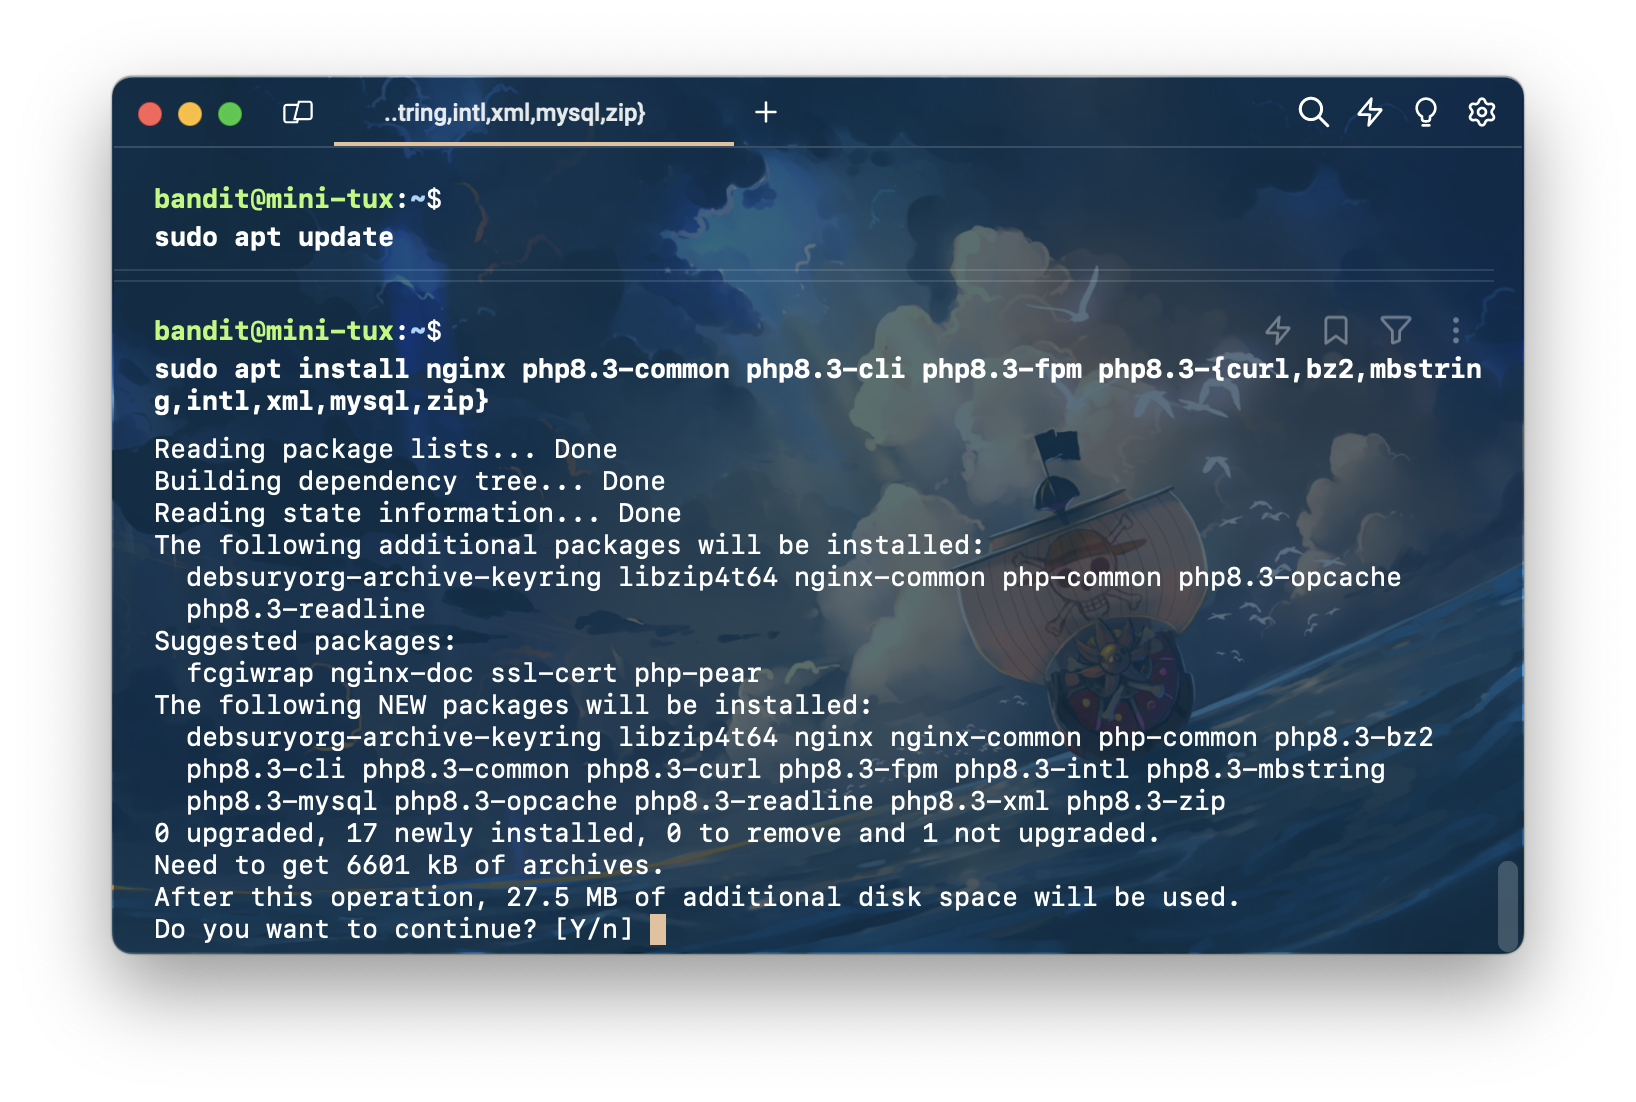
ตอบ y เพื่อยืนยันการติดตั้ง
จากนั้นก็รอ
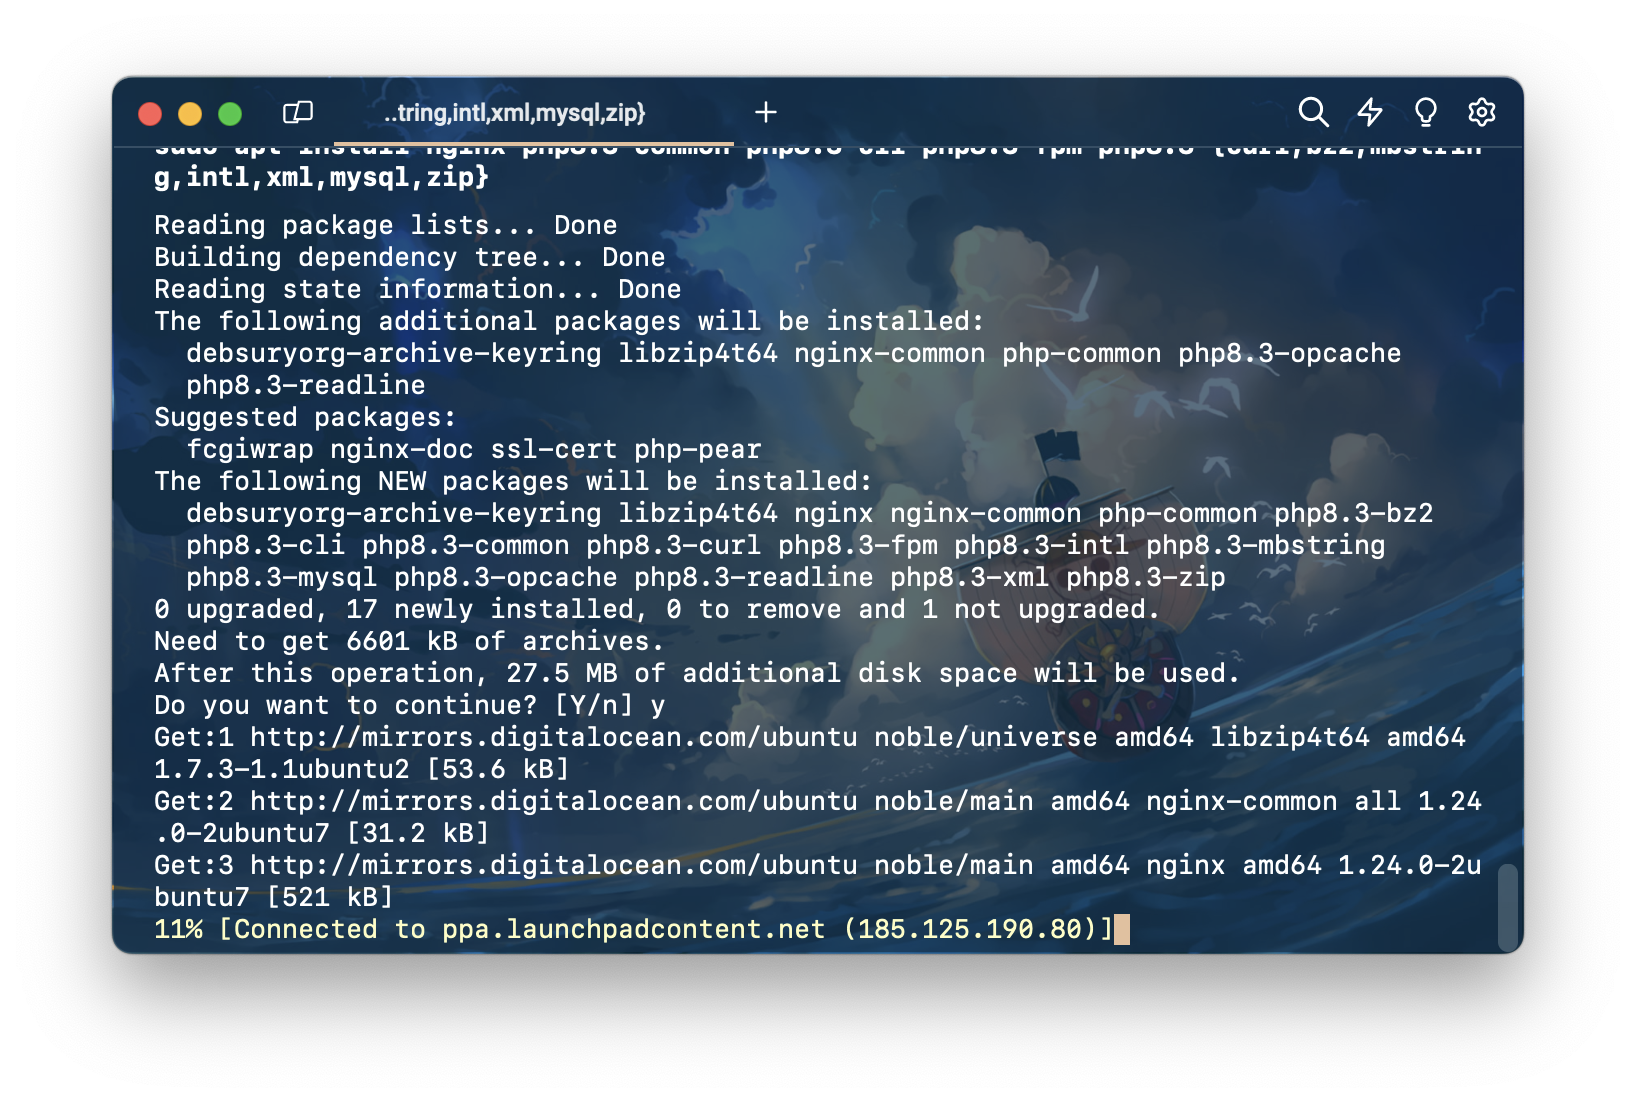
ติดตั้งเรียบร้อย
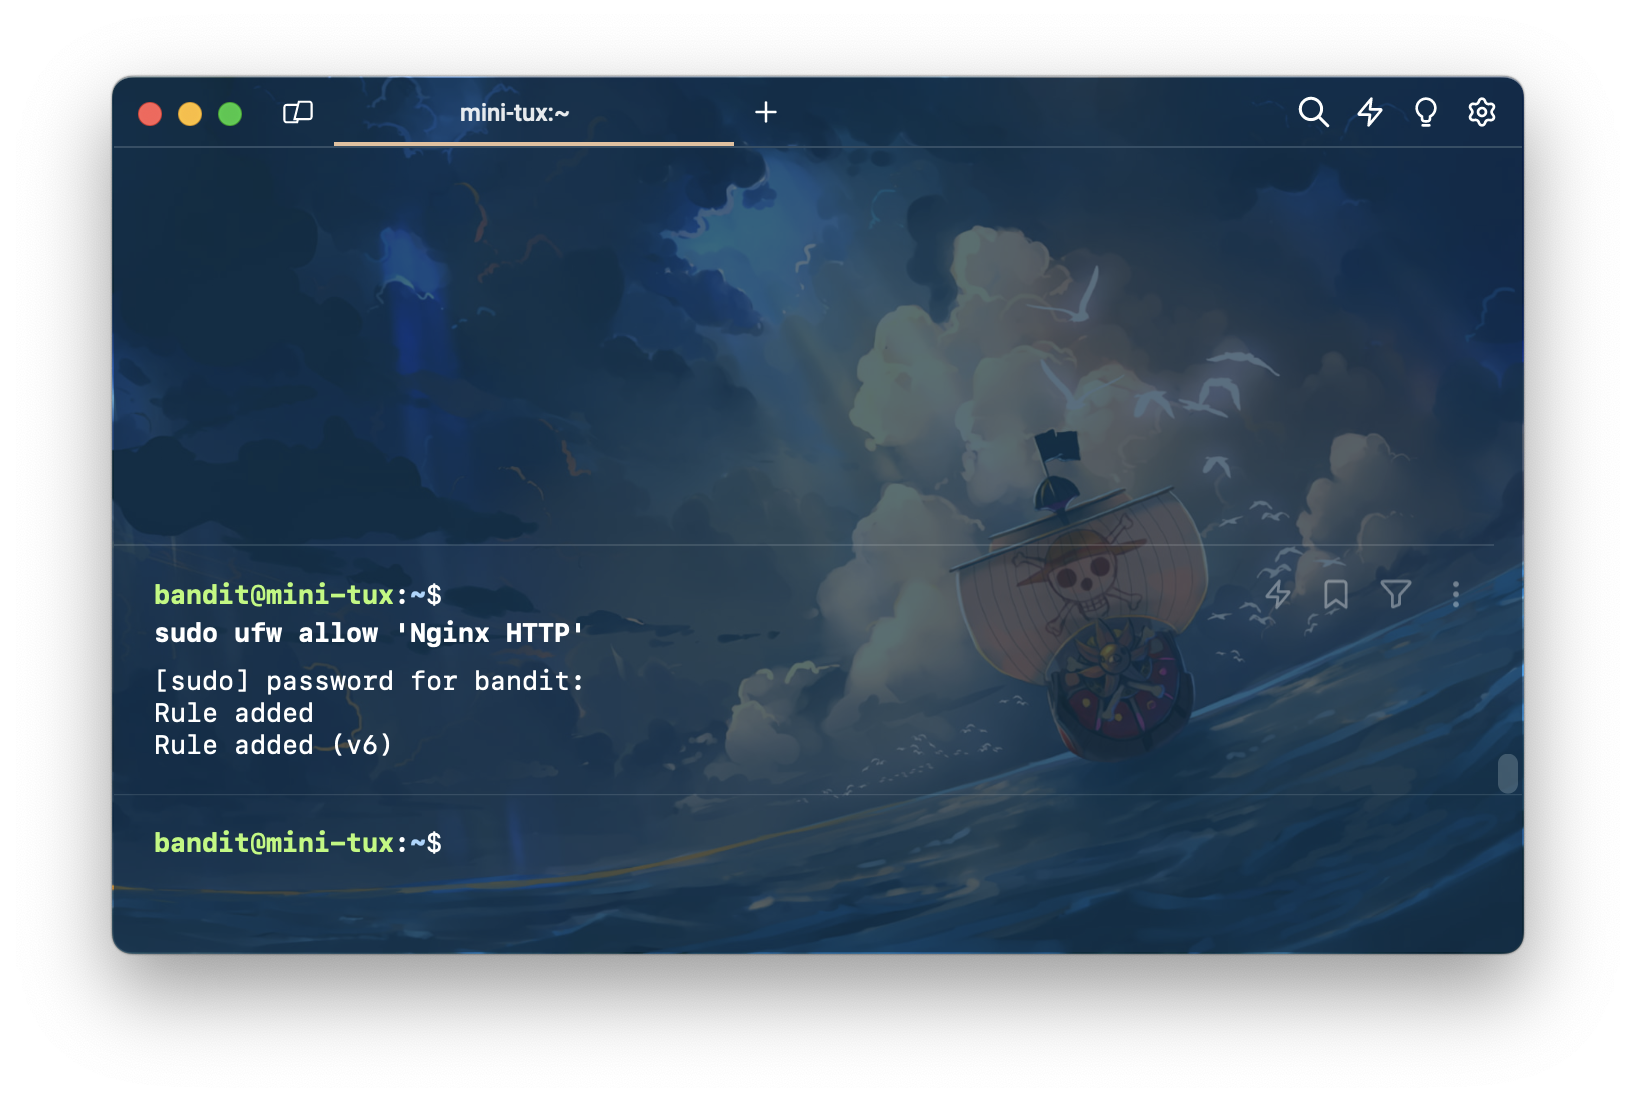
allow nginx on firewall
หลังจากที่ติดตั้งเสร็จ เราจำเป็นต้องเปิด firewall สำหรับ nginx ด้วย ทำได้ด้วยการพิมพ์คำสั่ง sudo ufw allow 'Nginx HTTP'
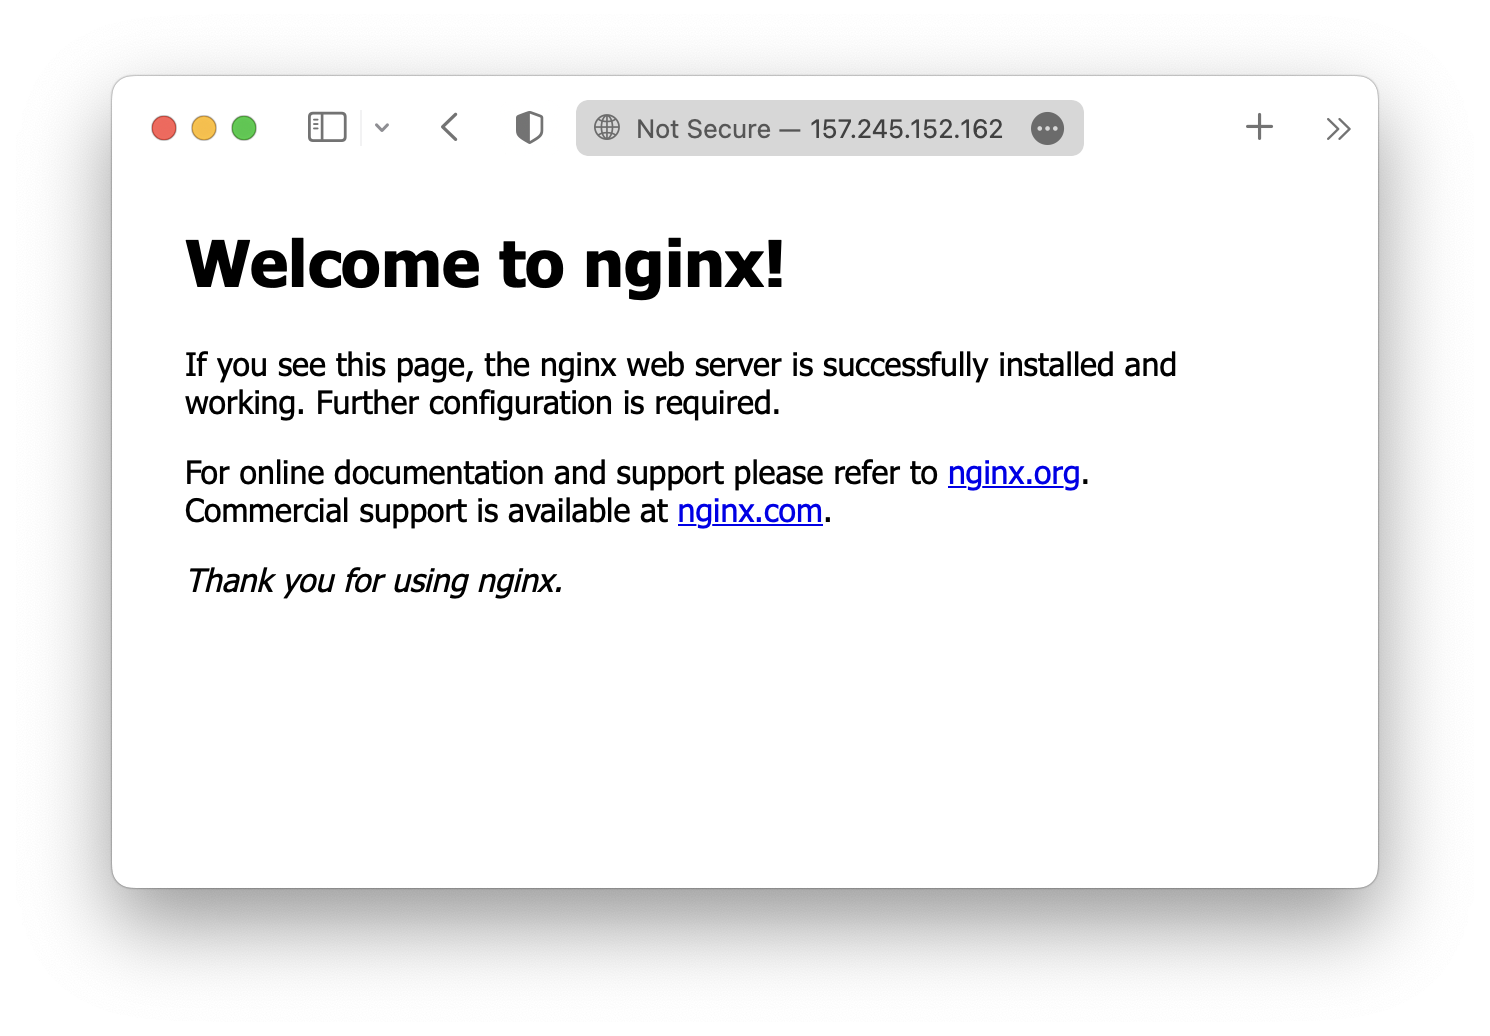
ถ้าเราลองเปิด browser แล้วเข้าที่ IP ของ server ก็จะเห็นว่า nginx สามารถใช้งานได้แล้ว
config nginx
มาถึงขั้นตอนการ config site สำหรับ nginx
เริ่มด้วยการ copy ไฟล์ default ไปเป็นอีกชื่อนึงที่เราอยากได้ ในที่นี้ผมตั้งชื่อว่า demo-symfony.9mza.net
sudo cp /etc/nginx/sites-available/default /etc/nginx/sites-available/demo-symfony.9mza.net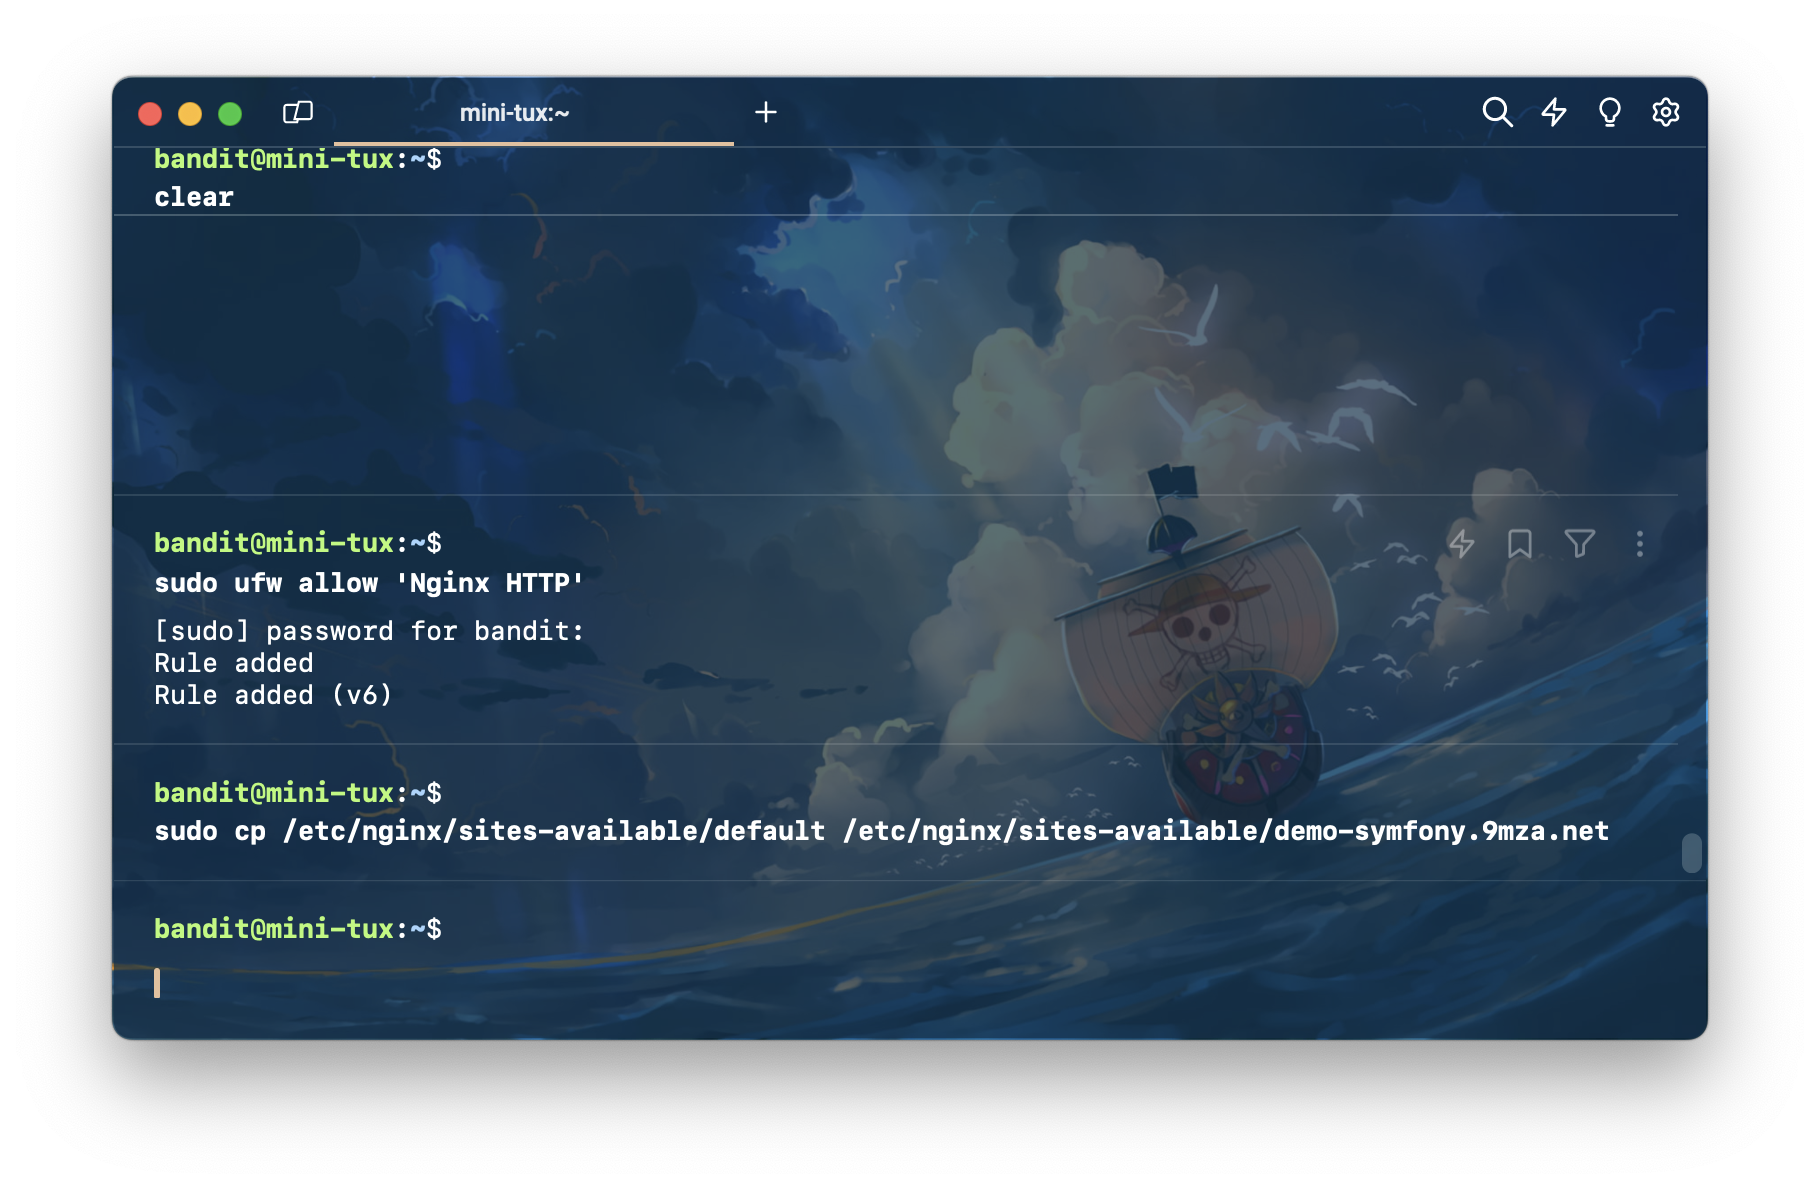
จากนั้นทำการแก้ไขไฟล์ที่เราเพิ่ง copy มา
sudo vim /etc/nginx/sites-available/demo-symfony.9mza.net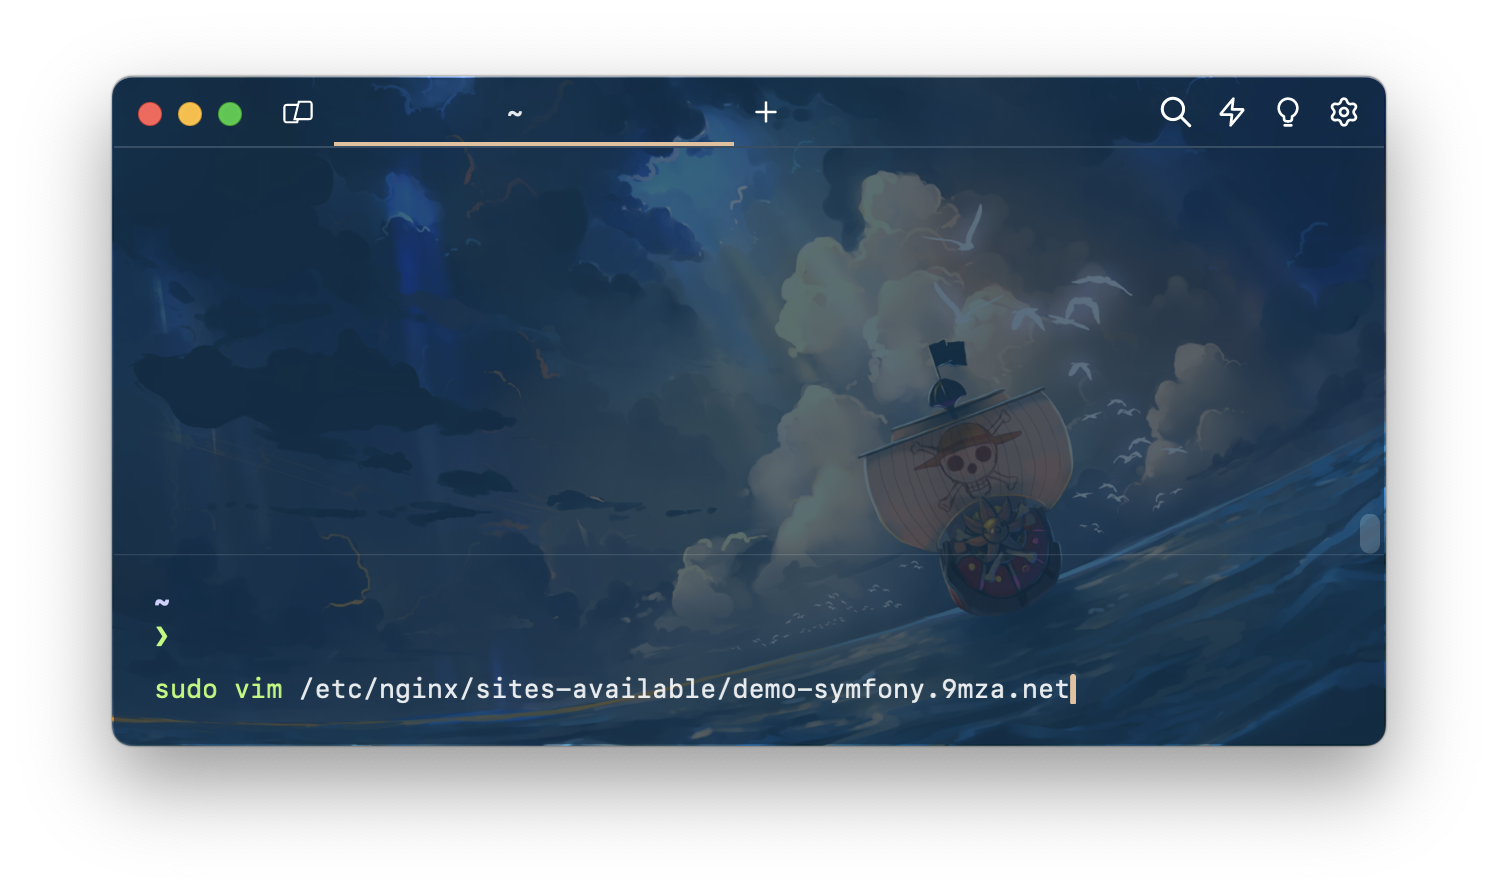
ผมแก้ไขไฟล์ประมาณนี้ มีแค่เพิ่ม php เข้าไป
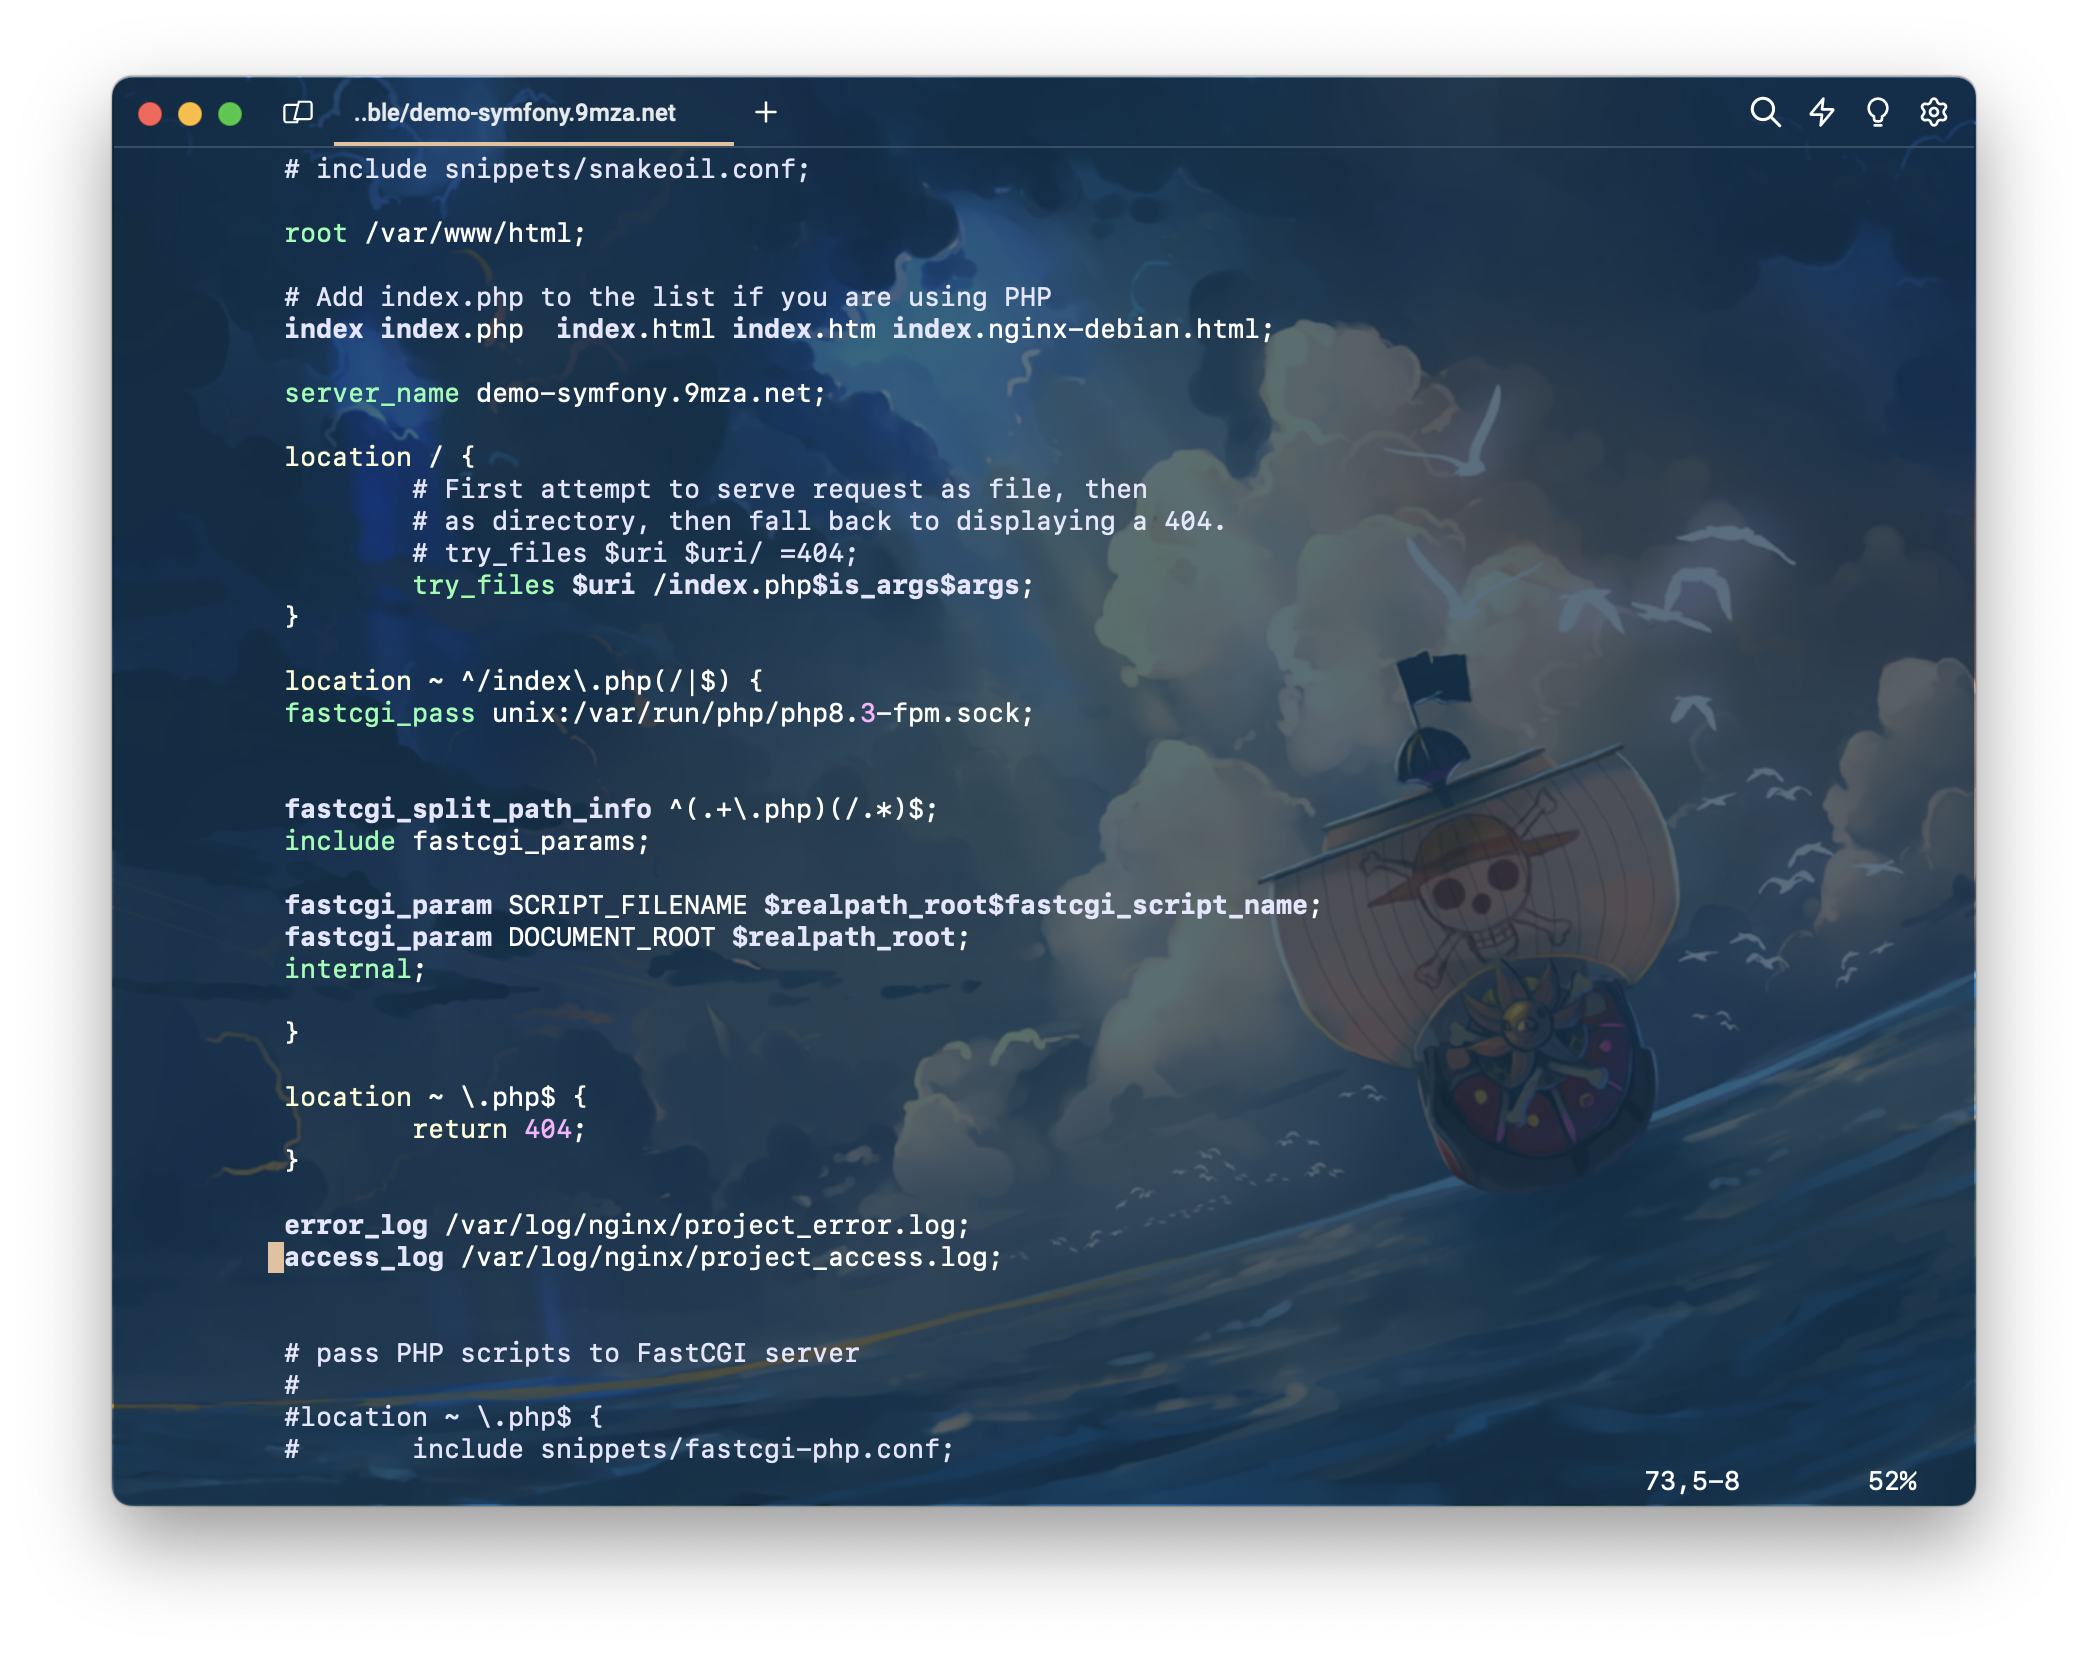
ไฟล์เต็มๆ
##
# You should look at the following URL's in order to grasp a solid understanding
# of Nginx configuration files in order to fully unleash the power of Nginx.
# https://www.nginx.com/resources/wiki/start/
# https://www.nginx.com/resources/wiki/start/topics/tutorials/config_pitfalls/
# https://wiki.debian.org/Nginx/DirectoryStructure
#
# In most cases, administrators will remove this file from sites-enabled/ and
# leave it as reference inside of sites-available where it will continue to be
# updated by the nginx packaging team.
#
# This file will automatically load configuration files provided by other
# applications, such as Drupal or Wordpress. These applications will be made
# available underneath a path with that package name, such as /drupal8.
#
# Please see /usr/share/doc/nginx-doc/examples/ for more detailed examples.
##

# Default server configuration
#
server {
	listen 80 default_server;
	listen [::]:80 default_server;

	# SSL configuration
	#
	# listen 443 ssl default_server;
	# listen [::]:443 ssl default_server;
	#
	# Note: You should disable gzip for SSL traffic.
	# See: https://bugs.debian.org/773332
	#
	# Read up on ssl_ciphers to ensure a secure configuration.
	# See: https://bugs.debian.org/765782
	#
	# Self signed certs generated by the ssl-cert package
	# Don't use them in a production server!
	#
	# include snippets/snakeoil.conf;

	root /var/www/html;

	# Add index.php to the list if you are using PHP
	index index.php index.html index.htm index.nginx-debian.html;

	server_name demo-symfony.9mza.net;

	location / {
		# First attempt to serve request as file, then
		# as directory, then fall back to displaying a 404.
		# try_files $uri $uri/ =404;
		try_files $uri /index.php$is_args$args;
	}

	location ~ ^/index\.php(/|$) {
        fastcgi_pass unix:/var/run/php/php8.3-fpm.sock;


        fastcgi_split_path_info ^(.+\.php)(/.*)$;
        include fastcgi_params;

        fastcgi_param SCRIPT_FILENAME $realpath_root$fastcgi_script_name;
        fastcgi_param DOCUMENT_ROOT $realpath_root;
        internal;

   	}

	location ~ \.php$ {
        	return 404;
    }

	error_log /var/log/nginx/project_error.log;
  access_log /var/log/nginx/project_access.log;


	# pass PHP scripts to FastCGI server
	#
	#location ~ \.php$ {
	#	include snippets/fastcgi-php.conf;
	#
	#	# With php-fpm (or other unix sockets):
	#	fastcgi_pass unix:/run/php/php7.4-fpm.sock;
	#	# With php-cgi (or other tcp sockets):
	#	fastcgi_pass 127.0.0.1:9000;
	#}

	# deny access to .htaccess files, if Apache's document root
	# concurs with nginx's one
	#
	#location ~ /\.ht {
	#	deny all;
	#}
}


# Virtual Host configuration for example.com
#
# You can move that to a different file under sites-available/ and symlink that
# to sites-enabled/ to enable it.
#
#server {
#	listen 80;
#	listen [::]:80;
#
#	server_name example.com;
#
#	root /var/www/example.com;
#	index index.html;
#
#	location / {
#		try_files $uri $uri/ =404;
#	}
#}
จากนั้นทำการ unlink sites-available default
sudo unlink /etc/nginx/sites-enabled/default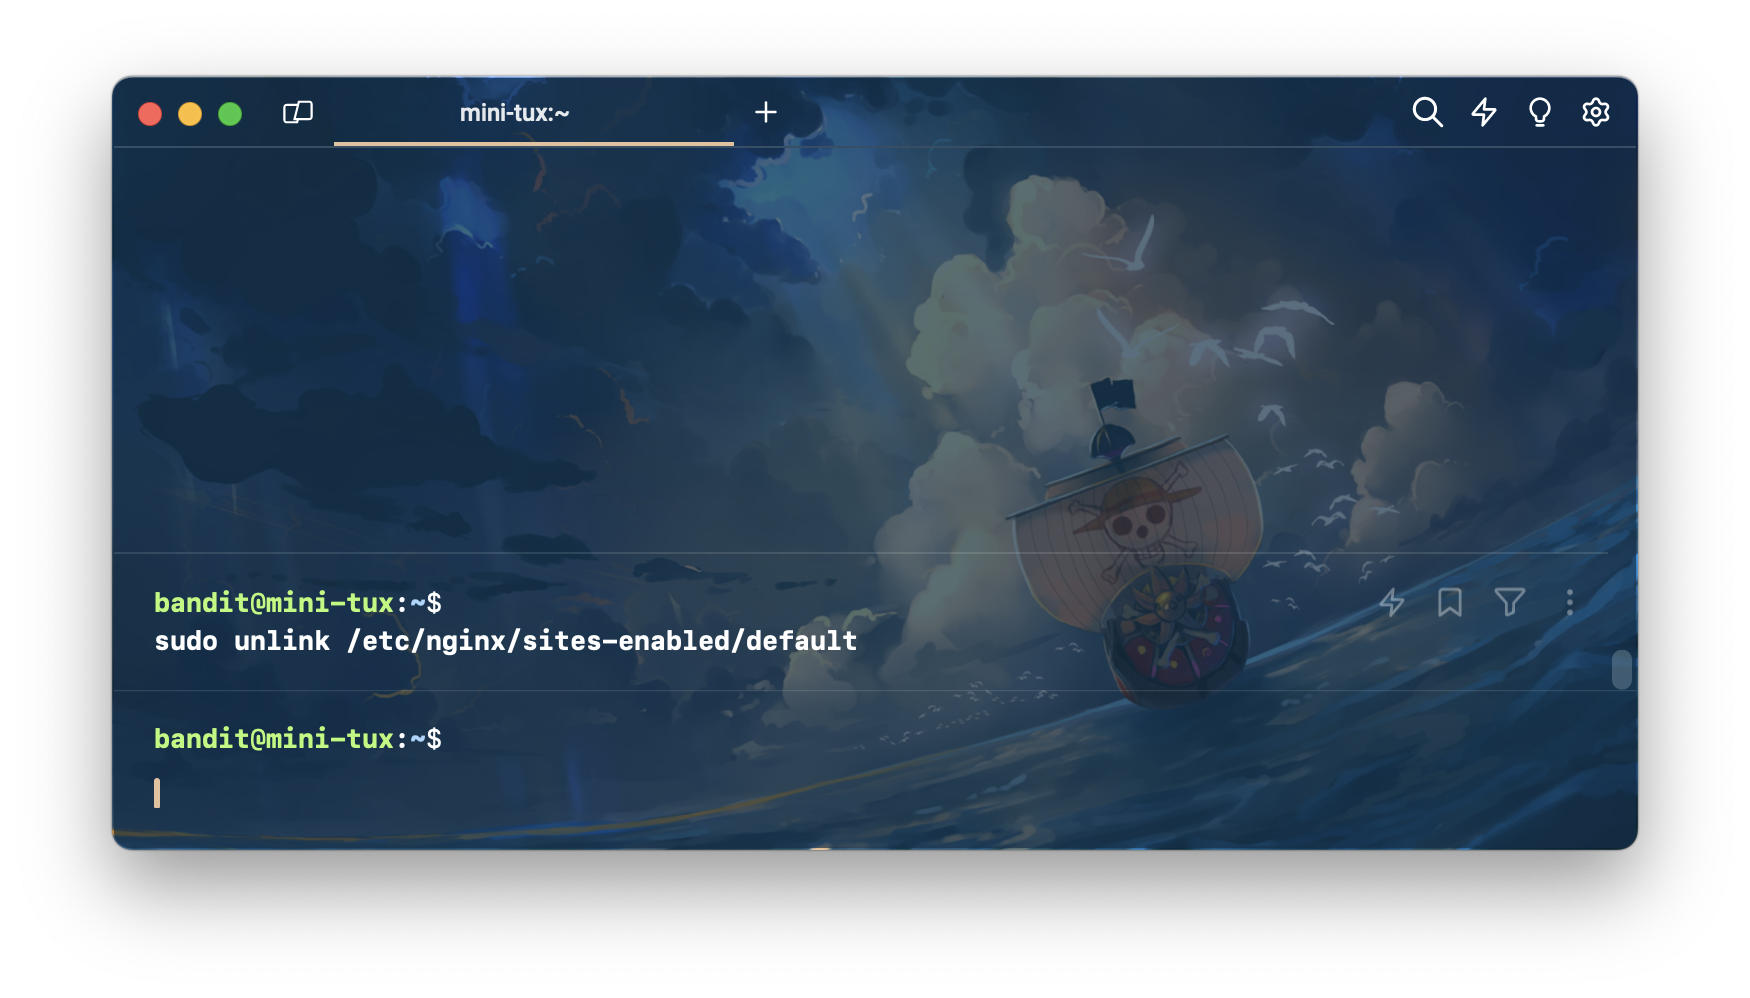
ทำการลิงก์ sites-available เป็น sites-enabled
sudo ln -s /etc/nginx/sites-available/demo-symfony.9mza.net /etc/nginx/sites-enabled/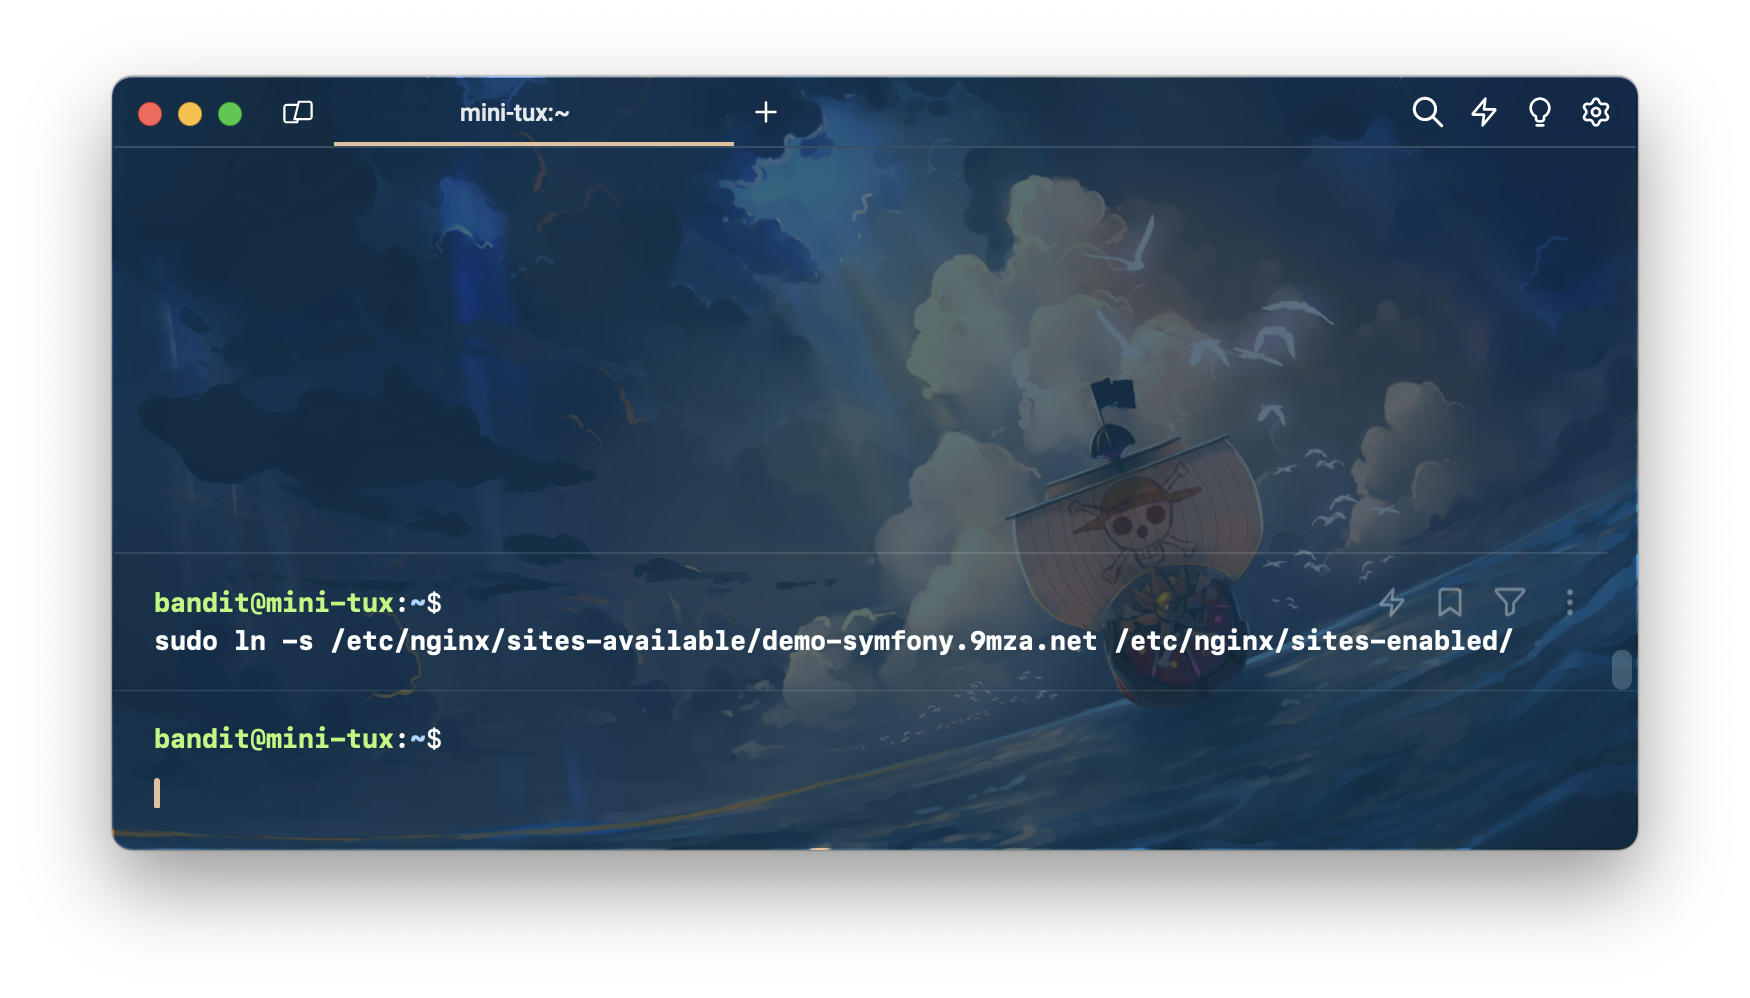
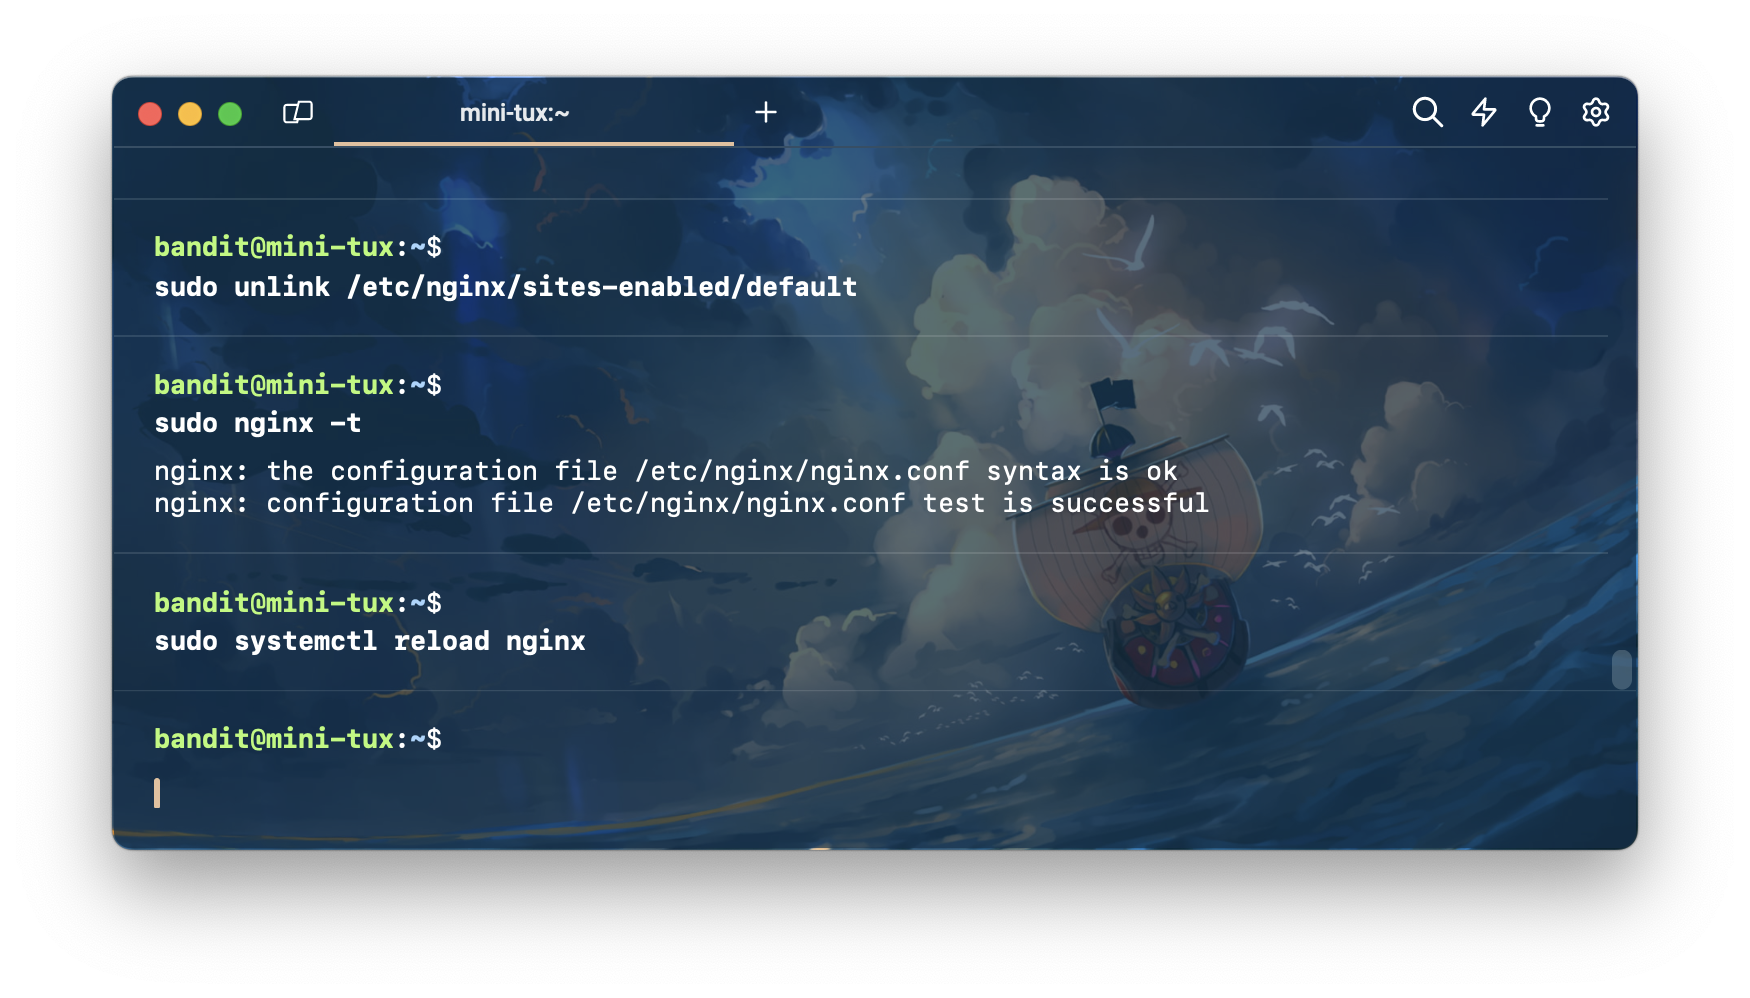
sudo nginx -t เพื่อตรวจสอบ syntax
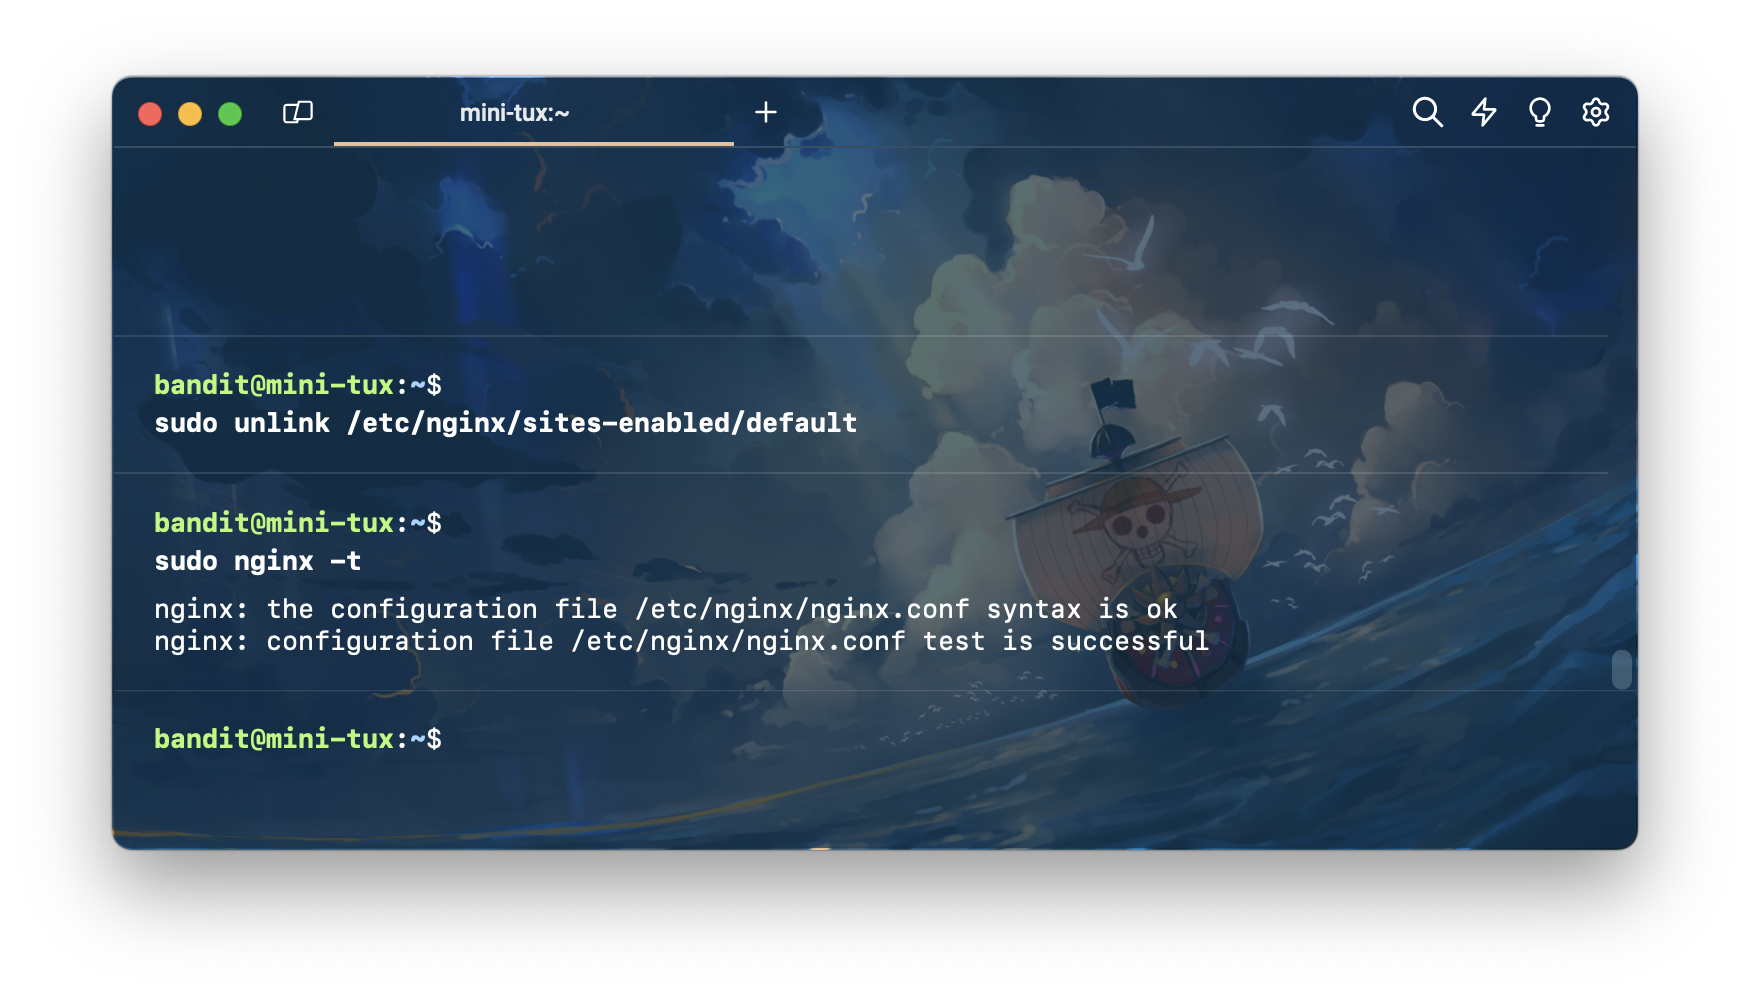
sudo systemctl reload nginx เพื่อทำการ reload nginx
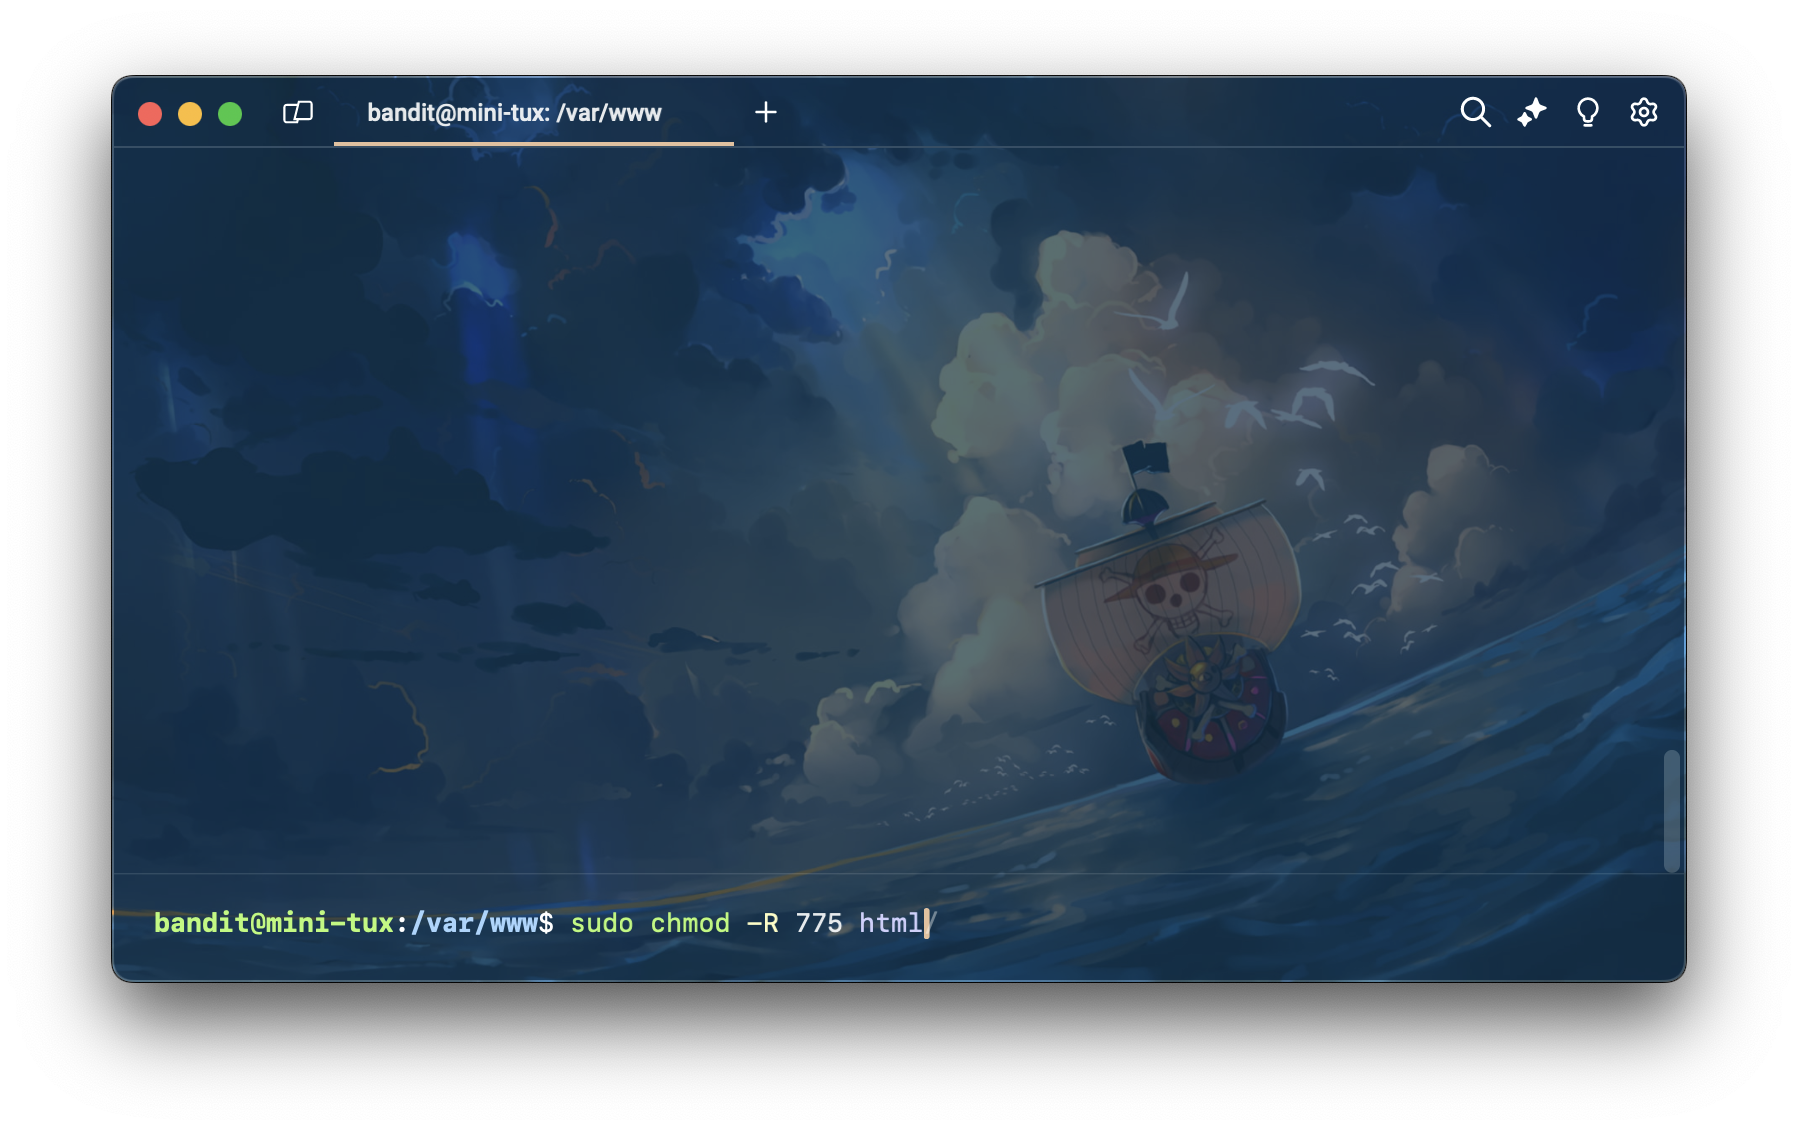
เปลี่ยน permission ของ directory html ให้เป็น 775
สร้างไฟล์ index.php ขึ้นมาเพื่อทดสอบ
.png)
.png)
เมื่อสร้าง เมื่อบันทึกเสร็จแล้ว มาลองทดสอบใน browser
ถ้าขึ้นแบบนี้ก็เป็นอันใช้ได้
.png)
สำหรับบทความนี้ขอจบไว้ที่ตรงนี้ก่อน เพราะรู้สึกว่าเหมือนจะยาวละ ไว้เรามาต่ออีกทีใน Part 2 โดยจะมาลุยกันต่อในเรื่อง Composer, Database, Symfony ละ แล้วเจอกันครับ