
(ผมจะขอข้ามการติดตั้ง VirtualBox รวมถึงติด OS ต่างๆ ใน VirtualBox นะครับ) เอาหละมาดูวิธีกันเลย
Install Linux on VirtualBox
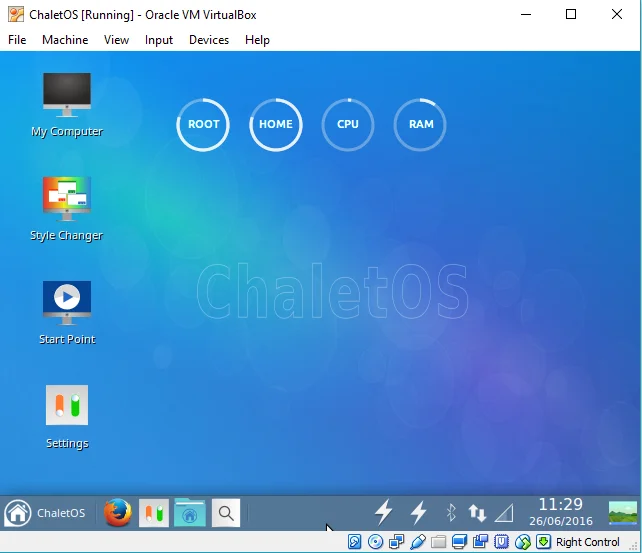
ลง Linux บน VirtualBox ตอนนี้ OS ใน VirtualBox ผมใช้เป็น ChaletOS 16.04
Download and Mount VBoxGuestAdditions
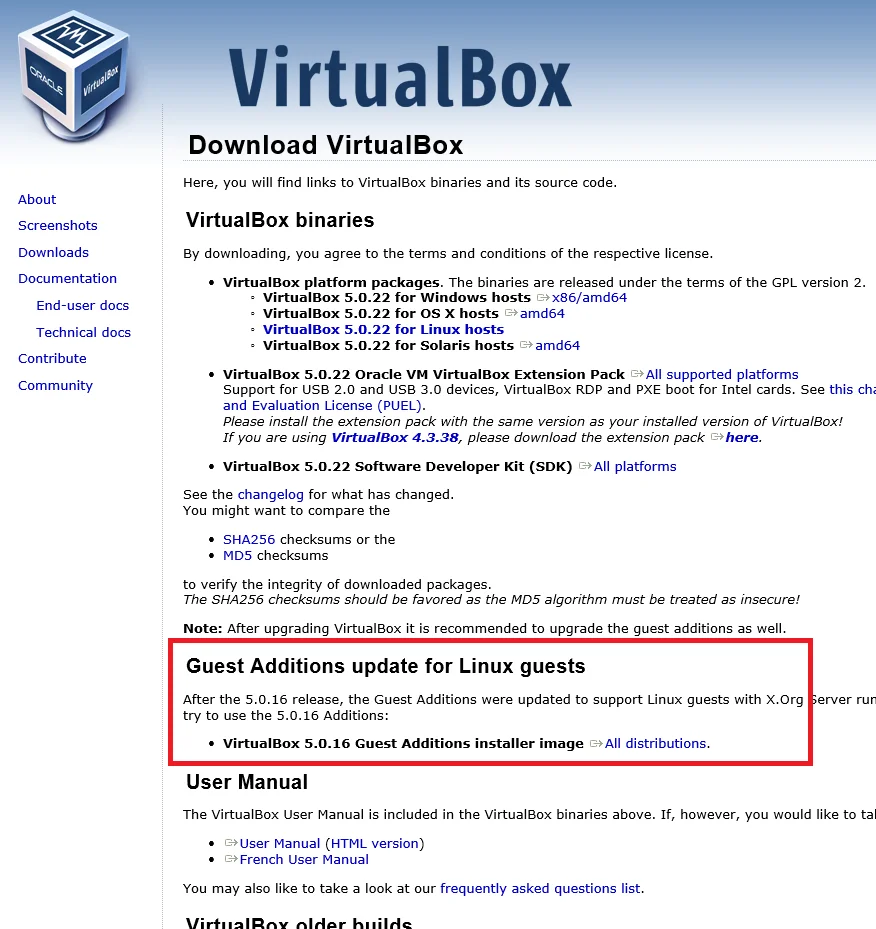
จากนั้นโหลดไฟล์ 💿VBoxGuestAdditions_5.0.16.iso จากหน้าดาวน์โหลดของ VirtualBox เพื่อใช้ในการลงส่วนเสริมของ VirtualBox
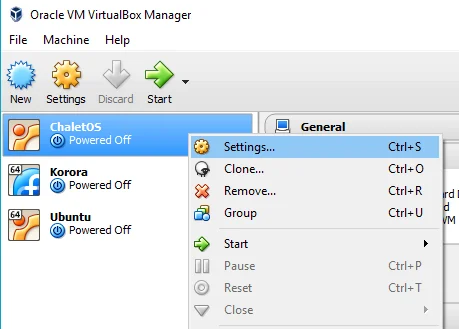
จากนั้นกลับมาที่ VirtualBox เลือก OS ที่คุณต้องการจะแชร์ไฟล์ จากนั้นคลิกขวา เลือก Settings…
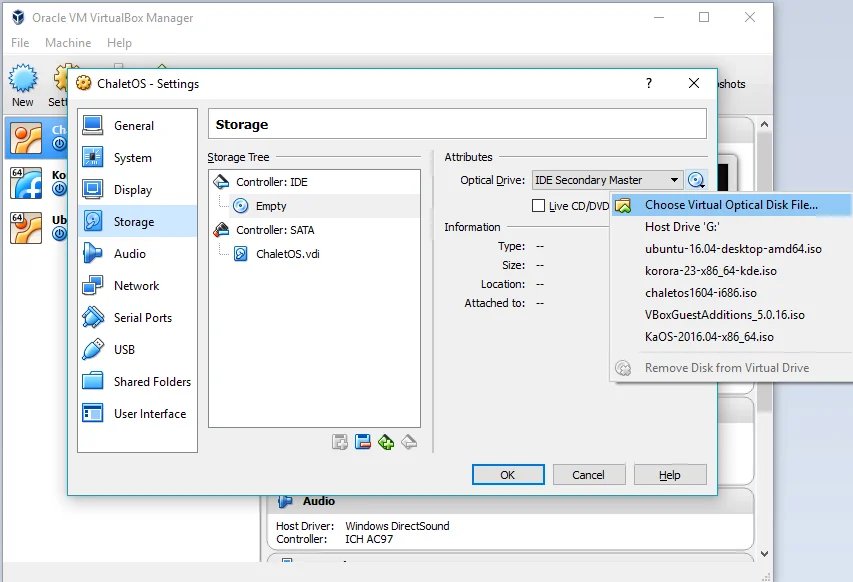
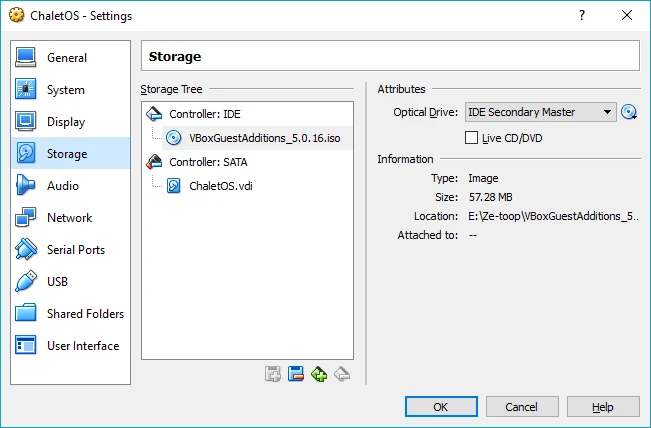
เลือกแท๊บ Storage มาดูตรงส่วนของ Storage Tree จากนั้นดูในส่วนของ Controller : IDE จะมีรูปแผ่นซีดี พร้อมเขียนว่า Empty (หากคุณไม่ได้ใส่แผ่นอะไรลงไป) จากนั้นมาดูในส่วนของ Attributes เพื่อทำการ Mount Image File ชื่อ VBoxGuestAdditions_5.0.16.iso ที่ได้ทำการดาวน์โหลดไว้ โดยการคลิกที่รูปแผ่นซีดี แล้วเลือก Choose Virtual Optical Disk File…
เมื่อ Mount Image File เสร็จแล้ว จะเห็นกว่ามันขึ้นเป็นชื่อ Image File ที่เราโหลดมาเมื่อกี้แล้ว
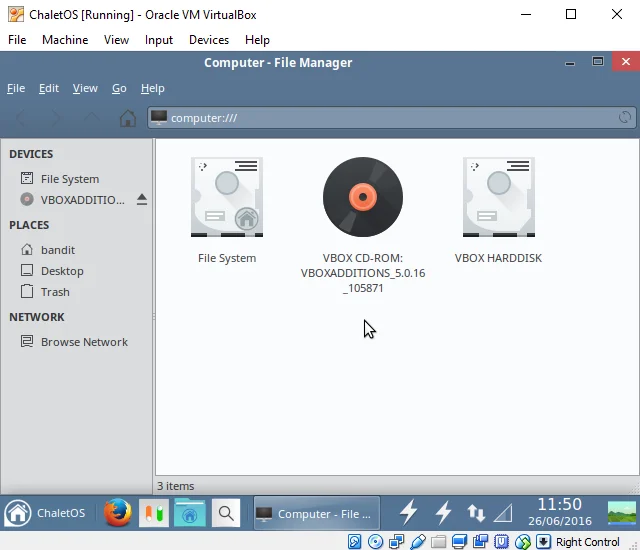
เสร็จแล้วคลิก OK ได้เลย กลับมาที่ VitualBox แล้วเปิด OS ที่เราเตรียมไว้ได้เลย จะเห็นว่า แผ่นได้ทำการใส่เข้ามาในระบบแล้ว
Install VBoxGuestAdditions
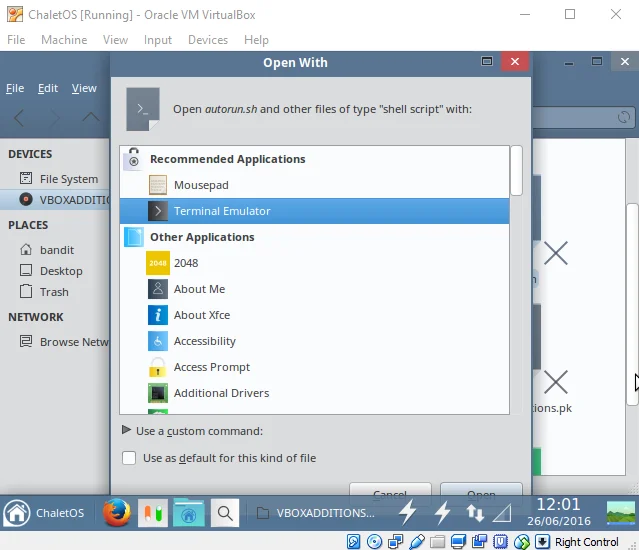
จากนั้นเปิดไฟล์ autorun.sh โดยใช้โปรแกรม terminal
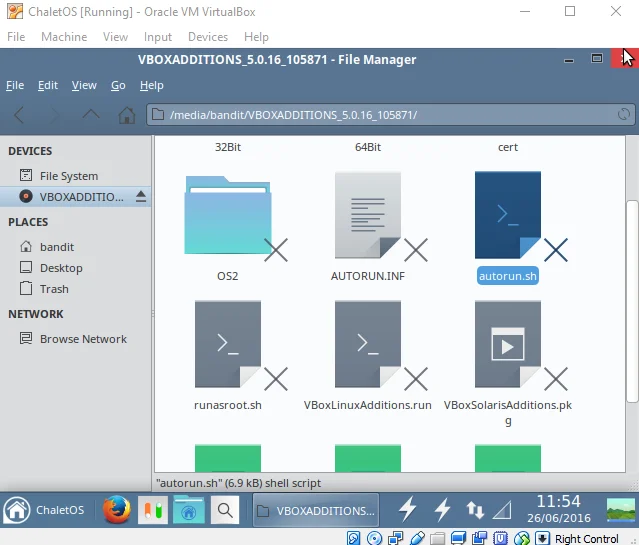
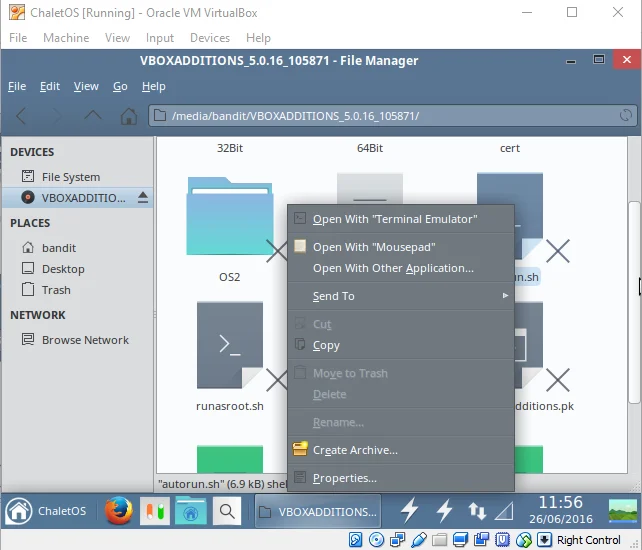
วิธีการเปิดผ่าน Terminal ผมใช้วิธีการง่ายๆ แบบนี้เลย นั่นก็คือ คลิกขวากที่ไฟล์ autorun.sh จากนั้นเลือก Open With Other Application… แล้วเราก็เลือก Terminal
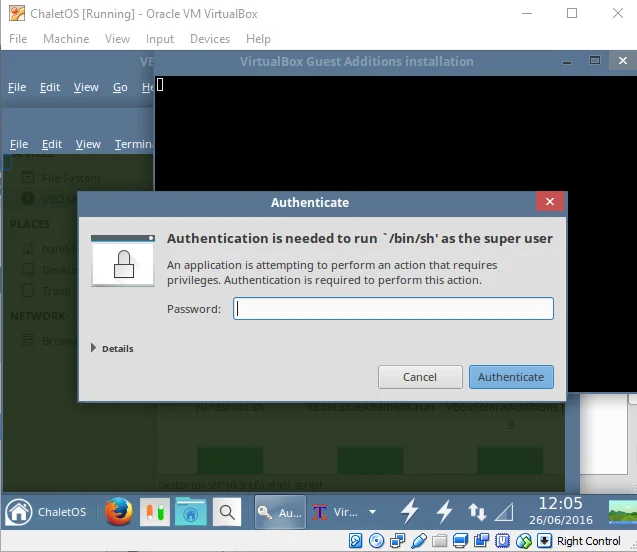
เมื่อสั่งเปิดด้วย Terminal เสร็จ มันก็จะถามรหัสผ่านเพื่อดำเนินการ เราก็ใส่รหัสผ่านของเราไป
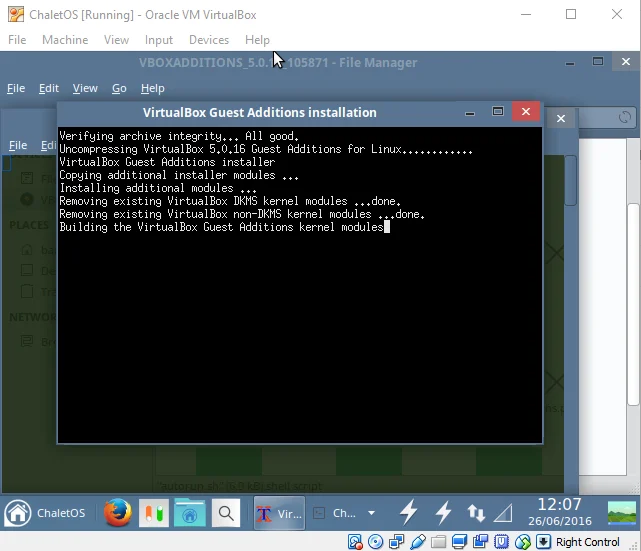
โปรแกรมก็จะดำเนินการติดตั้งให้เรานะจ๊ะ (รอ…)
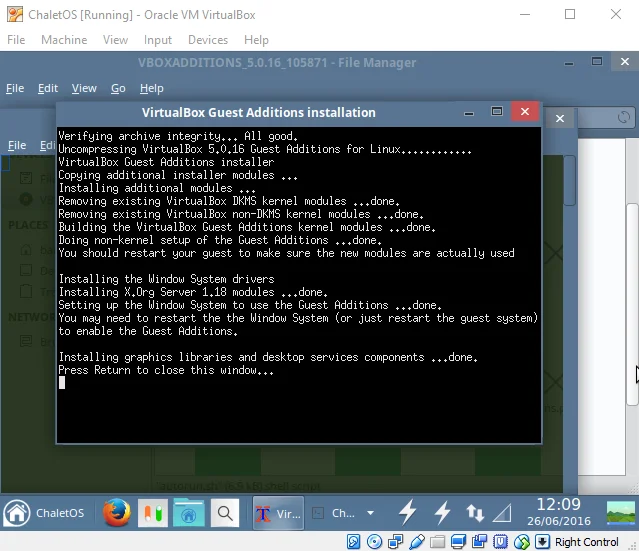
เมื่อเสร็จแล้ว กดปุ่ม Enter เพื่อออกจากโปรแกรม
Add Share Folder
เสร็จแล้วเราลองมาแชร์ไฟล์ที่เราต้องการดู วิธีการก็เหมือนในตอนแรก คือ คลิกขวา OS ที่เราต้อง เลือก Settings… แล้วมาในแท๊บ Shared Folders แล้วคลิกที่ไอคอน + สีเขียวๆ ทางขวามือ จะเห็นหน้าต่างให้เราเลือกที่อยู่ของโฟลเดอร์ที่เราต้องการจะแชร์
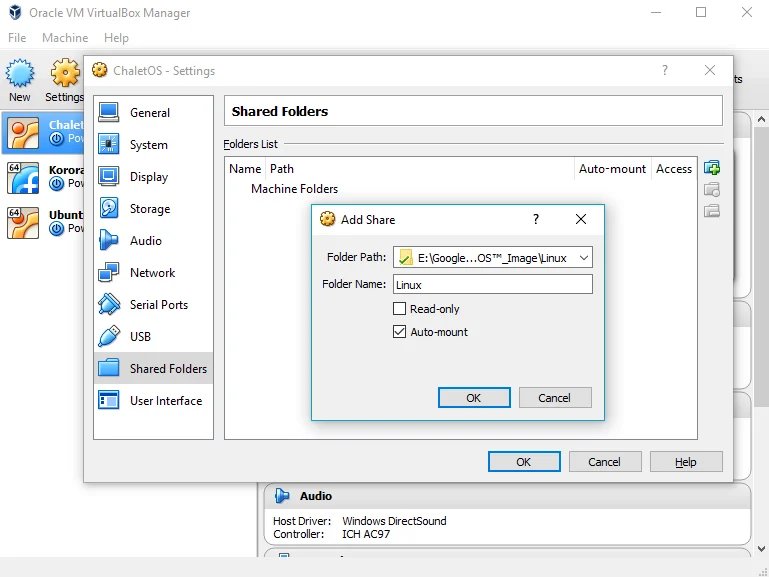
📁 Folder Path: ที่อยู่ของ Folder ที่ต้องการแชร์
📁 Folder Name: ตั้งชื่อที่ Folder ที่ต้องการจะแชร์
ส่วนเครื่องหมายถูก 2 ช่องด้านล่าง
Read-only คือ กำหนดสิทธิ์ของโฟลเดอร์ให้สามารถดูได้อย่างเดียว
Auto-mount จะเรียกโฟลเดอร์ที่แชร์ไว้ทุกครั้งที่เปิดระบบ
ก็เลือกใช้ตามความเหมาะสมกันได้เลยครับ เมื่อตั้งกันเสร็จแล้วก็เปิดระบบ เพื่อดูผลลัพธ์กันได้เลย
Access to Folder
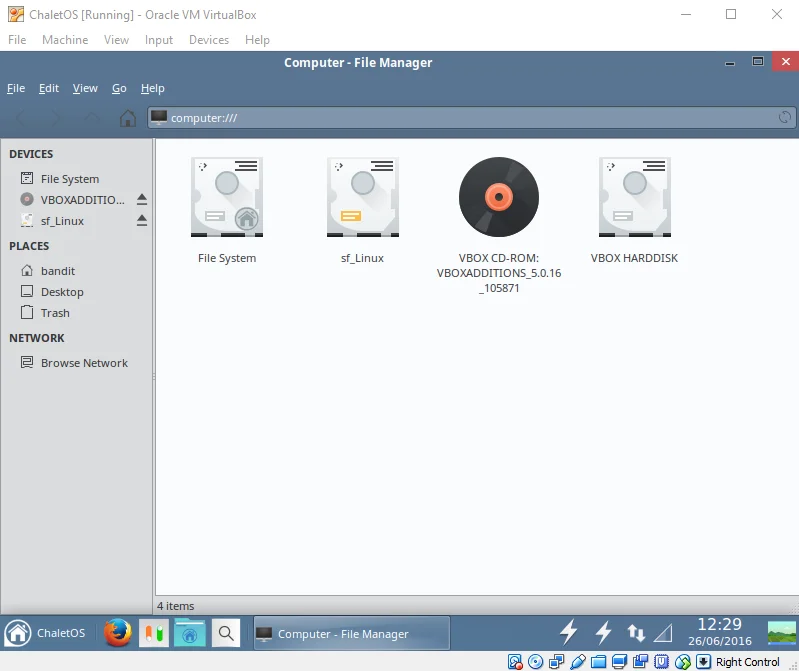
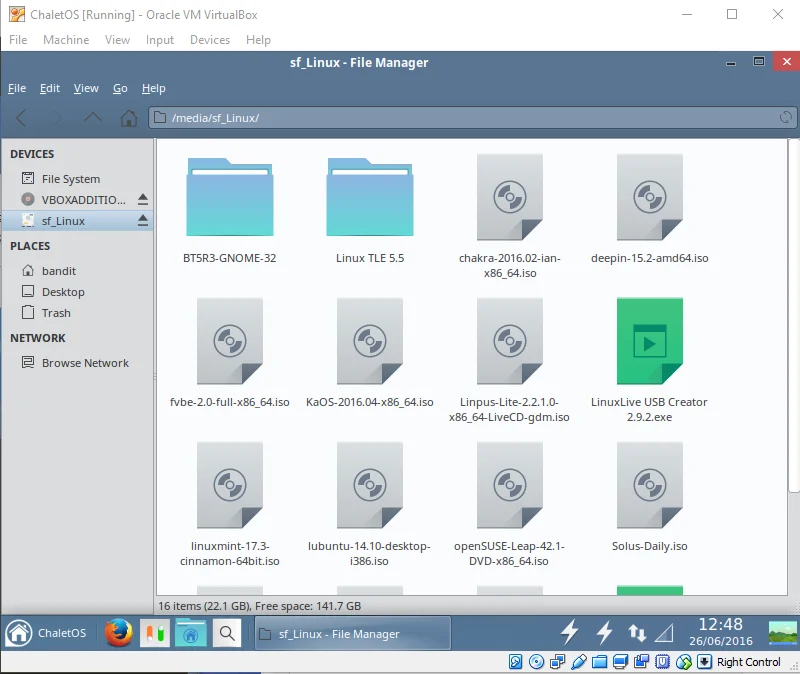
จะเห็นโฟลเดอร์ที่เราแชร์เมื่อกี้ แต่จะอยู่ในรูปแบบของไดรว์ รอช้าอะไร เราเข้าไปดูข้างในกัน กัน แต่เกิดอะไรขึ้นทำไม เข้าไปไม่ได้ เราไม่มีสิทธิ์เข้างั้นเหรอ
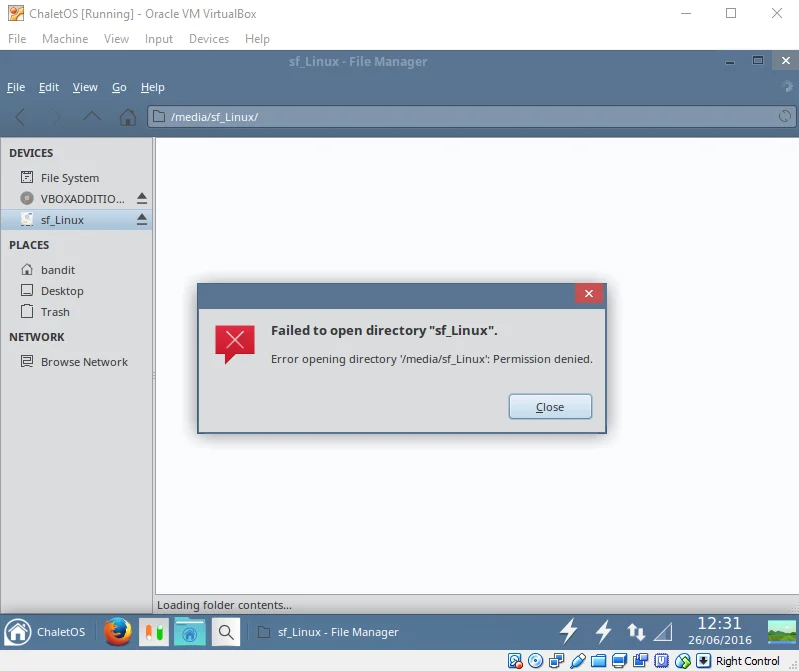
Add User Group
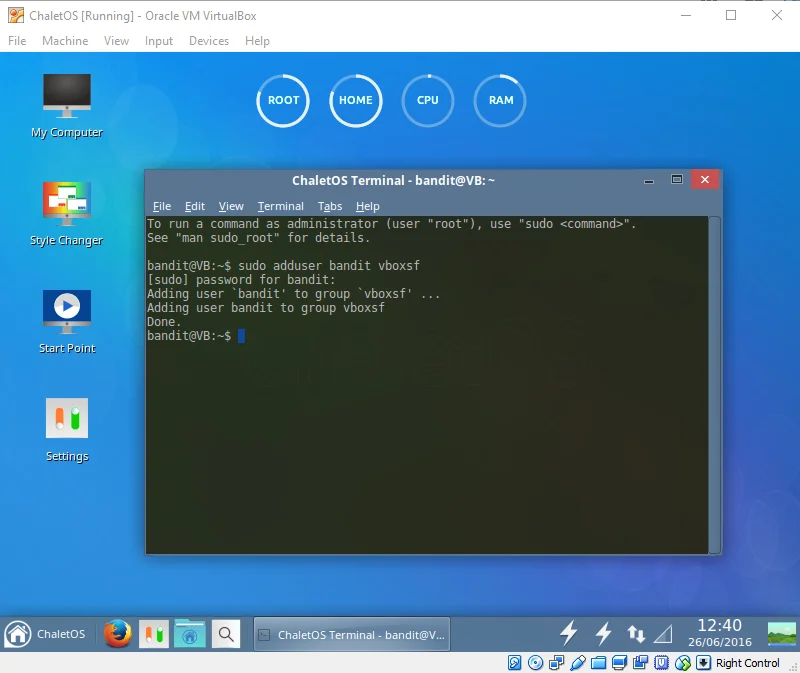
ใช่แล้วตอนนี้เรายังไม่มีสิทธิ์เข้าใช้ เราต้องทำการ add user ของเราเข้าไปกลุ่มของ vboxsf ลงไปใน OS เอ้าเปิด Terminal ขึ้นมาเลย จากนั้นพิมพ์คำสั่งนี้ลงไป
sudo adduser [Your Username] vboxsf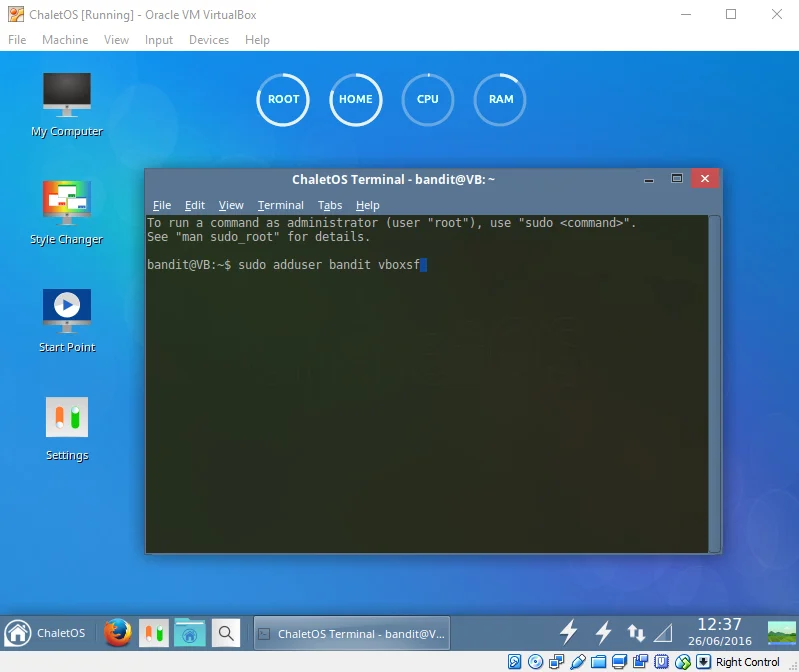
จากนั้นกรอกรหัสผ่านของคุณ แล้ว Enter

Reboot
เมื่อโปรแกรมดำเนินการเสร็จ จะขึ้นผลลัพธ์ว่าได้เพิ่ม User เสร็จแล้ว เมื่อเสร็จขั้นตอนนี้ให้ reboot เครื่องก่อน 1 ครั้ง หรือจะกี่ครั้งก็ตามต้องการ แต่ครั้งเดียวมันก็เกินพอ
ลองเข้าโฟลเดอร์ที่เราแชร์ จะเห็นมันสามารถเข้าได้แล้ว เย้!!!
เพียงเท่านี้ เราก็สามารถแชร์ไฟล์ข้าม OS จาก Windows มาสู่ Linux ที่อยู่ใน VirtualBox ได้แล้ว หากใครยังสงสัยอยากจะถามกูยินดีตอบให้เลยครับ จะใต้บทความนี้ หรือ เพจก็ตามสะดวกเลยครับ
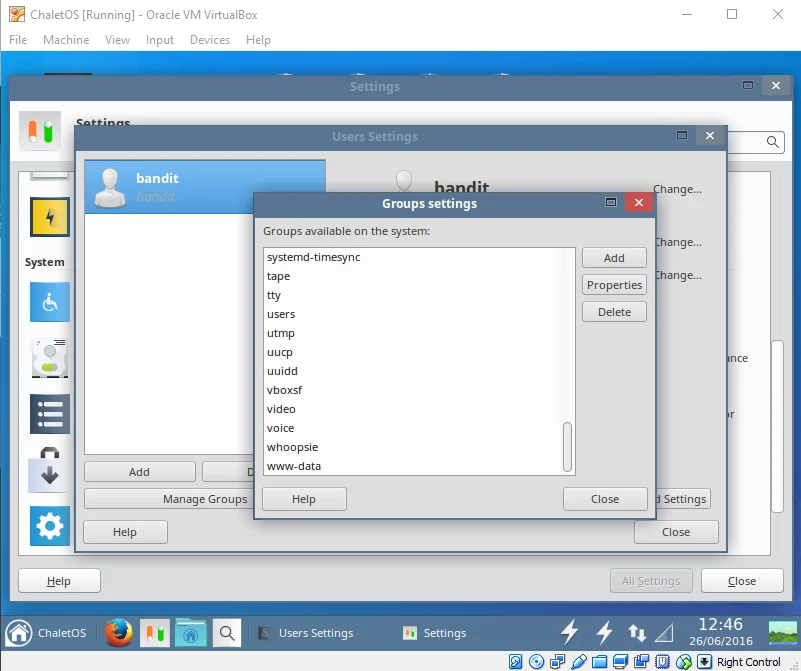
จริงๆ แล้วยังมีอีกวิธีนึง แต่ว่ามันยิ่งยากไป นั่นก็คือไปกำหนด Group ใน GUI นั่น ที่ยุ่งยากคือต้องคลิกเยอะ ใช้ Terminal ง่ายกว่า คำสั่งบรรทัดเดียวเสร็จ ชอบแบบไหนก็เลือกใช้กันตามสะดวกเลยนะครับ
สำหรับบทความนี้ผมก็ต้องขอจบไว้แต่เพียงเท่านี้นะจ๊ะ แล้วพบกันใหม่พบความหน้าเน้อ สวัสดีจ้า.